This article is aimed at developers who are interested to integrate LDAP Authentication with Flask. In the following example, I will start with an overview of LDAP technology followed by the code that explains to integrate LDAP with Flask Web Application.
- LDAP Authentication
We will begin the journey by understanding LDAP authentication. Directory services are a critical part of any identity infrastructure. A popular choice for many identity projects is LDAP. I’m not going to give a comprehensive guide to LDAP in this article. I will be giving an overview of the technology.
An authentication method is a process of confirming an identity.
In the case of an application, a user is given a username and a secret security token also known as a password and uses them to verify their identity on the application itself. There are several authentication methods and types, used for different types of applications such as API, intranet.
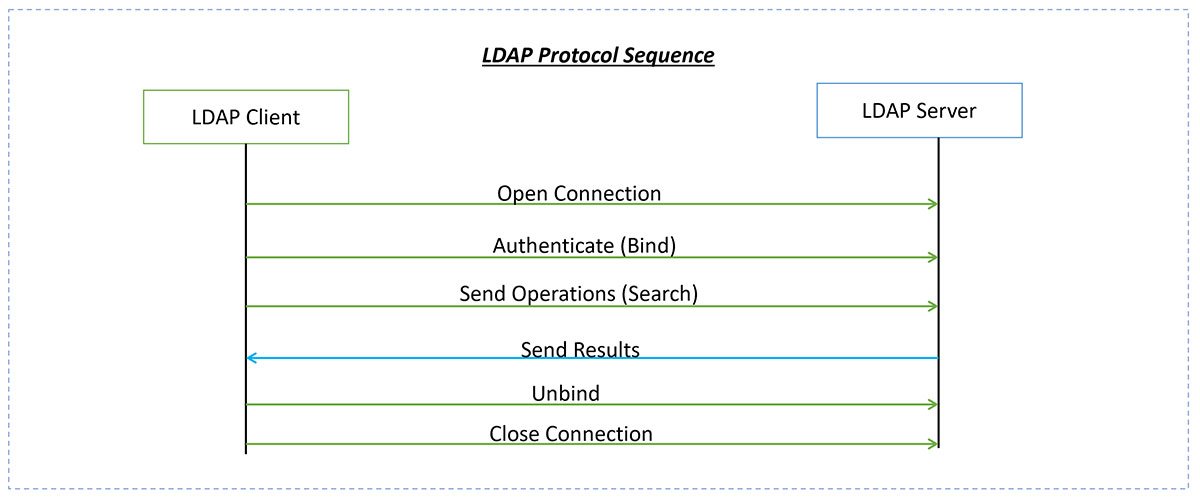
LDAP a short form for Lightweight Directory Access Protocol is an open standard described currently by RFC4511 . LDAP’s purpose is to implement a distributed information directory over the IP. This directory normally contains information related to users, groups, and even devices. It has a fixed schema describing each object’s attributes, however, this schema can be changed using LDIF( LDAP Data Interchange Format). - Getting Ready With LDAP Server
In this section, I will walk you through the installation of the LDAP Server locally. If you already have an LDAP server that you can access, feel free to skip the LDAP setup instructions in this section.
To get the LDAP server locally installed you need to have access to Docker and I’m going to make a fair assumption that you have some knowledge of Docker. Docker can be installed from here.
#flask #python
2.90 GEEK