How to Build a Real-Time Editable Data Table in Vuejs
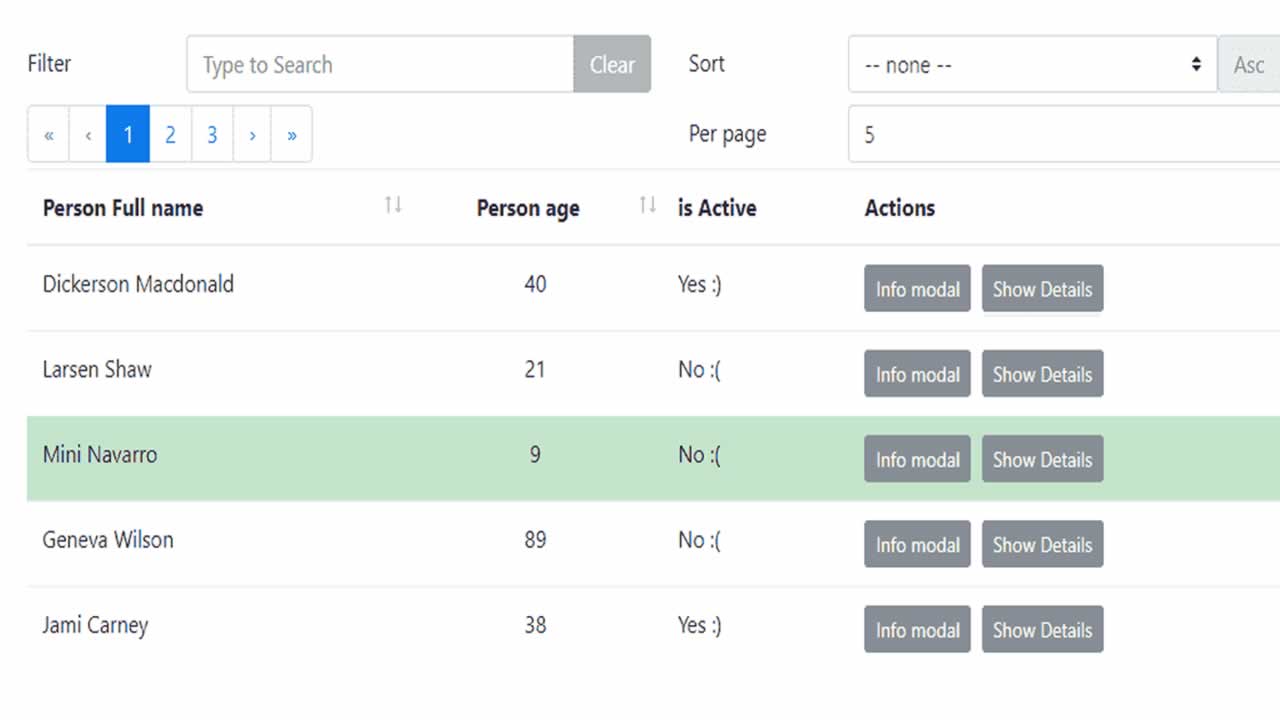
Building responsive Vue apps just got better and faster with Kendo UI for Vue. Kendo UI for Vue is a library with a set of UI components that you can use in your Vue applications to make them beautiful, responsive and accessible. One of the components that comes with Kendo UI for Vue is the Grid component. The Grid is used to display data in a tabular format. It not only allows you to display data in a tabular form, but it also provides the features highlighted below:
- Paging
- Sorting
- Filtering
- Grouping
- Editing
- Column Resizing and Reordering
- Multi-column headers
- Virtual Scrolling
- Globalization / Localization
- Export to PDF and Excel
Show Me Some Code!
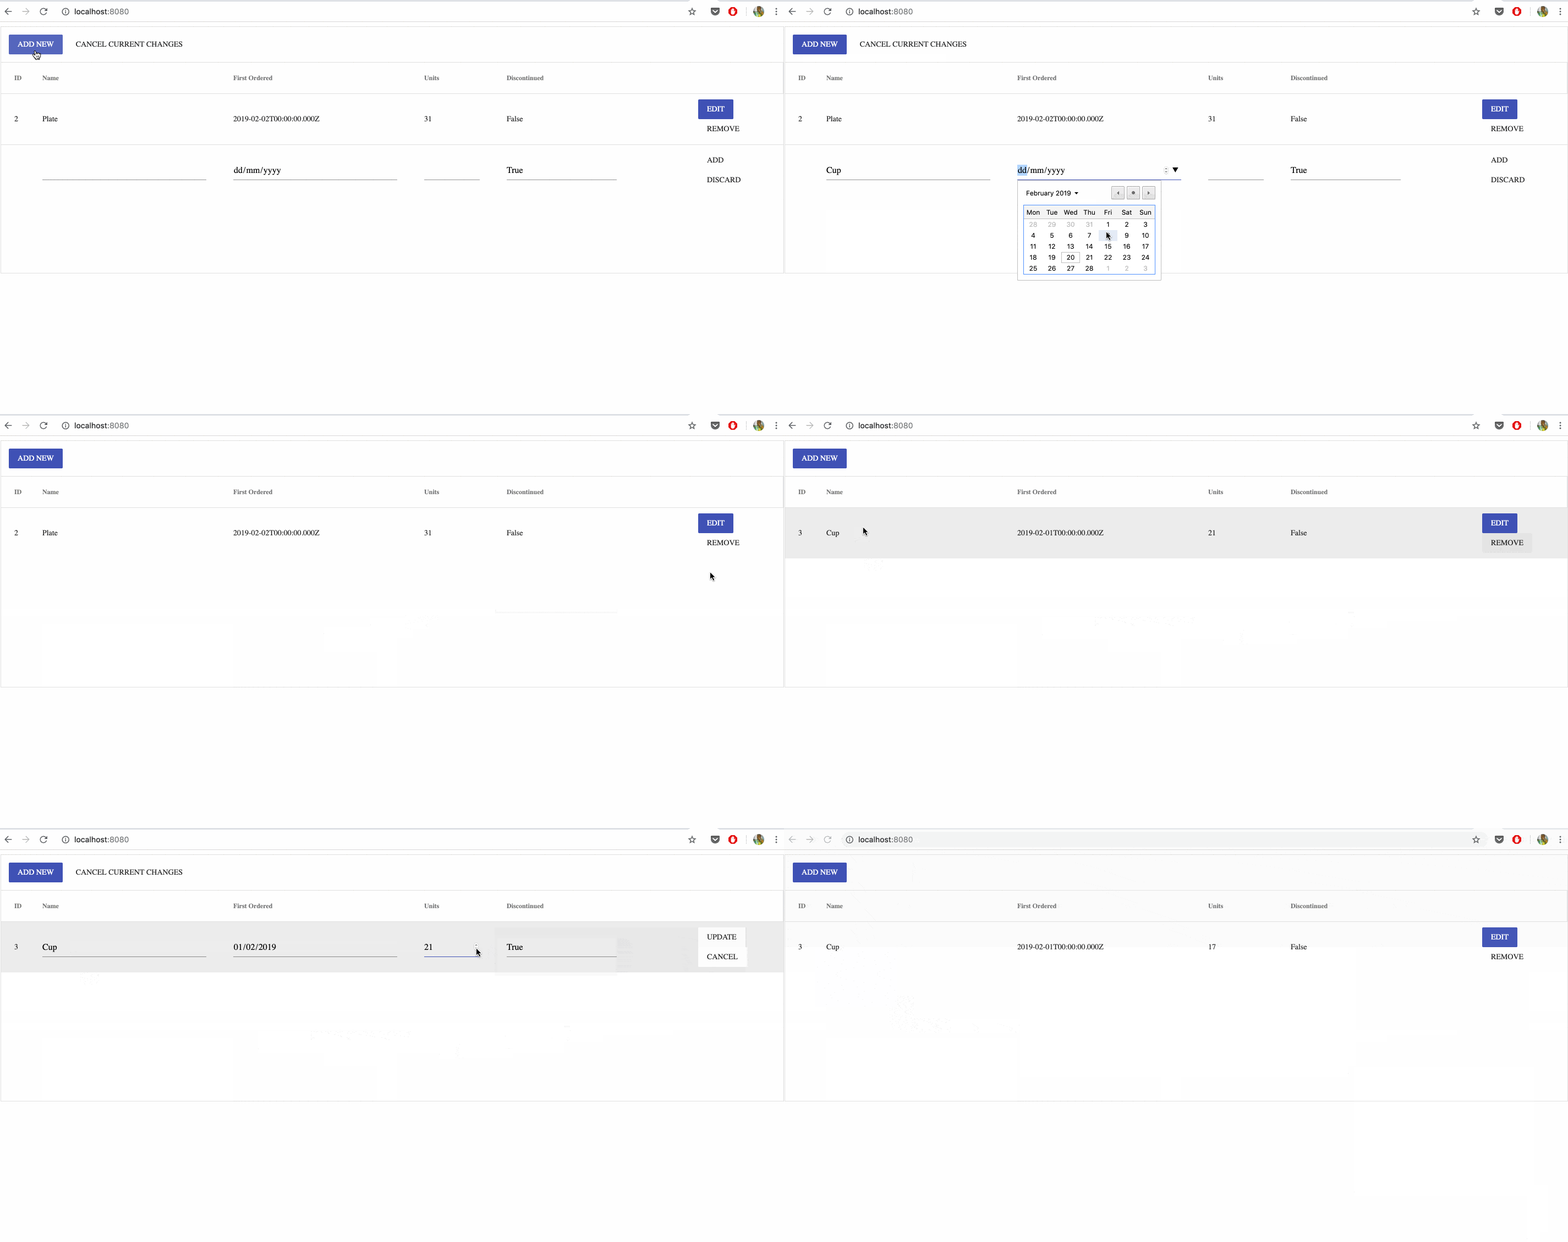
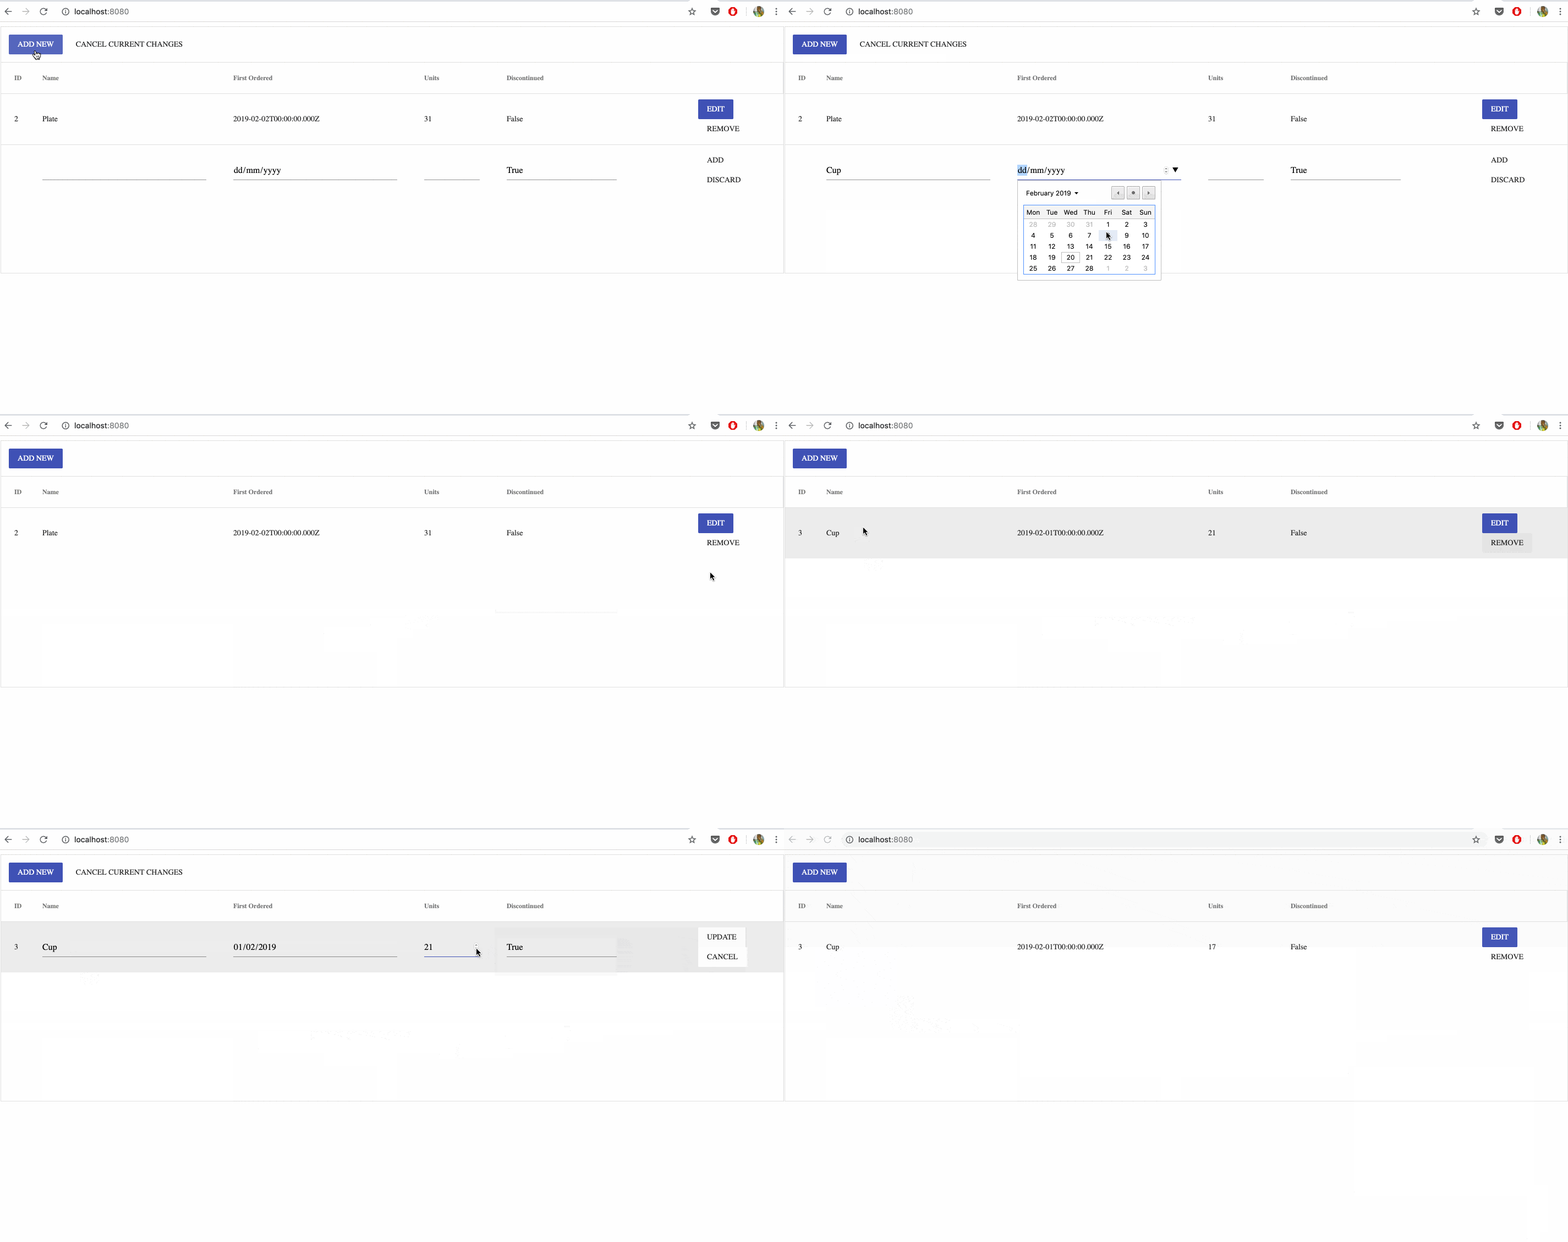
After all is said and done, I’ll show how to use the Grid component by building a small app that allows you to add and edit data in a Grid in real time. We will be using Hamoni Sync for real-time synchronization, and Vue CLI to bootstrap the project. Here’s a peek at what you will build:

Let’s get started with creating a Vue project. Open the command line and run vue create kendo-realtime-vue-grid && cd kendo-realtime-vue-grid command, select the default option and press Enter. In a short while, a Vue project will be bootstrapped by the Vue CLI. With the project ready, we’ll go ahead and install dependencies needed for the project. Run the following npm command to install dependencies for Kendo Vue and Hamoni Sync.
npm install --save @progress/kendo-theme-material @progress/kendo-vue-grid @progress/kendo-vue-intl vue-class-component hamoni-sync
We installed the Material design theme for Kendo UI, the Kendo Vue Grid package, and Hamoni Sync.
Let’s get started with some code. Open App.vue and delete the style section. Update the template section with the following snippet:
<template>
  <div>
    <Grid
      ref="grid"
      :data-items="gridData"
      :edit-field="'inEdit'"
      @edit="edit"
      @remove="remove"
      @save="save"
      @cancel="cancel"
      @itemchange="itemChange"
      :columns="columns"
    >
      <GridToolbar>
        <button title="Add new" class="k-button k-primary" @click="insert">
          Add new
        </button>
        <button
          v-if="hasItemsInEdit"
          title="Cancel current changes"
          class="k-button"
          @click="cancelChanges"
        >
          Cancel current changes
        </button>
      </GridToolbar>
    </Grid>
  </div>
</template>
We used a Grid component, which represents the data table, and passed it some props. The data-items props holds the data for the grid, columns set the properties of the columns that will be used, and edit-field is used to determine if the current record is in edit mode. We chose to use inEdit as the field name to be used to determine which record is being edited. We will create a computed method called hasItemsInEdit that returns Boolean and is used in Kendo’s GridToolbar component. If it returns true, we show a button that allows canceling the edit operation; otherwise, it shows a button to trigger adding new data. The edit event is fired when the user triggers an edit operation, the remove event for removing records, and the itemchange event for when data changes in edit mode.
In the script section, add the following import statements.
import Vue from "vue";
import "@progress/kendo-theme-material/dist/all.css";
import { Grid, GridToolbar } from "@progress/kendo-vue-grid";
import Hamoni from "hamoni-sync";
import DropDownCell from "./components/DropDownCell.vue";
import CommandCell from "./components/CommandCell.vue";

Vue.component("kendo-dropdown-cell", DropDownCell);
Vue.component("kendo-command-cell", CommandCell);

const primitiveName = "kendo-grid";
In the code above we have the Grid and GridToolbar from Kendo Vue Grid, and also Hamoni (we’ll get to that later). The DropDownCell and CommandCell components will be added later. One of the columns will need a dropdown when it’s in edit mode, so the DropDownCell will be used to render that cell. CommandCell will be used to display buttons to trigger edit or cancel changes while in edit mode.
Next, update the exported object to look like the following:
export default {
  name: "app",
  components: {
    Grid,
    GridToolbar
  },
  data: function() {
    return {
      columns: [
        { field: "ProductID", editable: false, title: "ID", width: "50px" },
        { field: "ProductName", title: "Name" },
        {
          field: "FirstOrderedOn",
          editor: "date",
          title: "First Ordered",
          format: "{0:d}"
        },
        {
          field: "UnitsInStock",
          title: "Units",
          width: "150px",
          editor: "numeric"
        },
        {
          field: "Discontinued",
          title: "Discontinued",
          cell: "kendo-dropdown-cell"
        },
        { cell: "kendo-command-cell", width: "180px" }
      ],
      gridData: []
    };
  },
  mounted: async function() {
    const accountId = "YOUR_ACCOUNT_ID";
    const appId = "YOUR_APP_ID";
    let hamoni;

    const response = await fetch("https://api.sync.hamoni.tech/v1/token", {
      method: "POST",
      headers: {
        "Content-Type": "application/json; charset=utf-8"
      },
      body: JSON.stringify({ accountId, appId })
    });
    const token = await response.json();
    hamoni = new Hamoni(token);

    await hamoni.connect();
    try {
      const primitive = await hamoni.get(primitiveName);
      this.listPrimitive = primitive;
      this.gridData = [...primitive.getAll()];
      this.subscribeToUpdate();
    } catch (error) {
      if (error === "Error getting state from server") this.initialise(hamoni);
      else alert(error);
    }
  },
  computed: {
    hasItemsInEdit() {
      return this.gridData.filter(p => p.inEdit).length > 0;
    }
  }
};
In the code above, we have declared data for the columns and set gridData to an empty array. Our actual data will come from Hamoni Sync, which we set up from the mounted lifecycle hook. Hamoni Sync is a service that allows you to store and synchronize data/application state in real time. This will allow us to store data for the data table and get a real-time update when a record changes. You will have to replace YOUR_APP_ID and YOUR_ACCOUNT_ID in the mounted function with your Hamoni Sync’s account details. Follow these steps to register for an account and create an application on the Hamoni server.
- Register and login to Hamoni dashboard.
- Enter your preferred application name in the text field and click the create button. This should create the app and display it in the application list section.
- Expand the Account ID card to get your account ID.

Hamoni Sync has what is called Sync primitives as a way to store and modify state. There are three kinds of Sync primitives: Value, Object, and List primitives. We’re going to use List primitive because it provides an API for us to store and modify data that needs to be stored in an array-like manner. You can read more about sync primitives from the docs.
In the last code you added, there’s a line that calls hamoni.connect() to connect to the server once you’ve gotten a token. While we had the code to retrieve the token in there, it is recommended to have it behind a server you control and only return a token from an endpoint you control. This is to avoid giving away your account ID to the public. To get or store data, you first need to get an object that represents the sync primitive you want to use. This is why we called hamoni.get(), passing it the name of the state we want to access. If it exists, we get an object with which we can manipulate state on Hamoni.
The first time we’ll use the app, the sync primitive will not exist; this is why in the catch block we call initialise() to create a sync primitive with a default data. If it exists, we call primitive.getAll() to get data and assign it to gridData so the grid gets data to display. Later on we will add implementation for subscribeToUpdate(), which will be used to subscribe to data updates events from Hamoni Sync.
We’ve referenced methods so far from the template and code in the mounted hook. Add the code below after the computed property.
methods: {
    itemChange: function(e) {
      Vue.set(e.dataItem, e.field, e.value);
    },
    insert() {
      const dataItem = { inEdit: true, Discontinued: false };
      this.gridData.push(dataItem);
    },
    edit: function(e) {
      Vue.set(e.dataItem, "inEdit", true);
    },
    save: function(e) {
      if (!e.dataItem.ProductID) {
        const product = { ...e.dataItem };
        delete product.inEdit;
        product.ProductID = this.generateID();

        this.gridData.pop();
        this.listPrimitive.add(product);
      } else {
        const product = { ...e.dataItem };
        delete product.inEdit;
        const index = this.gridData.findIndex(
          p => p.ProductID === product.ProductID
        );
        this.listPrimitive.update(index, product);
      }
    },
    generateID() {
      let id = 1;
      this.gridData.forEach(p => {
        if (p.ProductID) id = Math.max(p.ProductID + 1, id);
      });
      return id;
    },
    update(data, item, remove) {
      let updated;
      let index = data.findIndex(
        p =>
          JSON.stringify({ ...p }) === JSON.stringify(item) ||
          (item.ProductID && p.ProductID === item.ProductID)
      );
      if (index >= 0) {
        updated = Object.assign({}, item);
        data[index] = updated;
      }

      if (remove) {
        data = data.splice(index, 1);
      }
      return data[index];
    },
    cancel(e) {
      if (e.dataItem.ProductID) {
        Vue.set(e.dataItem, "inEdit", undefined);
      } else {
        this.update(this.gridData, e.dataItem, true);
      }
    },
    remove(e) {
      e.dataItem.inEdit = undefined;
      const index = this.gridData.findIndex(
        p =>
          JSON.stringify({ ...p }) === JSON.stringify(e.dataItem) ||
          (e.dataItem.ProductID && p.ProductID === e.dataItem.ProductID)
      );
      this.listPrimitive.remove(index);
    },
    cancelChanges(e) {
      let dataItems = this.gridData.filter(p => p.inEdit === true);

      for (let i = 0; i < dataItems.length; i++) {
        this.update(this.gridData, dataItems[i], true);
      }
    },
    initialise(hamoni) {
      hamoni
        .createList(primitiveName, [
          {
            ProductID: 1,
            ProductName: "Chai",
            UnitsInStock: 39,
            Discontinued: false,
            FirstOrderedOn: new Date(1996, 8, 20)
          }
        ])
        .then(primitive => {
          this.listPrimitive = primitive;
          this.gridData = this.listPrimitive.getAll();
          this.subscribeToUpdate();
        })
        .catch(alert);
    },
    subscribeToUpdate() {
      this.listPrimitive.onItemAdded(item => {
        this.gridData.push(item.value);
      });

      this.listPrimitive.onItemUpdated(item => {
        //update the item at item.index
        this.gridData.splice(item.index, 1, item.value);
      });

      this.listPrimitive.onItemRemoved(item => {
        //remove the item at item.index
        this.gridData.splice(item.index, 1);
      });
    }
  }
In the initialise() method, we call hamoni.createList() to create a sync primitive to store data. When this succeeds, we update the grid data and then subscribe to change events using subscribeToUpdate(). The subscribeToUpdate() method has code to listen for changes in the sync primitive for when data is added, updated, or removed.
The rest of the methods are used by Kendo UI’s Vue Grid. The insert method triggers insert and creates a new object with property inEdit set to true and the grid component notices this and enters edit mode. The edit() method does a similar thing and sets inEdit to true for the current selected row data. In the remove() method, we remove data from Hamoni Sync by calling this.listPrimitive.remove(index), passing it the index of data to delete. The save() method handles saving new or existing data. To add new record, we call this.listPrimitive.add(), passing it an object to add, and this.listPrimitive.update(product) to update a product.
All looking good so far. The next thing for us is to create the DropDownCell and CommandCell component we referenced earlier. In the components folder, add a new file named DropDownCell.vue.
<template>
  <td v-if="dataItem && !dataItem.inEdit" :class="className">{{ dataItem[field]}}</td>
  <td v-else>
    <select class="k-textbox" @change="change">
      <option>True</option>
      <option>False</option>
    </select>
  </td>
</template>

<script>
export default {
  name: "DropDownCell",
  props: {
    field: String,
    dataItem: Object,
    format: String,
    className: String,
    columnIndex: Number,
    columnsCount: Number,
    rowType: String,
    level: Number,
    expanded: Boolean,
    editor: String
  },
  methods: {
    change(e) {
      this.$emit("change", e, e.target.value);
    }
  }
};
</script>
That code will render a dropdown for a column if it’s in edit mode; otherwise, it displays the text for a cell.
Add a new file in the same folder called CommandCell.vue.
<template>
  <td v-if="dataItem && !dataItem['inEdit']">
    <button class="k-primary k-button k-grid-edit-command" @click="editHandler">Edit</button>
    <button class="k-button k-grid-remove-command" @click="removeHandler">Remove</button>
  </td>
  <td v-else>
    <button
      class="k-button k-grid-save-command"
      @click="addUpdateHandler"
    >{{this.dataItem.ProductID? 'Update' : 'Add'}}</button>
    <button
      class="k-button k-grid-cancel-command"
      @click="cancelDiscardHandler"
    >{{this.dataItem.ProductID? 'Cancel' : 'Discard'}}</button>
  </td>
</template>

<script>
export default {
  name: "CommandCell",
  props: {
    field: String,
    dataItem: Object,
    format: String,
    className: String,
    columnIndex: Number,
    columnsCount: Number,
    rowType: String,
    level: Number,
    expanded: Boolean,
    editor: String
  },
  methods: {
    onClick: function(e) {
      this.$emit("change", e, this.dataItem, this.expanded);
    },
    editHandler: function() {
      this.$emit("edit", this.dataItem);
    },
    removeHandler: function() {
      this.$emit("remove", this.dataItem);
    },
    addUpdateHandler: function() {
      this.$emit("save", this.dataItem);
    },
    cancelDiscardHandler: function() {
      this.$emit("cancel", this.dataItem);
    }
  }
};
</script>
The code above will render buttons in a cell based on if it is in edit mode or not.
Now we’re all ready to try out our code. Open the terminal and run npm run serve.

Conclusion
Isn’t it awesome to build a real-time editable data table so easily and in under 10 minutes like we just did? Kendo UI for Vue allows you to quickly build high-quality, responsive apps. It includes all the components you’ll need, from grids and charts to schedulers and dials. I’ve shown you how to use the Grid component and we only used the edit functionality. There are more features available with it than what we’ve covered. Check out the documentation to learn more about other possibilities with the Grid component from Kendo UI for Vue.
For the real-time data we used Hamoni Sync. Hamoni Sync is a service that allows you store and synchronize data/application state in real-time. This allows you to store data for the grid and get a real-time update when a record changes.
You can download or clone the project with source code on GitHub.
For More on Vue:
Want to learn about creating great user interfaces with Vue? Check out Kendo UI for Vue, our complete UI component library that allows you to quickly build high-quality, responsive apps. It includes all the components you’ll need, from grids and charts to schedulers and dials.
✅ 30s ad
☞ Learn by Doing: Vue JS 2.0 the Right Way
☞ Vue.js 2 Essentials: Build Your First Vue App
☞ Sıfırdan İleri Seviye Vue.JS Eğitimi ve Uygulama Geliştirme
☞ Programador FullStack JS Vue Node: Proj Galeria Vídeo e CRUD
#vue-js #javascript
