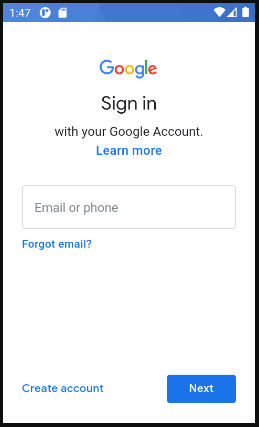
Almost every Android app requires signing in of the user for many reasons. It could be for validating user credentials, authentication of the user, to get user’s basic profile details, so on… Instead of us having to write our own implementation code for sign up, we can use the Google Login Button and enjoy the features offered by Google sign-in API.
In this article, we will see basic implementation of Google Sign-In to login the user and take the user to next screen after authenticating the user. Programming language used in this article is Kotlin.
Adding Gradle Dependencies
In your app-level build.gradle file, declare Google Play services as a dependency
    dependencies {
        implementation 'com.google.android.gms:play-services-auth:18.0.0'
    }
Authenticating client and configuring a Google API Console project
Google Play services requires us to provide the SHA-1 of our signing certificate so Google can create an OAuth2 client and API key for our app. Use this link and click on Configure a project. Enter project name, select Andorid, enter package name and SHA-1 certificate.
To Get SHA-1 from Android studio.
- Open Android Studio
- Open your Project
- Click on Gradle (From Right Side Panel, you will see Gradle Bar)
- Click on Refresh (Click on Refresh from Gradle Bar, you will see List Gradle scripts of your Project)
- Click on Your Project (Your Project Name form List (root))
- Click on Tasks
- Click on Android
- Double Click on signingReport (You will get SHA1 and MD5 in Run Bar(Sometimes it will be in Gradle Console))
#android-app-development #android #google-sign-in #single-sign-on
