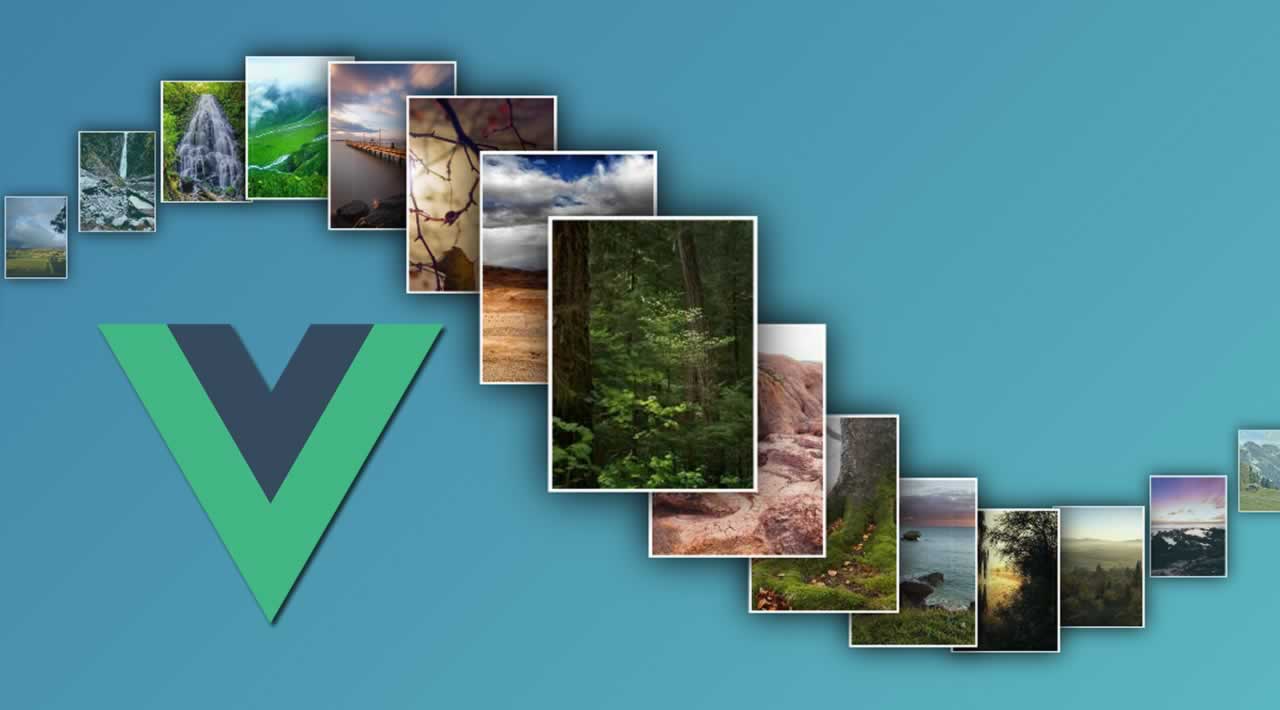
A Simple Image Slideshow with Vue.js
![]()
Image slideshow
The purpose of the slideshow is to scroll through the photos one by one in the browser full screen.
To summarize the features of this program:
- Slide and image style settings
- Auto play
- Support for touch devices
- Multilingual
- Backup and restore slides and settings data
- Transition type setting
- slide captions
- Dark Mode
- Supports slide data in json format
- keyboard shortcuts
Usage
The demo provided by Github is at the following address.
When connected, you will see the following screen.
The screen is composed of a caption, a control button to move to previous|next, a thumbnail list, and buttons to open the environment setting screen centering on the slide image.
Preferences
Preferences help you adjust many features directly in your slideshow.
You can open the preferences in ‘Menu > Preferences’ in the upper right button. Each tab has a role, and the description is as follows.
- General: It covers the basic items of the slideshow.
- Slides: Items related to slide functions
- Style: Items related to image expression and color expression
- Data: Edit slide data
- Keyboard: Items related to keyboard shortcuts
Management tree data
Slide data can be edited in the ‘Preference > Data’ tab. If you open the already created example file [tree.json] (https://github.com/redgoose-dev/slideshow/blob/main/resource/example/tree.json), you will see that slide information is entered as an object. You can see it.
Here’s what one slide group looks like:
{
  "foo": {
    "name": "slide title",
    "description": "description text",
    "slides": [
      {
        "src": "filename.jpg",
        "thumbnail": "filename.jpg",
        "title": "title text",
        "description": "description text"
      }
    ]
  }
}
Slide data can be imported as a ‘json’ file or imported from an external server.
The data when importing slides from an external server is as follows.
{
  "foo": {
    "name": "title",
    "description": "description text",
    "slides": "https://domain.com/example.json"
  }
}
Keyboard shortcut
The keyboard shortcuts are:
- ‘Arrow key (left)’: move to the previous slide
- ‘Arrow key (right)’: move to the next slide
A: autoplayS: open preferencesT: Opens the thumbnail image list screen.R: Rerun slideshowH: shows operation and status elements.G: Opens the slide group selection window.
Develop Usage
Before building the development environment, clone the repository and install dependencies as follows.
git clone https://github.com/redgoose-dev/slideshow.git
cd slideshow
yarn install
Web environment
When developing a project, run the following to start the development server.
yarn run dev
After starting the server, you can preview it by accessing http://localhost:3000 in your browser.
The main source of the project is in src/ and the code is written in vue3.
When you’re done developing, build the project as follows:
yarn run build
When the build is complete, the files in the docs/ path are updated.
macOS and Windows apps
Before building the app through Electron, first build the web project as follows.
yarn run build
You can run it in development mode or build it into production like the following command:
## development app
yarn run electron-dev

## build app
yarn run electron-build
Using component
If you want to use the slideshow in another project, you can add the component directly using npm.
yarn add @redgoose/slideshow
It can be developed by adding a dependency and referring to the content and source of the for external project page.
Support browser
When developing, I tested it while working with the following browsers:
- macOS, iOS safari
- Google Chrome
- Microsoft Edge
![]()
slideshow
가족앨범 사진들을 디스플레잉을 어떻게 할 수 있을까 고민하다가 슬라이드쇼 프로젝트를 시작하게 되었습니다.
예전에 만든 슬라이드쇼를 제대로 만들어본 경험으로 더 좋은 모습으로 만들고 했습니다.
슬라이드쇼의 목적은 브라우저 전체화면으로 사진을 한장씩 넘겨보는것입니다.
이 프로그램의 특징을 요약하자면 다음과 같습니다.
- 슬라이드와 이미지 스타일에 관한 설정
- 자동재생
- 터치 디바이스 지원
- 다국어
- 슬라이드, 설정 데이터 백업 및 복원
- 트랜지션 타입 설정
- 슬라이드 캡션
- 다크모드
- json 형태의 슬라이드 데이터 지원
- 키보드 단축키
Usage
깃허브에서 제공하는 데모는 다음 주소와 같습니다.
https://redgoose-dev.github.io/slideshow/
접속하면 다음과 같은 화면을 볼 수 있습니다.
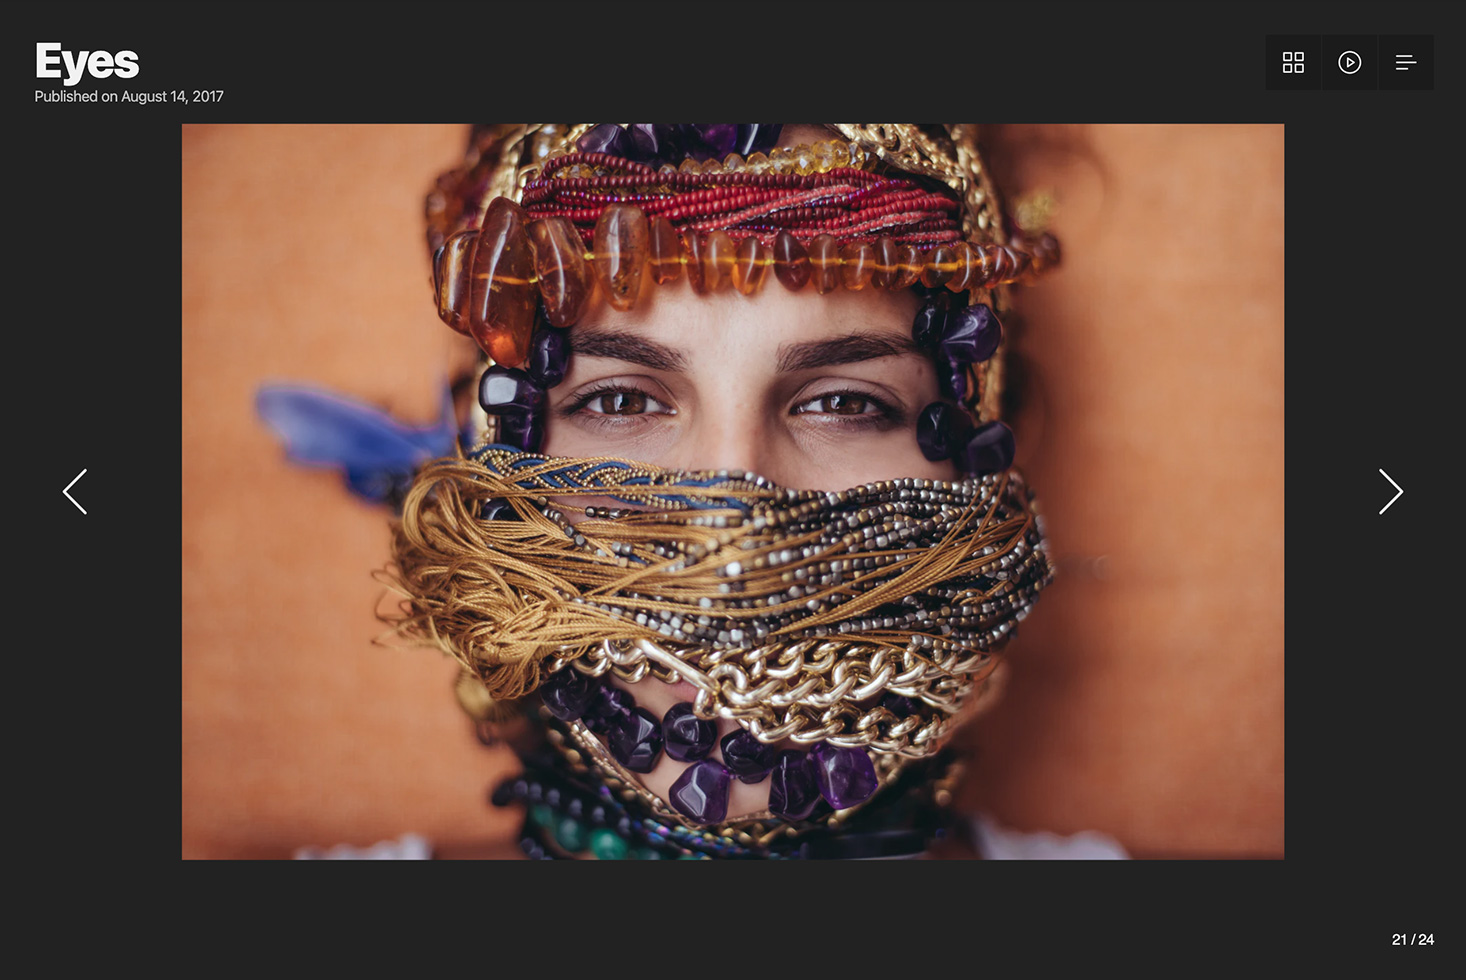
슬라이드 이미지를 중심으로 캡션, 이전|다음으로 이동하는 컨트롤 버튼, 썸네일 목록과 환경설정 화면을 여는 버튼들로 화면이 구성되어 있습니다.
Preference
환경설정은 슬라이드쇼에서 많은 기능들을 직접 조정할 수 있도록 도와줍니다.
우측 위 버튼에서 Menu > Preference에서 환경설정을 열 수 있습니다. 각 탭에따라 역할을 가지고 있으며 그에대한 설명은 다음과 같습니다.
- General: 슬라이드쇼 기초적인 항목들에 대하여 다룹니다.
- Slides: 슬라이드 기능에 관한 항목
- Style: 이미지 표현과 색표현에 관한 항목
- Data: 슬라이드 데이터 편집
- Keyboard: 키보드 단축키에 관한 항목
Management tree data
슬라이드 데이터는 Preference > Data 탭에서 편집할 수 있습니다. 이리 만들어져 있는 예제파일 tree.json 을 열어보면 객체로 슬라이드들의 정보가 입력되어있다는것을 볼 수 있습니다.
슬라이드 그룹 하나의 모습은 다음과 같습니다.
{
  "foo": {
    "name": "slide title",
    "description": "description text",
    "slides": [
      {
        "src": "filename.jpg",
        "thumbnail": "filename.jpg",
        "title": "title text",
        "description": "description text"
      }
    ]
  }
}
슬라이드 데이터는 json파일로 만들어서 가져오거나 외부 서버에서 가져올 수 있습니다.
외부 서버에서 슬라이드를 가져올때의 데이터는 다음과 같습니다.
{
  "foo": {
    "name": "title",
    "description": "description text",
    "slides": "https://domain.com/example.json"
  }
}
Keyboard shortcut
키보드 단축키는 다음과 같습니다.
방향키(왼쪽): 이전 슬라이드로 이동하기방향키(오른쪽): 다음 슬라이드로 이동하기A: 자동재생S: 환경설정 열기T: 썸네일 이미지 목록화면을 엽니다.R: 슬라이드쇼 재실행H: 조작과 상태요소들을 보여줍니다.G: 슬라이드 그룹 선택창을 엽니다.
Develop Usage
개발환경 구축에 앞서 다음과 같이 저장소를 클론하고 디펜던시를 인스톨합니다.
git clone https://github.com/redgoose-dev/slideshow.git
cd slideshow
yarn install
Web environment
프로젝트를 개발할때 다음과 같이 실행하여 개발서버를 띄웁니다.
yarn run dev
서버를 띄웠으면 브라우저에서 http://localhost:3000으로 접속하여 프리뷰할 수 있습니다.
프로젝트의 본 소스는 src/에 있으며 코드는 vue3로 작성되었습니다.
개발을 완료했으면 다음과 같이 프로젝트를 빌드합니다.
yarn run build
빌드가 완료되면 docs/경로에 파일들이 업데이트 됩니다.
macOS and Windows app
일렉트론을 통하여 앱 빌드작업하기에 앞서 먼저 다음과 같이 웹 프로젝트를 빌드합니다.
yarn run build
다음 명령과 같이 개발모드로 실행하거나 프로덕션으로 빌드할 수 있습니다.
# development app
yarn run electron-dev

# build app
yarn run electron-build
Using component
다른 프로젝트에서 슬라이드쇼를 사용하려면 npm을 이용하여 컴포넌트를 직접 추가할 수 있습니다.
yarn add @redgoose/slideshow
디펜던시를 추가하고 for external project 페이지의 내용과 소스를 참고하여 개발할 수 있습니다.
Support browser
개발할때 다음과 같은 브라우저로 작업하면서 테스트했습니다.
- macOS, iOS safari
- Google Chrome
- Microsoft Edge
thanks
- vue3: https://v3.vuejs.org
- electron: https://www.electronjs.org
- example images: https://unsplash.com
Download Details:
Author: redgoose-dev
The Demo/Documentation: View The Demo/Documentation
Download Link: Download The Source Code
Official Website: https://github.com/redgoose-dev/slideshow
License: MIT
#vue #vuejs #javascript #web-development