Now assuming you have read Part 1, let’s go on.
Step 5 Run Faster R-CNN on Pinterest Database and Crop
After gathering the Pinterest database, now we can perform inference on these images using our previously trained Faster R-CNN. But before we do that, we need to first add the functionality where we will crop the detected object and save the resulting image, since this functionality is not provided right out of the box. You can do this by going to the github repo of this project and download the vis.py . Then, navigate to detectron/utils and replace the existing vis.py with the downloaded version. The new vis.py is the same with the one already provided but with one major difference — crop the object detected and save it in a directory.
 for i in sorted_inds:
	        bbox = boxes[i, :4]
	        score = boxes[i, -1]
	        if score < thresh:
	            continue

	        ## added code starting from here
	        print ('bounding box: {}'.format(bbox))
	        class_string = get_class_string(classes[i], score, dataset)
	        class_string = class_string.split(" ")[0]
	        print('class: {}'.format(class_string))

	        if (class_string == "Full"):
	            # save cropped image to a directory
	            image = Image.open(im_name)
	            cropped = image.crop(bbox)
	            cropped.save('/home/ubuntu/data/cropped_images/' + os.path.basename(im_name)[:-4] + '.png', format='PNG')

	       ### added code ends here
	       ### ...
view raw
added_code.py hosted with ❤ by GitHub
The added code predicts the category for the detected object, and if the category is “Full” meaning full-body clothing, then it will crop the image and save it in the directory specified. We only save full-body clothing because we want to be able to generate full-body clothing as well, not only simple shirts or skirts.
After tiny modifications, we are ready to run our model on the Pinterest dataset! We can run inference on our Faster R-CNN previously trained by:
python tools/infer.py \
   --im [path/to/image.jpg] \
   --rpn-pkl [path/to/rpn/model.pkl] \
   --rpn-cfg configs/12_2017_baselines/e2e_faster_rcnn_R-50-FPN_1x.yaml \
   --output-dir [path/to/output/dir]
The [path/to/image.jpg] is the directory where we store our Pinterest images, --rpn-pkl is where we previously saved our model .pkl file, --rpn-cfg is where we stored our configs file, and finally, --output-dir is where we want to save our predictions. However, this --output-dir is not that important as it will contain the uncropped images with the predictions. Where we want to look for is the directory we specified in vis.py because that’s where the cropped images will be saved.

Bounding Box Predictions (Left Source, Middle Source, Right Source)
After performing inference on the model, we should get the cropped images with the clothing centered, and the model, as well as the background, mostly removed. Even though there is still some noise, what we have is already good enough.
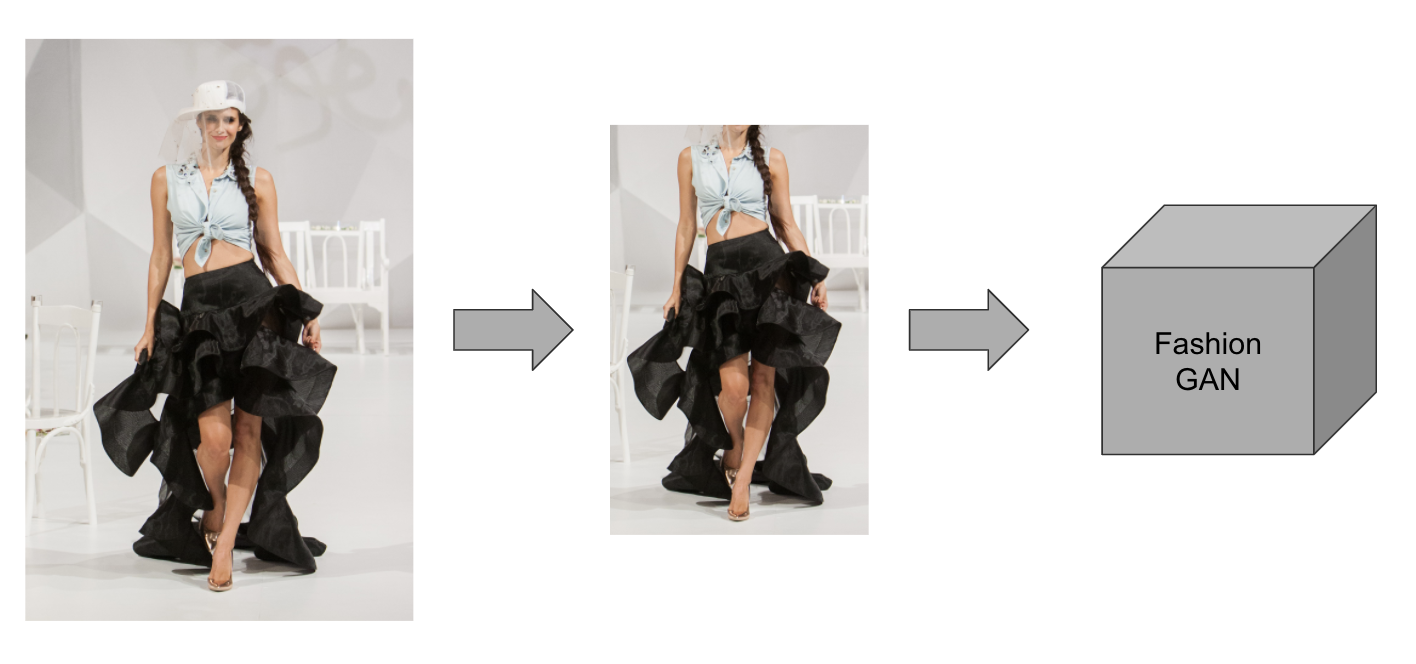
Passing Cropped Images to Fashion GAN
Step 6 Pass Predictions and Images to DCGAN for Generation
DCGAN Architecture (Source)
Now that we finally have our high-quality clothing images, we can start building the DCGAN model!
Note: The code is based on the official DCGAN tutorial from Pytorch where you access from here. The code won’t be explained in too detail, you can refer to the tutorial for more detailed explanations.
#technology #deep-learning #artificial-intelligence #machine-learning #data-science #deep learning
