In this tutorial, we’ll learn how to create complex buttons in Android by turning any complex layout into a button.
“But I can attach an OnClickListener to any view. What is there to learn?” Well, we’ll be creating complex buttons that not only function as buttons but also behave visually like buttons. By this, I mean two things:
- The layout will change elevation as you’re tapping it, just like the Material Design Guidelines instruct.
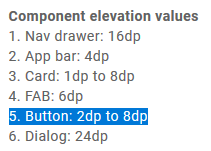
Expected elevation change for buttons in Android
- The layout will display a ripple effect as you’re tapping it, just like a normal button would.
Ripple effect
Before we dive into it, I’ll just quickly acknowledge that the default button is slightly customizable. You can add an image to it or change its background, but it becomes more difficult as you want to customize it more.
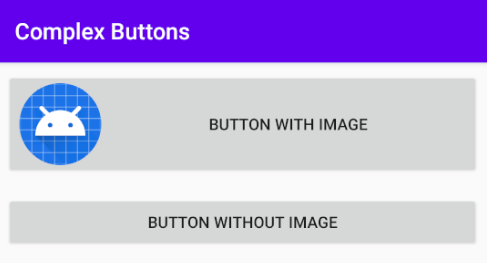
Default buttons with and without an image
To start off, we need a layout. I’ll leave that to you. Any layout you have will be fine. For me, I’ll be going with a ConstraintLayout with two ImageViewsin the corners and a couple of TextViews in the middle. I’ll name the XML layout resource file custom_button.
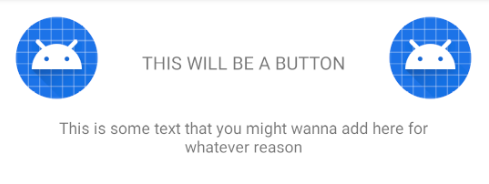
custom_button.xml
For simplicity’s sake, I’ll include this directly into the activity’s layout. Of course, you can use it as a RecyclerView item or however you please.
#material-design #kotlin #android #tutorial #programming