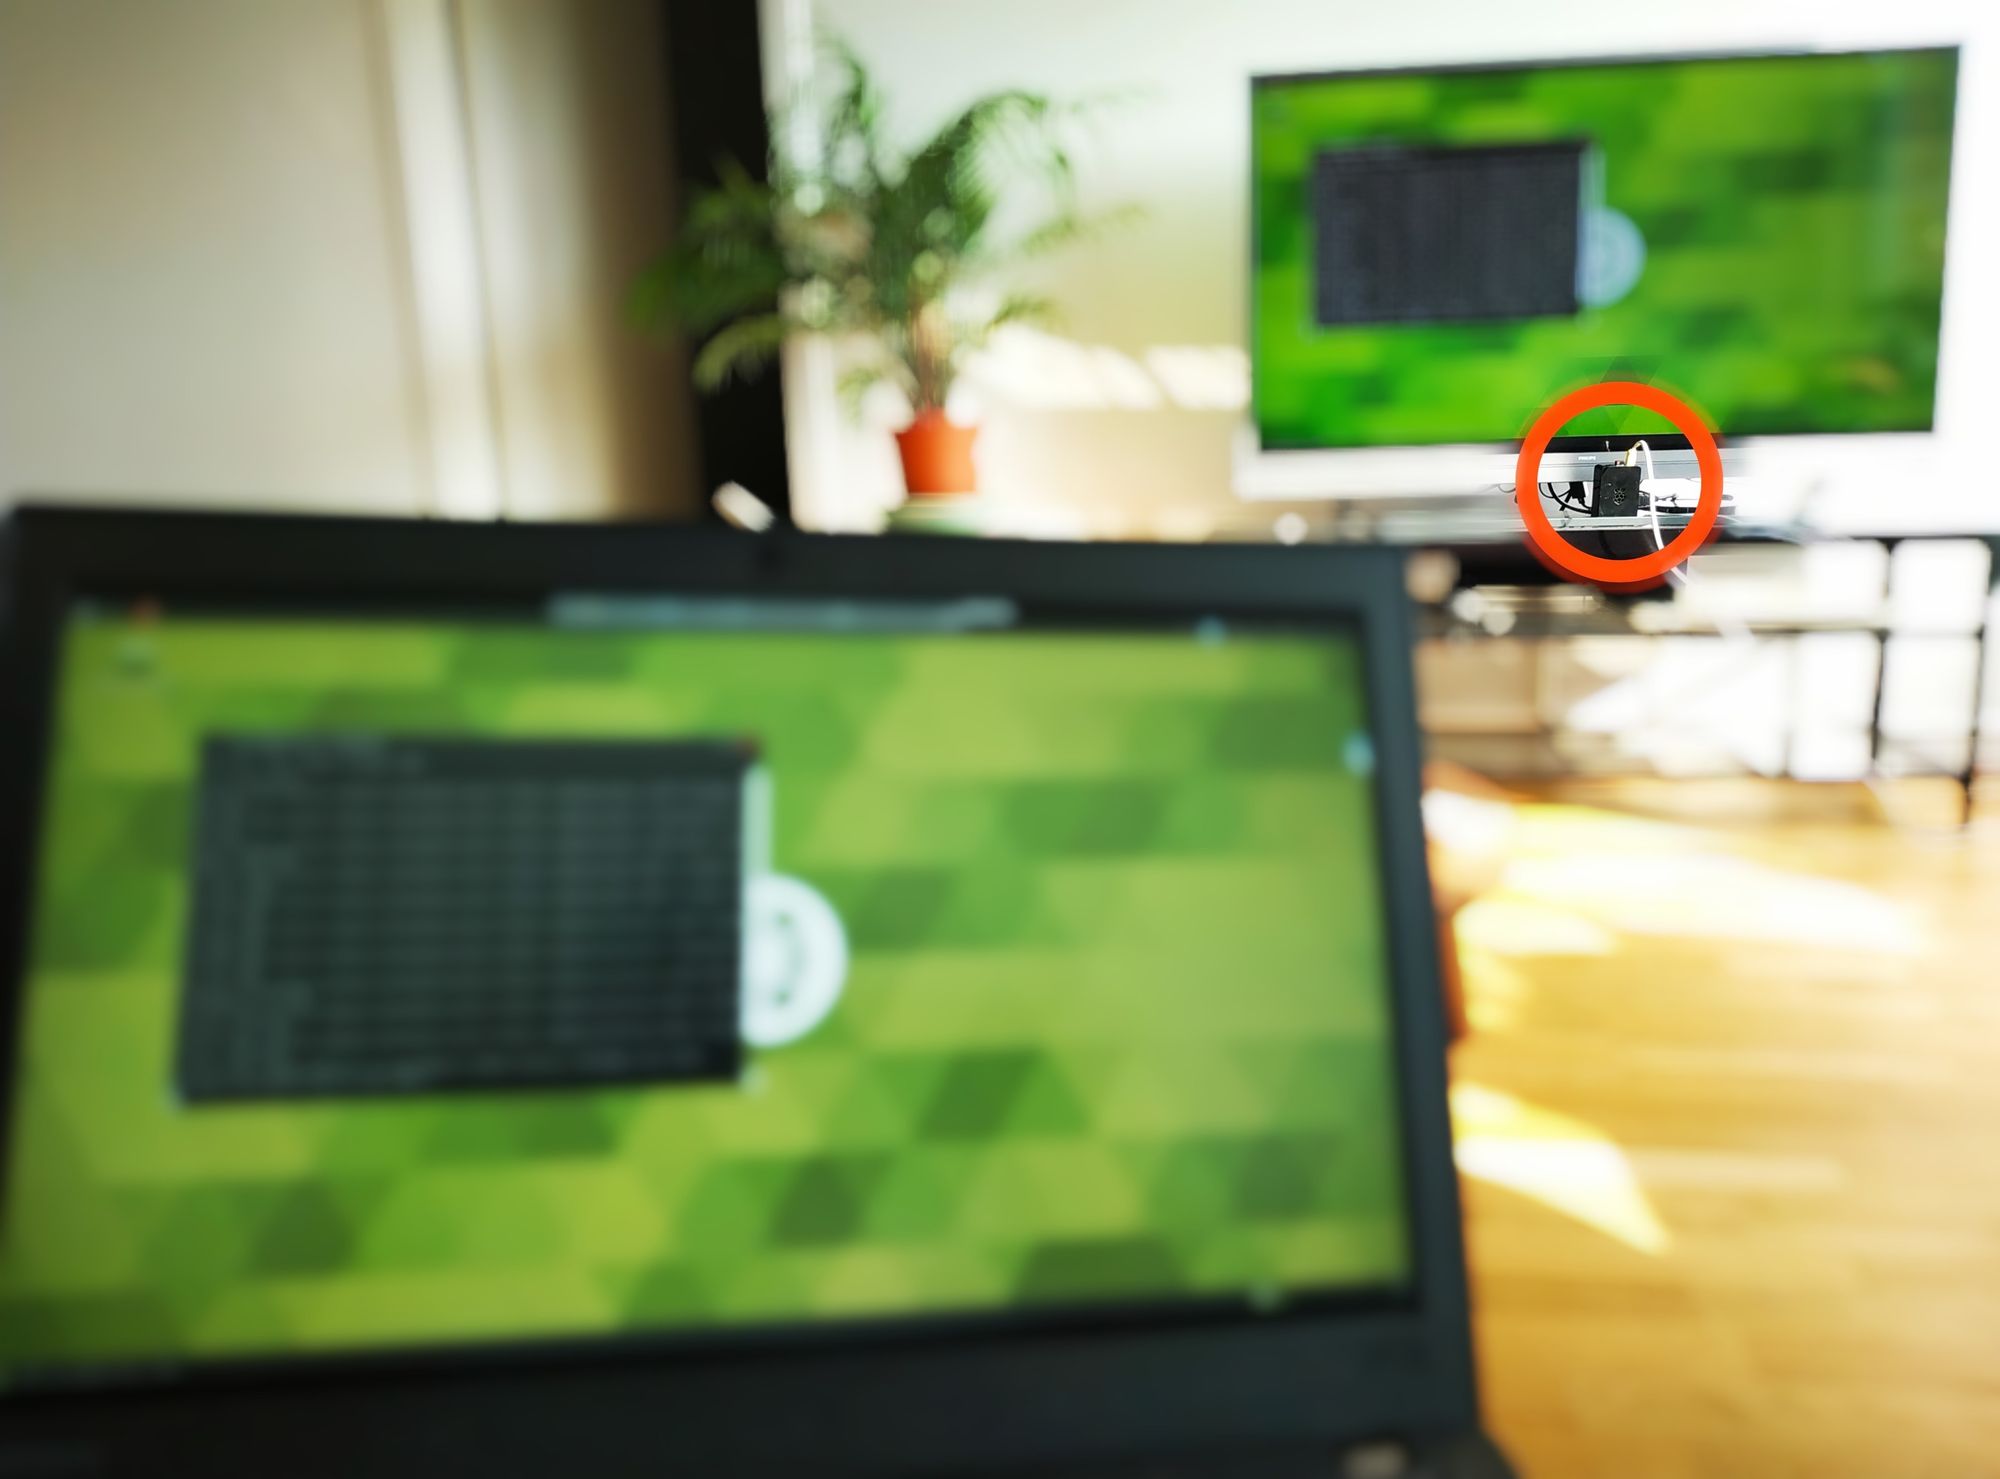
A few days ago a Raspberry Pi I use for CI on my personal projects stopped working. The error was easily fixable, but since running anything on that PI was slow from day one, I decided not to proceed in that direction.
Also, because of the same issue I always wanted to switch to another OS – but I never had the proper motivation since everything worked on that Raspberry PI, right? Well the motivation came along with this article :)
Note: The original setup on the Raspberry PI was quite simple: Raspibian OS, VNC Server, and Jenkins.
For you that are new to Raspberries here is a little background at what they are, and what they can be used for.
Raspberry Pi’s are basically small computers used most often used to learn programming skills, build hardware projects, do home automation, and some have even found usage in industrial applications.
There are a few different types of PI’s on the market today. To learn more about them please visit the their Wikipedia page: https://en.wikipedia.org/wiki/Raspberry_Pi#Generations
Tools you’ll needed to complete this tutorial:
- Raspberry PI
- Micro SD card
- Micro SD card adapter for your laptop
- Windows
- Mouse for Raspberry PI
- HDMI cable to connect your Raspberry PI to at TV or any other kind of screen
- Keyboard for Raspberry PI is good to have but not necessary as Ubuntu MATE offers on screen keyboard
Once we complete all the steps, this article will show you how to:
- Set up Ubuntu MATE on an SD card using Windows
- Install Ubuntu MATE to Raspberry PI
- Things to do after installing Ubuntu MATE
#ubuntu #ubuntu mate #raspberry pi
