How to Add KeyCloak in Angular for SSO Authentication
Introduction
Security is one of the central components of developing web applications. Single sign-on is the authentication mechanism that permits users to access different or multiple applications with one set of credentials or by logging in once. Basically, It minimizes the management of various users and passwords.
This is how SSO works with keycloak. Users authenticate with Keycloak rather than individual applications. This means that your applications don’t have to deal with login forms, authenticating users, and storing users. Once logged-in to Keycloak, users don’t have to login again to access a different application.
This also applied to logout. Keycloak provides single-sign out, which means users only have to logout once to be logged out of all applications that use Keycloak.
In this post. we will see how to integrate keycloak with the Angular app for the SSO.
Example Project
SSO lets you access multiple applications by only logging in once so we are going to run two applications to see how it works. Here are the two example projects for you to run on your local machine.
// todos
git clone https://github.com/bbachi/keycloak-todos.git
npm install
npm start

// tasks
git clone https://github.com/bbachi/keycloak-tasks.git
npm install
npm start
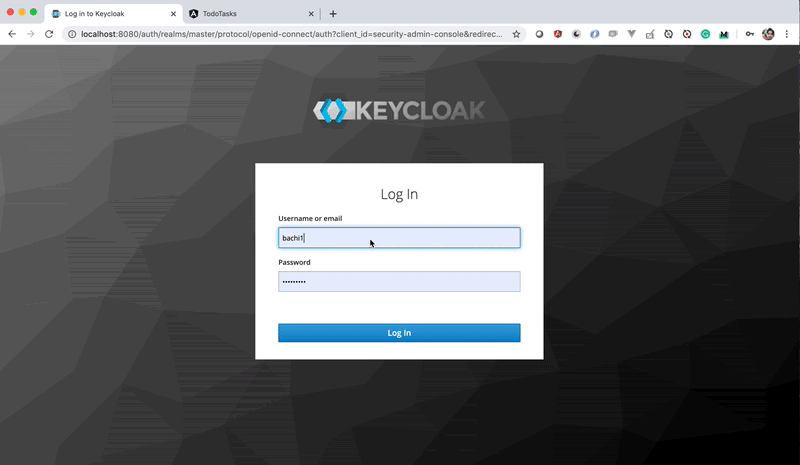
Here is an example of Keycloak in action. Make sure the Keycloak server is running on port 8080. Start your Angular project and load it in the browser. If the user is not logged in, he will be redirected to the Keycloak login page. Once you log in you can refresh the app or directly access the application without logging in again until you log out.
Running keyCloak server on Local
We need a keycloak server for authentication to access applications. You need to run the Keycloak server on your machine. Let’s do that.
Download
You need to download the keycloak from this page. Download the server zip.

Running on Local machine
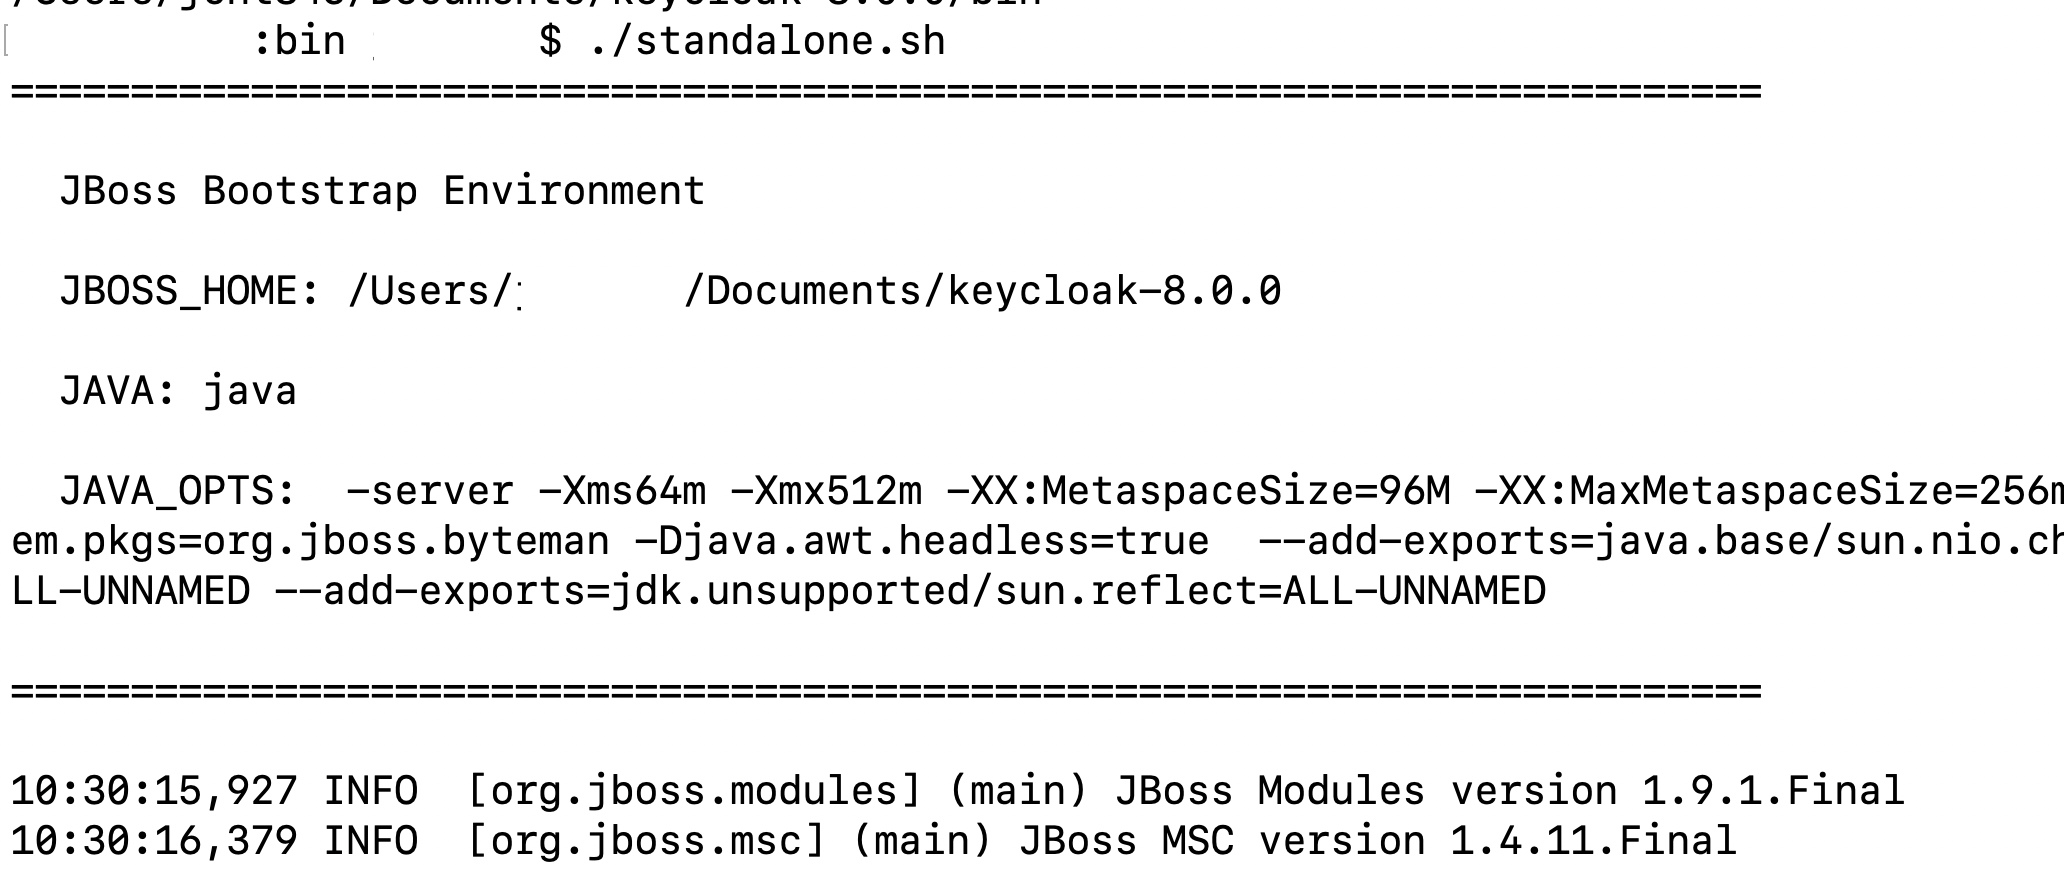
Extract the zip into whatever the folder you want. Change the directory into keycloak-8.0.0/bin and run this file ./standalone.sh
Once the startup is done, you can access the admin console on this address http://localhost:8080/auth/
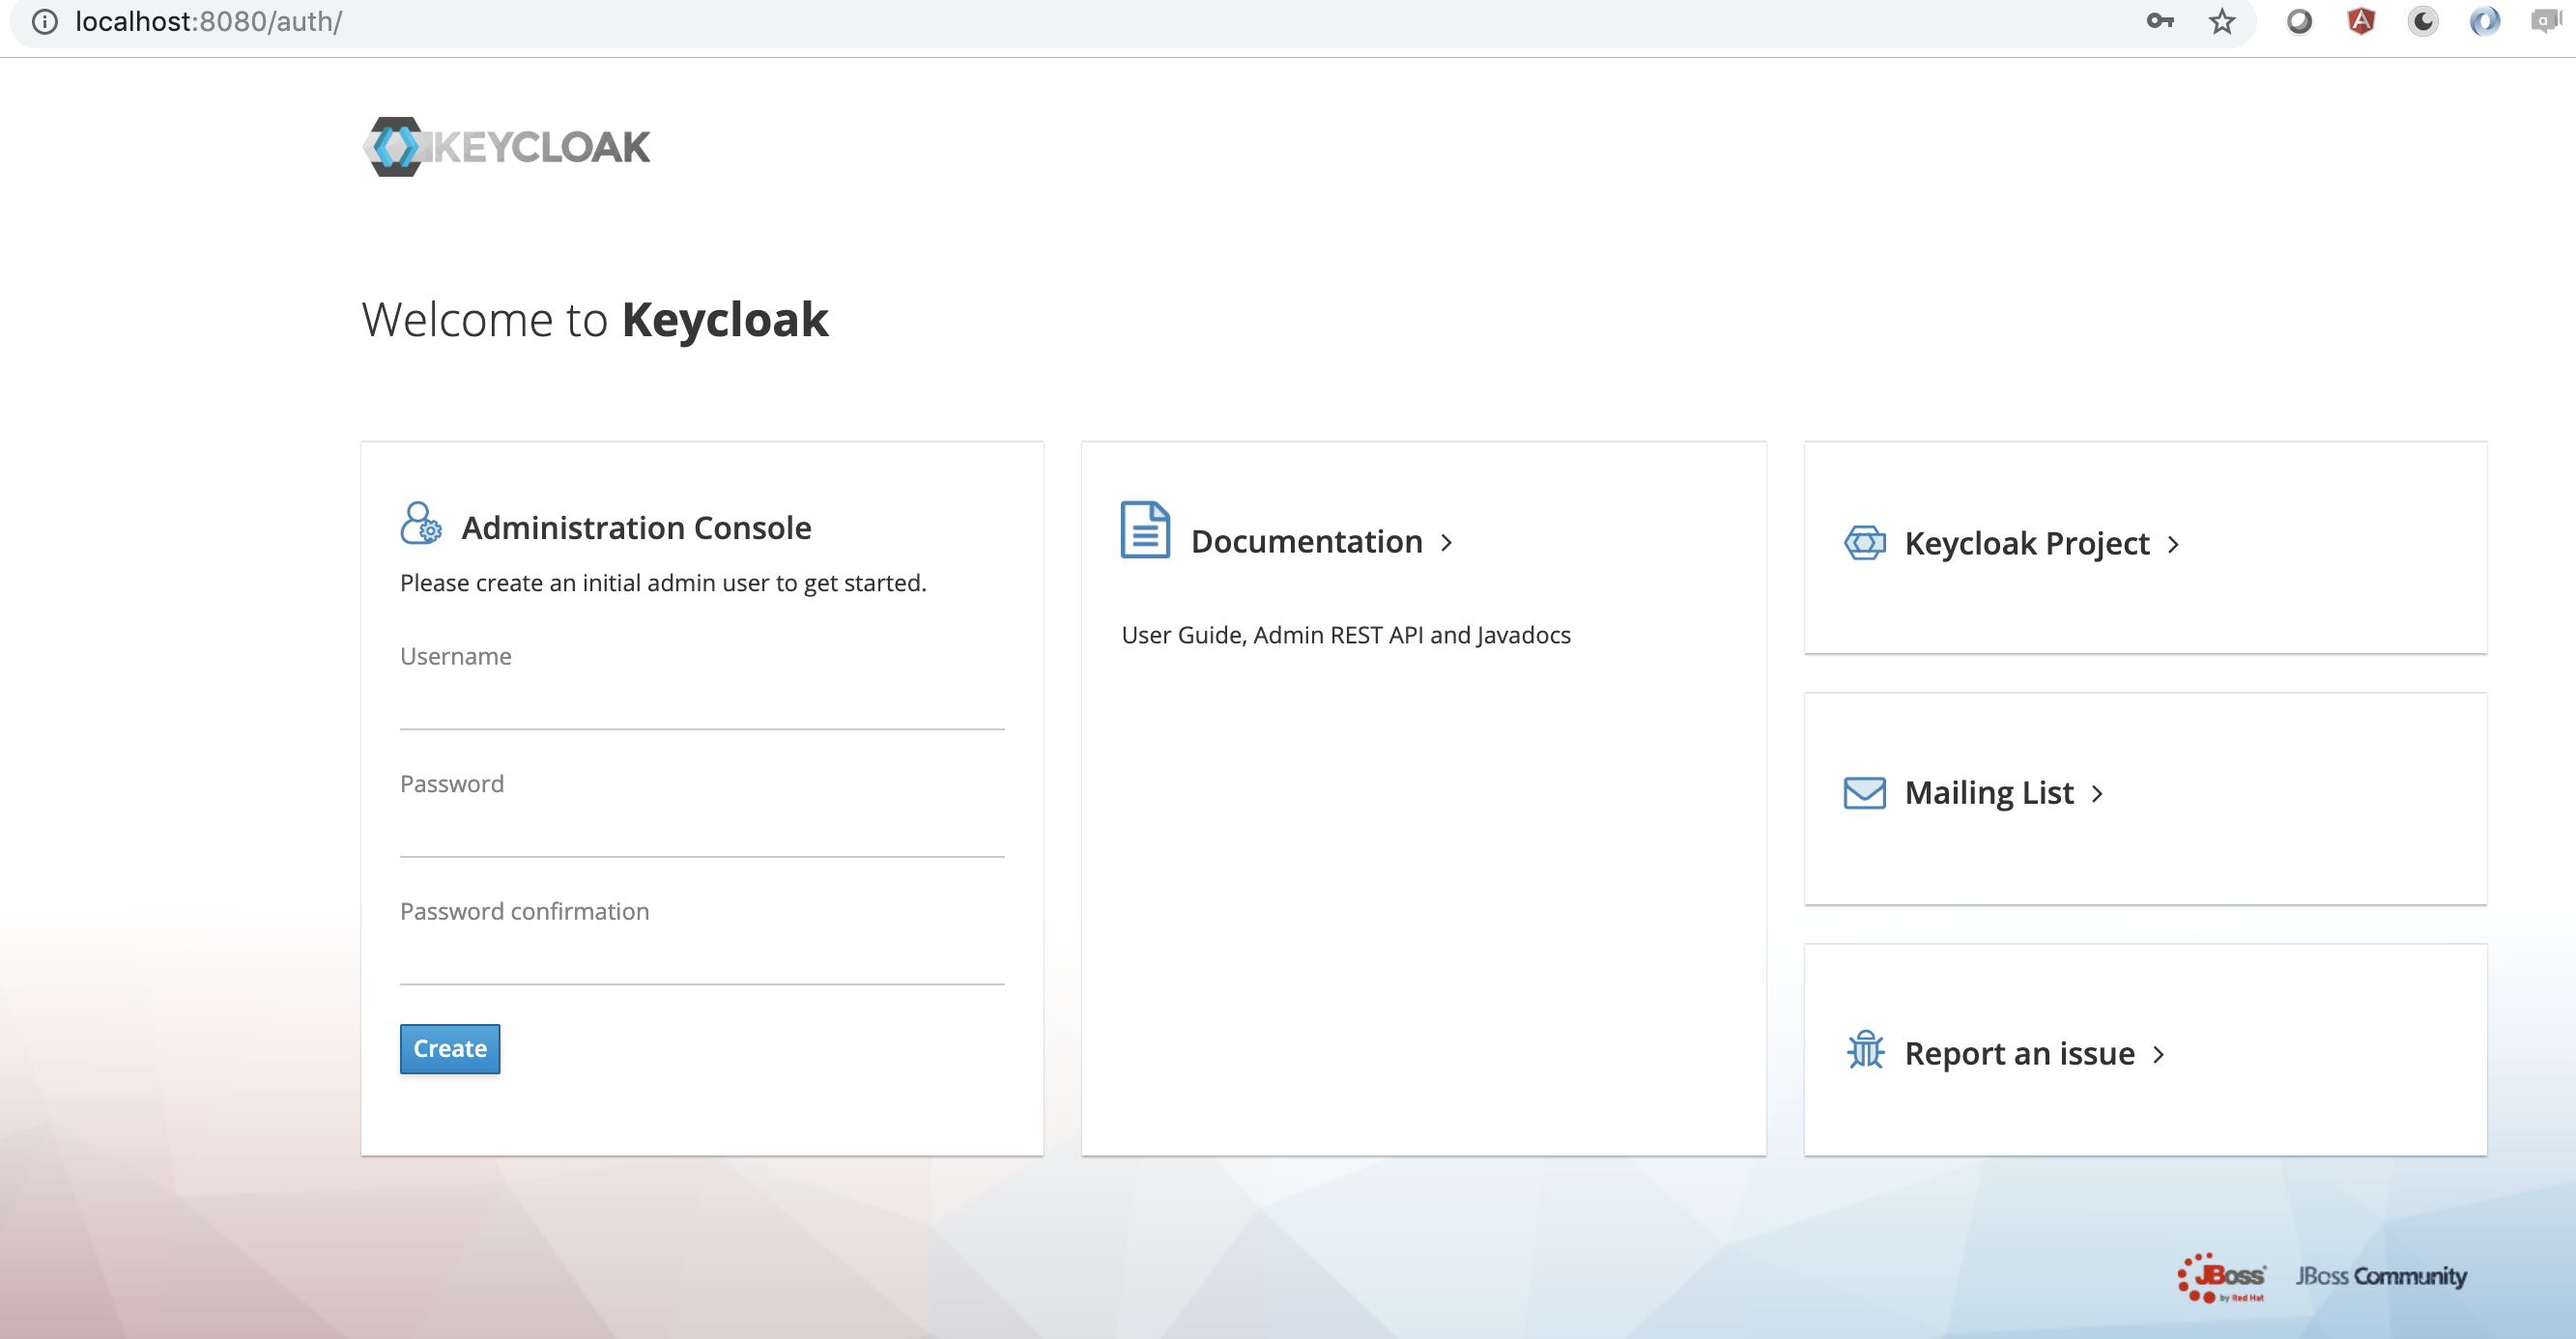
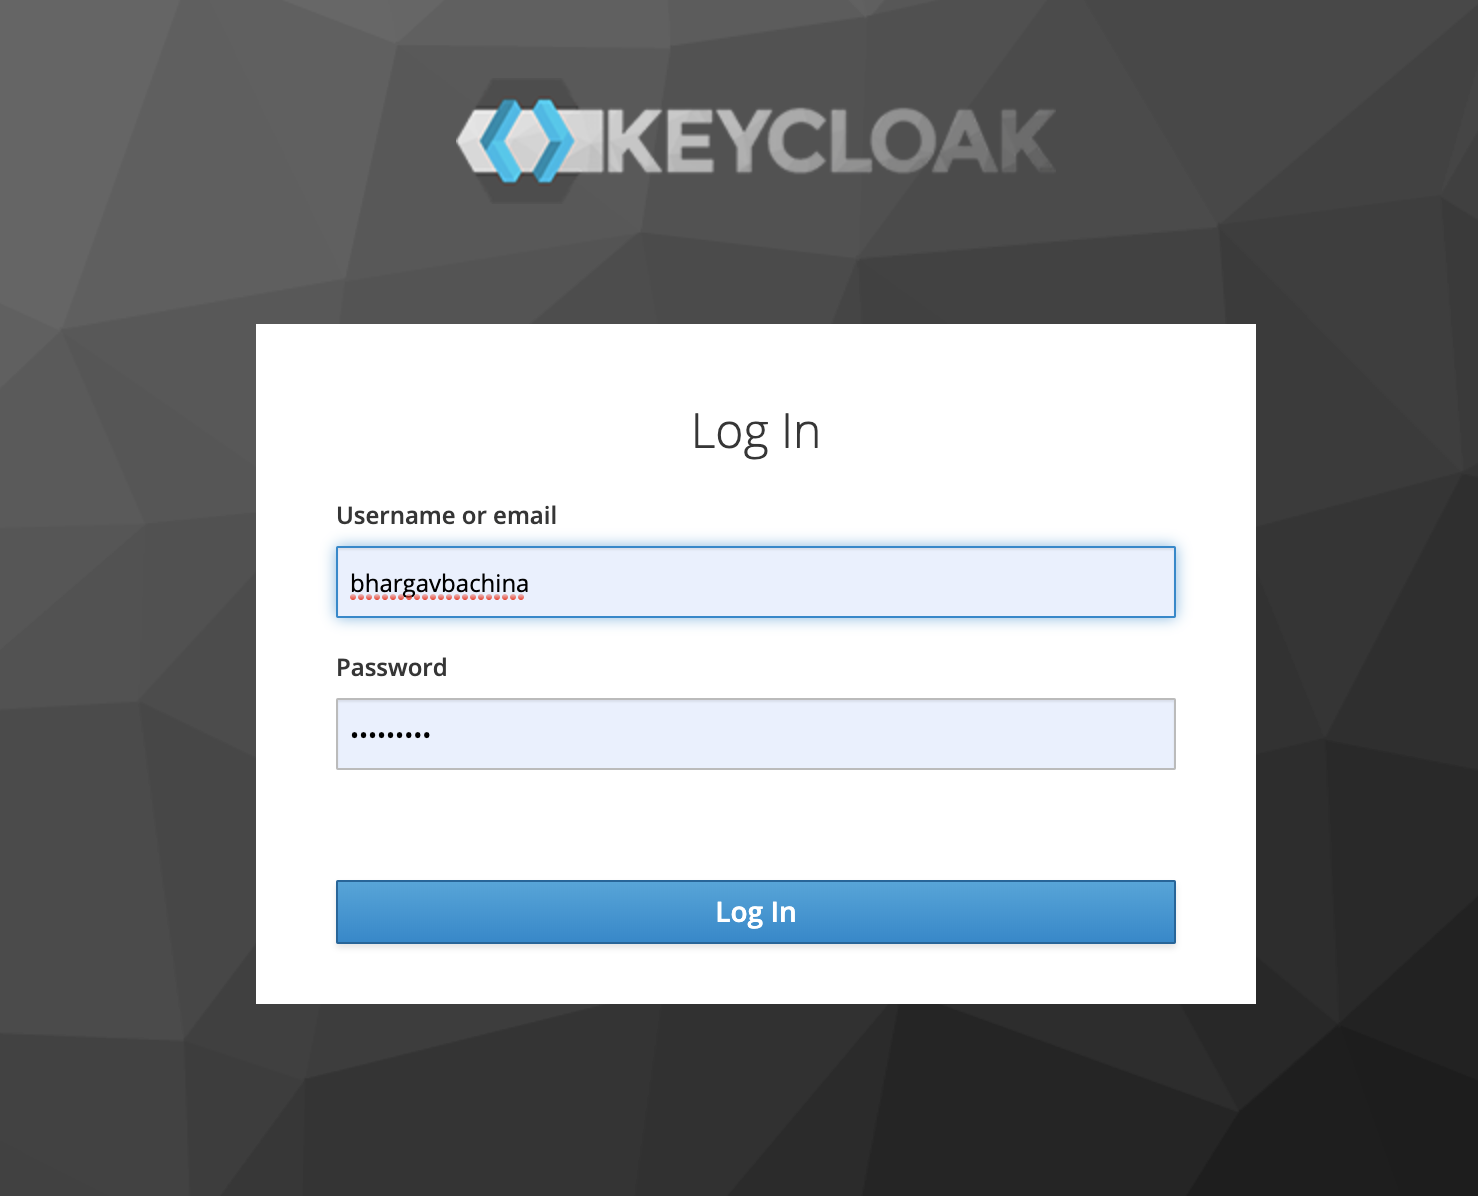
When you access for the first time you need to create an admin user to manage all the aspects of the keycloak server.
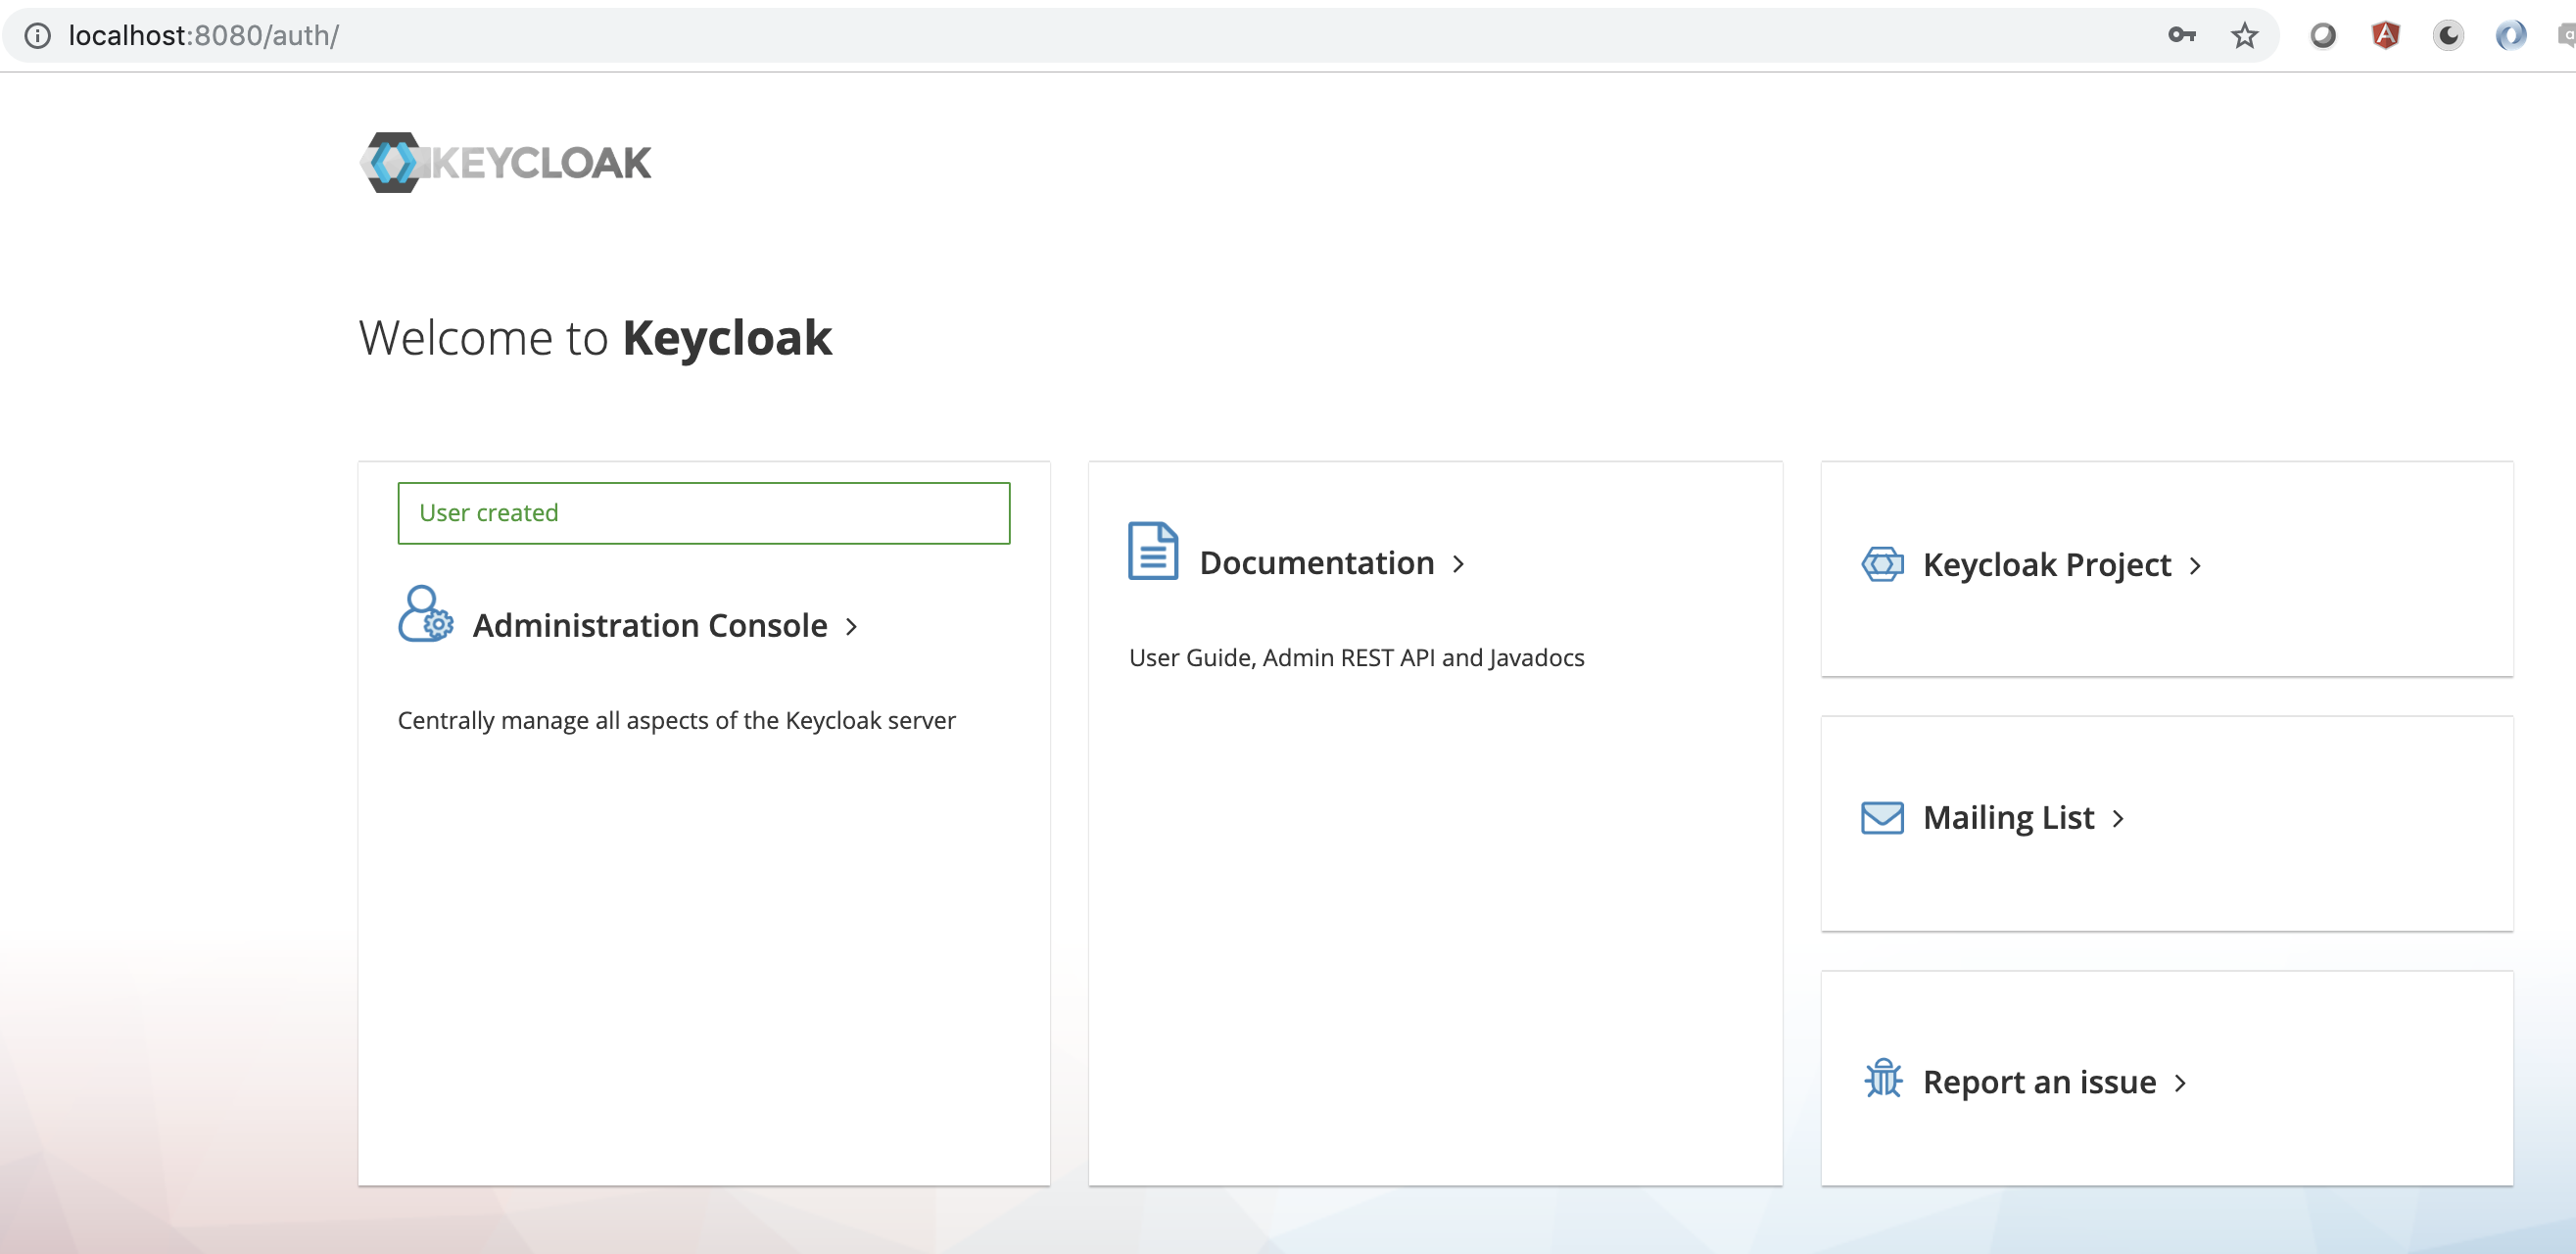
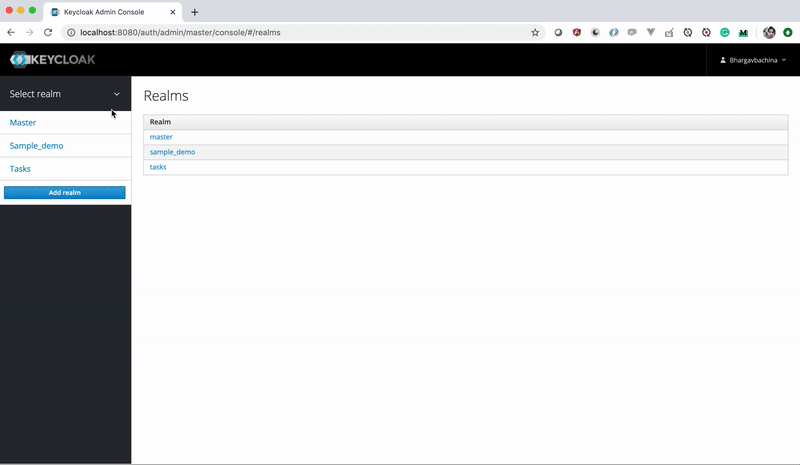
Once created, you can log in with the newly created username and password. You will be redirected to the default realm which is master. You can create your own realms and as many as you want.

Creating Realms, Users, Roles, and clients
We are running a keycloak server on our local machine. It’s time to create some configuration now. This is very basic and we are creating what we need for this project and get familiar with the keycloak.
Realms: A Realm can group users, roles, and clients and is completely isolated from one another. We have two applications todos and tasks we can create one realm for these apps if you want to maintain under one.
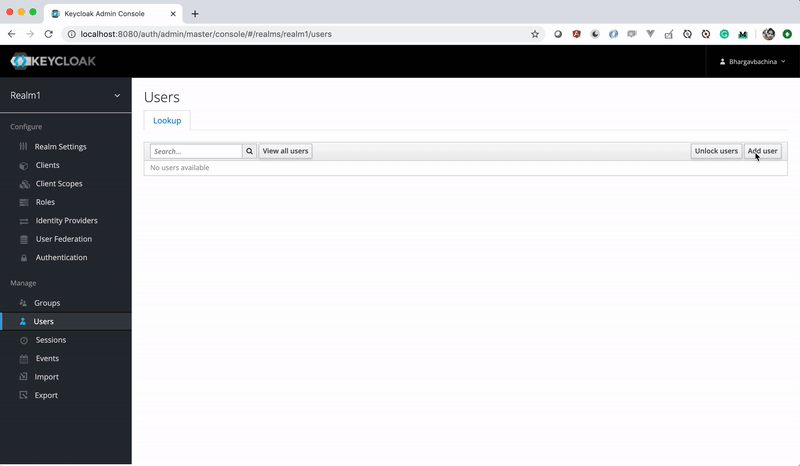
Users: These are the normal users who can log in to the applications. You can create users under the realm or you can create groups and add the users to the group.
Roles: Roles can be assigned to the users so that we can have granular control over the applications. For example, if the admin role is created and assigned to the user. the user can access full access to the application.
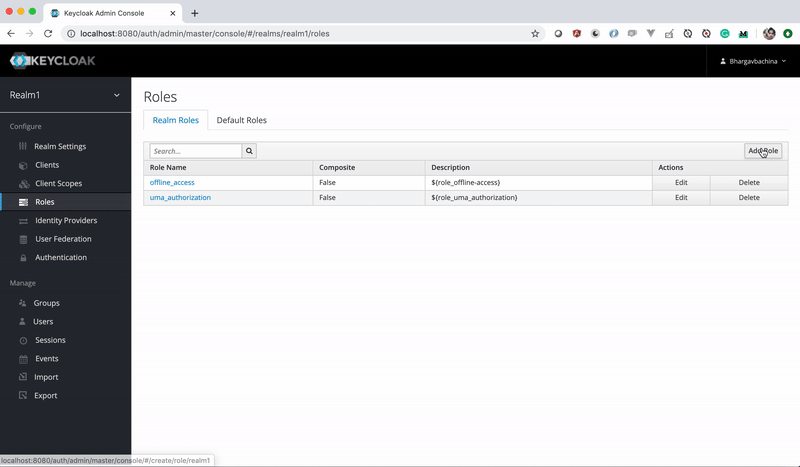
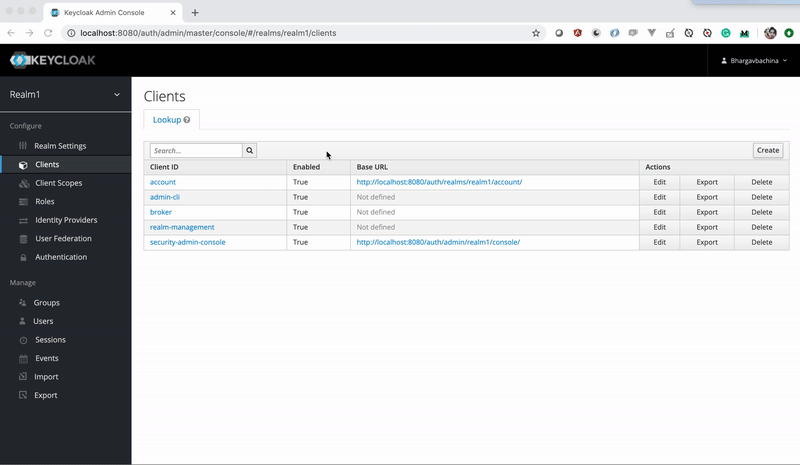
Clients: Clients are the applications themselves. We have two applications todos and tasks for this post. We need to create these as clients with some id, baseurl, etc.
How To Integrate Angular With KeyCloak
First, we need to install the library angular-oauth2-oidc for integration with keycloak.
npm install angular-oauth2-oidc --save
Create a service that takes care of getting access token from the Keycloak server. This is how it works, the OAuthService has method loadDiscoveryDocumentAndLogin() which returns promise if the user is already logged in and if not, it will redirect to the login page by calling this method initImplicitFlow() and returns reject function.
import { Injectable } from '@angular/core';
import { AuthConfig, NullValidationHandler, OAuthService } from 'angular-oauth2-oidc';
import { filter } from 'rxjs/operators';

@Injectable()
export class AuthConfigService {

    private _decodedAccessToken: any;
    private _decodedIDToken: any;
    get decodedAccessToken() { return this._decodedAccessToken; }
    get decodedIDToken() { return this._decodedIDToken; }

    constructor(
      private readonly oauthService: OAuthService,
      private readonly authConfig: AuthConfig
    ) {}

    async initAuth(): Promise<any> {
      return new Promise((resolveFn, rejectFn) => {
        // setup oauthService
        this.oauthService.configure(this.authConfig);
        this.oauthService.setStorage(localStorage);
        this.oauthService.tokenValidationHandler = new NullValidationHandler();

        // subscribe to token events
        this.oauthService.events
          .pipe(filter((e: any) => {
            return e.type === 'token_received';
          }))
          .subscribe(() => this.handleNewToken());

        // continue initializing app or redirect to login-page

        this.oauthService.loadDiscoveryDocumentAndLogin().then(isLoggedIn => {
          if (isLoggedIn) {
            this.oauthService.setupAutomaticSilentRefresh();
            resolveFn();
          } else {
            this.oauthService.initImplicitFlow();
            rejectFn();
          }
        });

      });
    }

    private handleNewToken() {
      this._decodedAccessToken = this.oauthService.getAccessToken();
      this._decodedIDToken = this.oauthService.getIdToken();
    }

}
authconfig.service.ts
This service needs a configuration such as redirect_url, client_id, issuer, etc. The issuer is responsible for authentication and providing access token, client_id is the client name registered in the Keycloak server and the redirect Url is the URL that should be redirected to after successful authentication. The configuration is taken from these files.
import { AuthConfig } from 'angular-oauth2-oidc';
import { environment } from '../environments/environment';

export const authConfig: AuthConfig = {

    // Url of the Identity Provider
    issuer: environment.keycloak.issuer,

    // URL of the SPA to redirect the user to after login
    redirectUri: environment.keycloak.redirectUri,

    // The SPA's id.
    // The SPA is registerd with this id at the auth-serverß
    clientId: environment.keycloak.clientId,

    responseType: environment.keycloak.responseType,
    // set the scope for the permissions the client should request
    // The first three are defined by OIDC.
    scope: environment.keycloak.scope,
    // Remove the requirement of using Https to simplify the demo
    // THIS SHOULD NOT BE USED IN PRODUCTION
    // USE A CERTIFICATE FOR YOUR IDP
    // IN PRODUCTION
    requireHttps: environment.keycloak.requireHttps,
    // at_hash is not present in JWT token
    showDebugInformation: environment.keycloak.showDebugInformation,
    disableAtHashCheck: environment.keycloak.disableAtHashCheck
};


export class OAuthModuleConfig {
    resourceServer: OAuthResourceServerConfig = {sendAccessToken: false};
}

export class OAuthResourceServerConfig {
    /**
     * Urls for which calls should be intercepted.
     * If there is an ResourceServerErrorHandler registered, it is used for them.
     * If sendAccessToken is set to true, the access_token is send to them too.
     */
    allowedUrls?: Array<string>;
    sendAccessToken = true;
    customUrlValidation?: (url: string) => boolean;
}
auth.config.ts
// The file contents for the current environment will overwrite these during build.
// The build system defaults to the dev environment which uses `environment.ts`, but if you do
// `ng build --env=prod` then `environment.prod.ts` will be used instead.
// The list of which env maps to which file can be found in `.angular-cli.json`.

export const environment = {
  production: false,
  envName: 'local',
  keycloak: {
    // Url of the Identity Provider
    issuer: 'http://localhost:8080/auth/realms/tasks',

    // URL of the SPA to redirect the user to after login
    redirectUri: 'http://localhost:4200/',

    // The SPA's id.
    // The SPA is registerd with this id at the auth-serverß
    clientId: 'todo-ui',

    responseType: 'code',
    // set the scope for the permissions the client should request
    // The first three are defined by OIDC.
    scope: 'openid profile email',
    // Remove the requirement of using Https to simplify the demo
    // THIS SHOULD NOT BE USED IN PRODUCTION
    // USE A CERTIFICATE FOR YOUR IDP
    // IN PRODUCTION
    requireHttps: false,
    // at_hash is not present in JWT token
    showDebugInformation: true,
    disableAtHashCheck: true
  }
};
environment.ts
Notice the issuer and redirectUrl in the above file and make sure your keycloak server is running at the same time.
Create a separate Module so that you can import all this into AppModule. We have to use APP_INITIALIZER so that we can authenticate the user before bootstrapping the app.
import { NgModule, APP_INITIALIZER } from '@angular/core';
import { HttpClientModule } from '@angular/common/http';
import { OAuthModule, AuthConfig } from 'angular-oauth2-oidc';

import { AuthConfigService } from './authconfig.service';
import { authConfig, OAuthModuleConfig } from './auth.config';

export function init_app(authConfigService: AuthConfigService) {
    return () => authConfigService.initAuth();
}

@NgModule({
  imports: [ HttpClientModule, OAuthModule.forRoot() ],
  providers: [
    AuthConfigService,
    { provide: AuthConfig, useValue: authConfig },
    OAuthModuleConfig,
    {
      provide: APP_INITIALIZER,
      useFactory: init_app,
      deps: [ AuthConfigService ],
      multi: true
    }
  ]
})
export class AuthConfigModule { }
auth.config.module.ts
You need to have a logout functionality as well and that’s usually implemented in the header.
<div class="header">
    <div class="row">
        <div class="col-md-9">
            <h1 style="text-align: center;">Tasks</h1>
        </div>
        <div class="col-md-3">
            <h4><a href="#" (click)="logout()">Logout</a></h4>
        </div>
    </div>
</div>
import { Component, OnInit } from '@angular/core';
import { OAuthService } from 'angular-oauth2-oidc';

@Component({
  selector: 'app-header',
  templateUrl: './header.component.html',
  styleUrls: ['./header.component.css']
})
export class HeaderComponent implements OnInit {

  constructor(private readonly oauthService: OAuthService) { }

  ngOnInit() {
  }

  logout() {
    this.oauthService.logOut();
  }

}
logout functionality in the Header
Finally, we need to import this module in the AppModule
import { BrowserModule } from '@angular/platform-browser';
import { NgModule } from '@angular/core';

import { AppRoutingModule } from './app-routing.module';
import { AppComponent } from './app.component';
import { BrowserAnimationsModule } from '@angular/platform-browser/animations';
import { AuthConfigModule } from '../config/auth.config.module';
import { HeaderComponent } from './header/header.component';

@NgModule({
  declarations: [
    AppComponent,
    HeaderComponent
  ],
  imports: [
    BrowserModule,
    AppRoutingModule,
    BrowserAnimationsModule,
    AuthConfigModule
  ],
  providers: [],
  bootstrap: [AppComponent]
})
export class AppModule { }
app.module.ts
Running Multiple Apps With SSO
We have seen the integration code and basic stuff about the Keycloak server on how to create clients, roles and users. Let’s run two apps together.
I have created two clients in the Keycloak server which runs on ports 4200 and 4201 respectively.

Clients
You should have valid redirectUrl to be http://localhost:4200 and http://localhost:4201 as well.
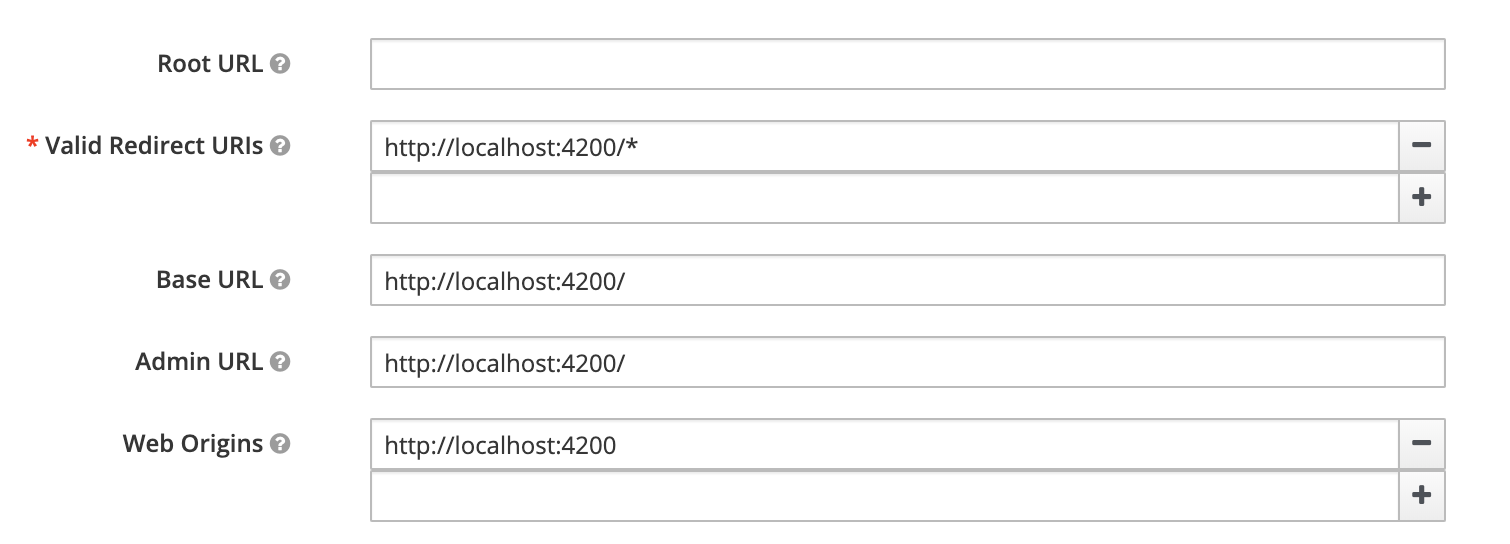
tasks-ui client
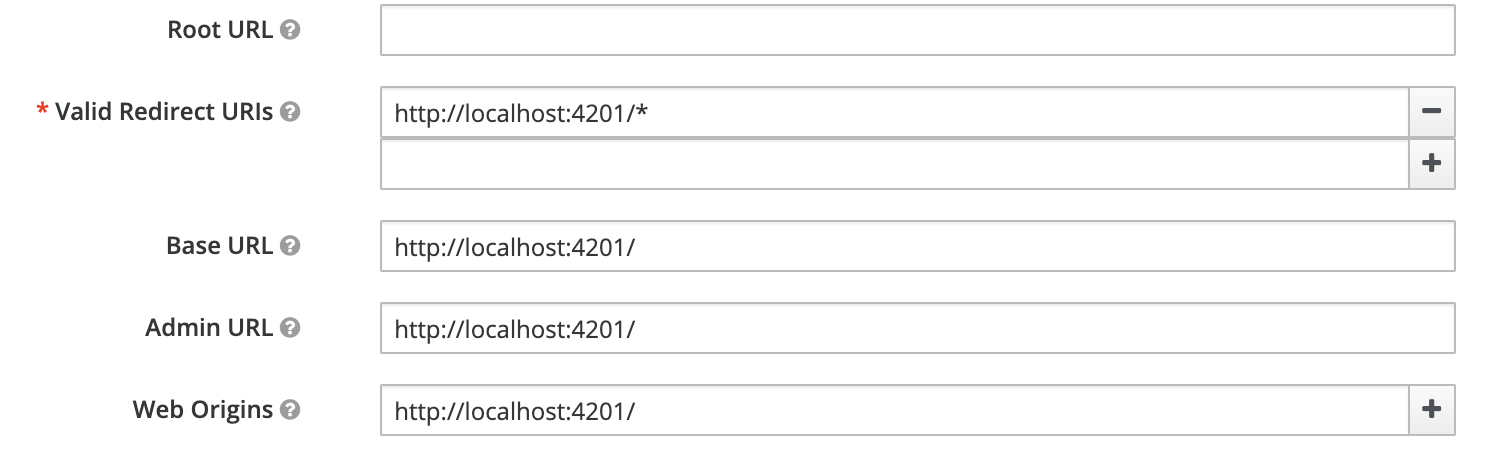
todo-ui client
You need to create a role called admin under each client.

Add role under each client
Then you need to create a user bachi1(you can create whatever the name you want) and add that user to the role admin
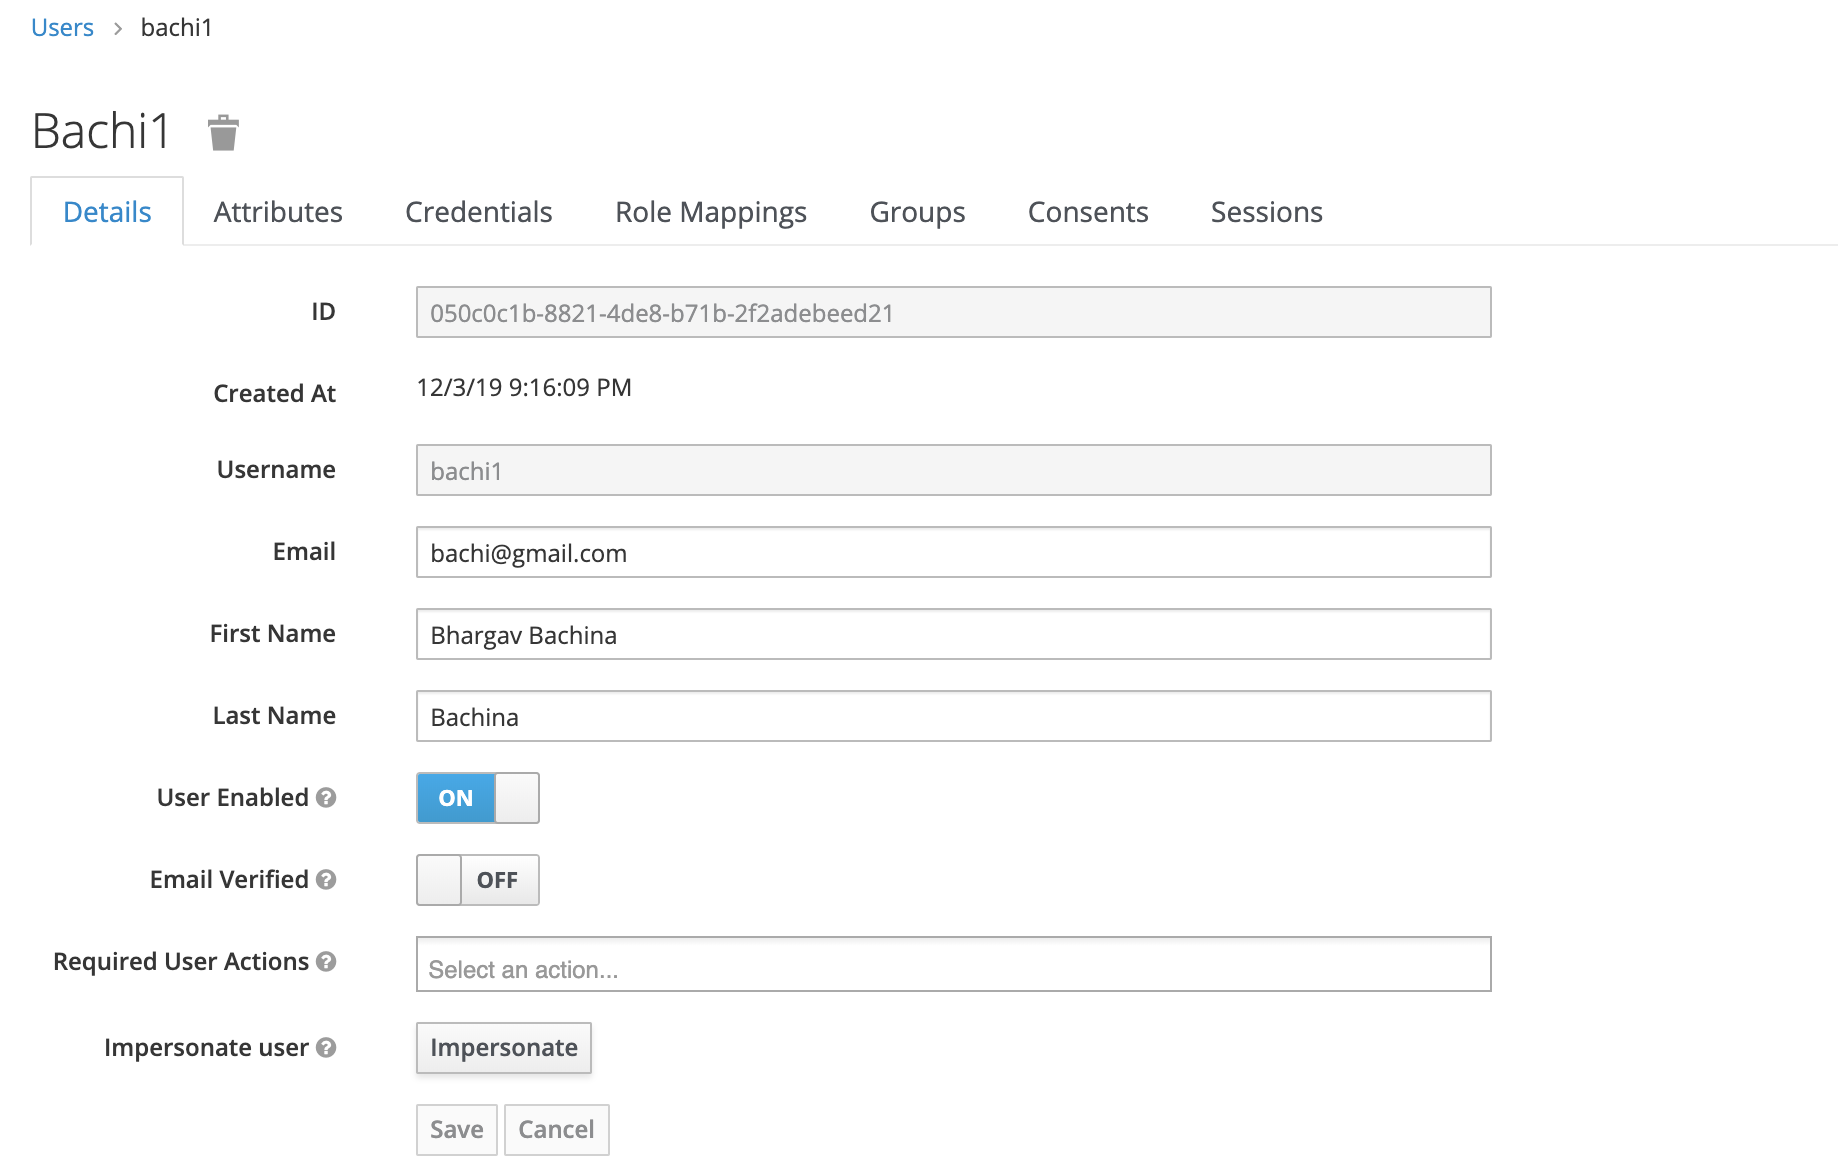
User Creation
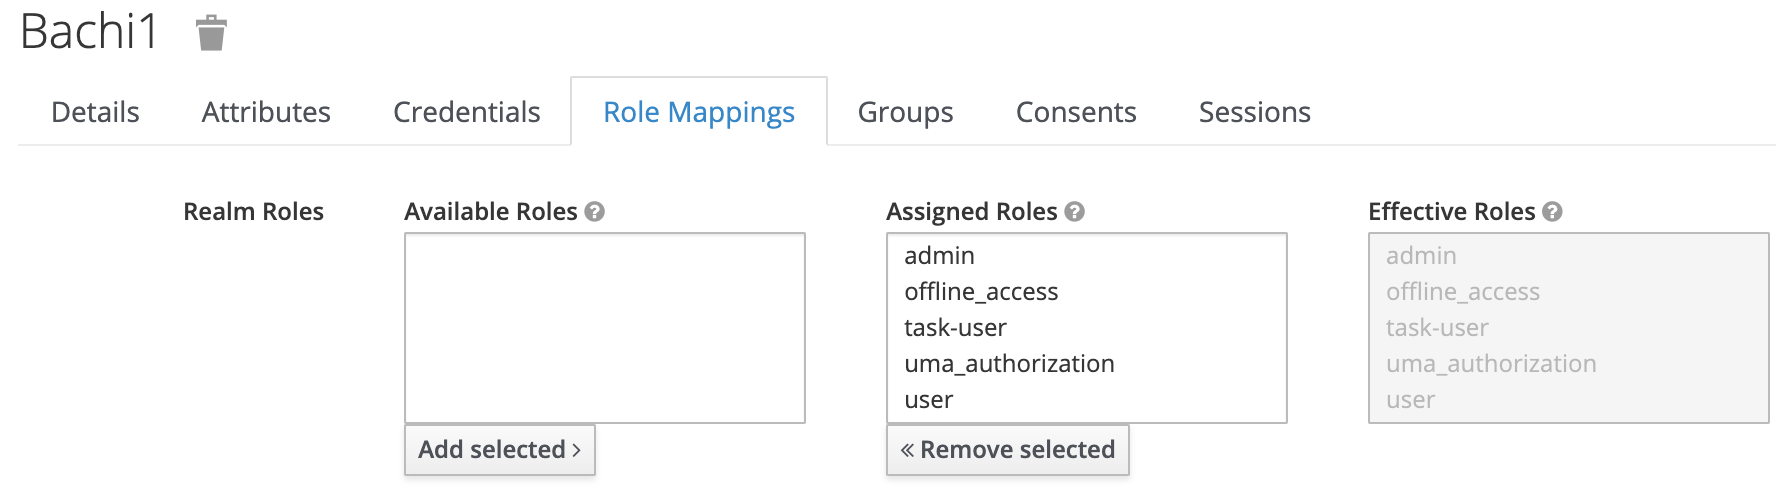
assign the user to admin role under role mappings
Once done, clone these two projects run on your local machine on ports 4200 and 4201 respectively.
// todos runs on 4201
git clone https://github.com/bbachi/keycloak-todos.git
npm install
npm start

// tasks runs on port 4200
git clone https://github.com/bbachi/keycloak-tasks.git
npm install
npm start
Here is the small demonstration if you log into one app and you can actually login to another one without providing any credentials until you log out.

Keycloak in action
Summary
- Keycloak makes it easier to secure your applications with little to no code. It provides a lot of features such as Single sign-on, single sign out, Kerberos bridge, Identity Brokering, and Social Login, User Federation, etc.
- Users authenticate with Keycloak rather than individual applications. This means that your applications don’t have to deal with login forms.
- SSO lets you access multiple applications by only logging in once. We testes two application in this post.
- We can run the Keycloak server on your local machine by running ./standalone.sh under bin folder of keycloak.
- There are Realms, Users, Roles, and clients we can define in the keycloak.
- Realms can group users, clients, and roles. Clients are the applications themselves.
- We need to use this library angular-oauth2-oidc for the keycloak integration with Angular.
- Make sure you run the Keycloak server along with your application to test keycloak on your local machine.
- We need to use APP_INITIALIZER to check the authentication before bootstrapping the main app.
Conclusion
Keycloak makes it easier to implement SSO from small scale organizations to big organizations. Keycloak provides you a lot of features with little or no code.
Thank you for reading!
#javascript #angular #development #programming #webdev