This article explains how to develop ETL (Extract Transform Load) jobs using AWS Glue to load data from AWS S3 into AWS RDS SQL Server database objects.
Introduction
ETL is one of the widely-used methods for data integration in any enterprise IT landscape. Data is transported from source to destination data repositories using ETL jobs. Enterprises host production workloads on AWS RDS SQL Server instances on the cloud. Data is often load in and out of these instances using different types of ETL tools. One of the AWS services that provide ETL functionality is AWS Glue. AWS S3 is the primary storage layer for AWS Data Lake. Often semi-structured data in the form of CSV, JSON, AVRO, Parquet and other file-formats hosted on S3 is loaded into Amazon RDS SQL Server database instances. In this article, we will explore the process of creating ETL jobs using AWS Glue to load data from Amazon S3 to an Amazon RDS SQL Server database instance.
AWS RDS SQL Server Instance
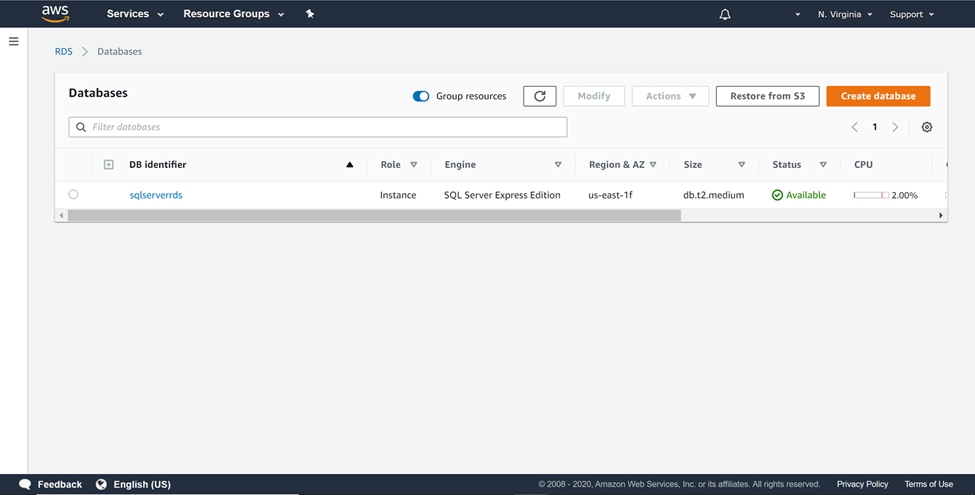
It’s assumed that an operational instance of AWS RDS SQL Server is already in place. Once the instance is available, it would look as shown below. For the ETL job that we would be developing in this article, we need a source and a target data repository. Amazon S3 would act as the source and the SQL Server database instance would act as the destination. Even a SQL Server Express edition hosted on SQL Server instance will work. Do ensure, that you have the required permissions to manage an AWS S3 bucket as well as the SQL Server database instance.
Setting up an AWS S3 Bucket with sample data
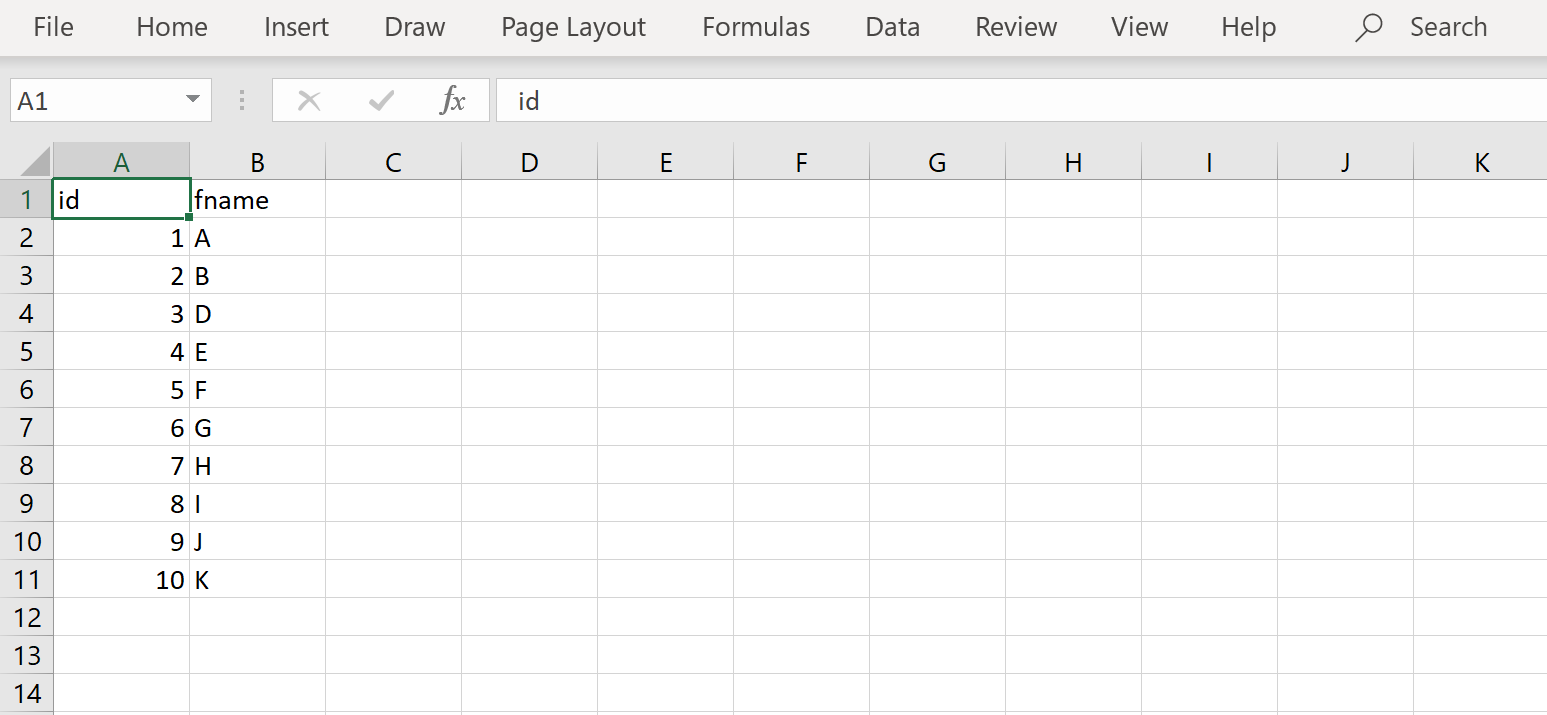
Navigate to the AWS S3 home page, by typing S3 on the AWS Console home page and then open the selected service. From the Amazon S3 home page, click on the Create Bucket button to create a new AWS S3 bucket. Provide a relevant name and create the bucket in the same region where you have hosted your AWS RDS SQL Server instance. Create a sample CSV file as shown below and add some sample data to it. In our case, we have a sample file named employees that has two fields and a few records as shown below.
Once the file has been created, upload it to the newly created S3 bucket by clicking on the Upload button in the AWS S3 Bucket interface. Once you have uploaded the file successfully, it would look as shown below. This completes the creation of our source data setup.

#aws #aws rds #database
