In this article, we will learn how to create a form in a Blazor WebAssembly (WASM) app. We will create a student registration form as an example. This form will support built-in client-side validations with the help of data annotations. We will also implement a custom client-side validator for the form. Along with the client-side validator, we will also add a custom form validator component for business logic validation in the Blazor WASM app.
Prerequisites
You can use either of the following two approaches to work on a Blazor app:
- .NET CLI and Visual Studio Code: Preferred for Linux.
- Visual Studio 2019: Preferred for Windows and macOS.
In this tutorial, we are going to use Visual Studio 2019. Please install the latest version of Visual Studio 2019. While installing, make sure you have selected the ASP.NET and web development workload.
Creating the Blazor WebAssembly application
First, we are going to create a Blazor WebAssembly app. To do so, please follow these steps:
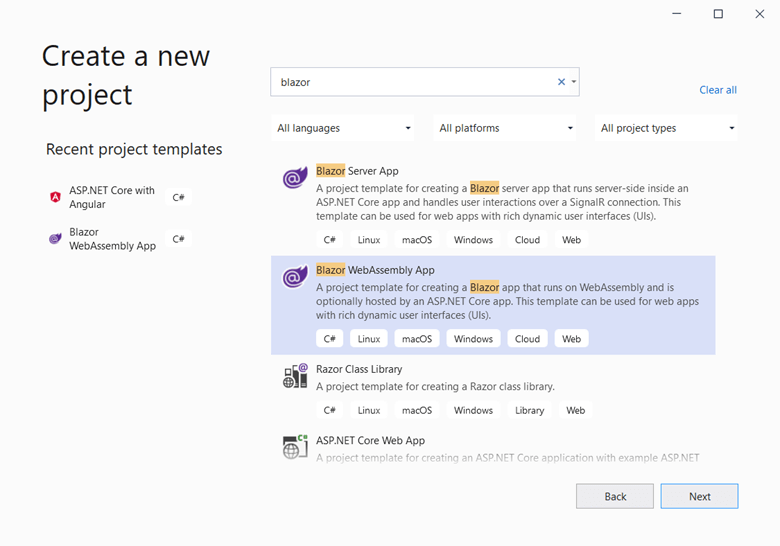
- Open Visual Studio 2019 and click on the Create a new Project option.
- In the Create a new Project dialog that opens, search for Blazor and select Blazor WebAssembly App from the search results. Then, click Next.
Refer to the following image.
#blazor #web #webassembly