There’s tonnes of high quality Continous Delivery/Continous Integration (CI/CD) tools out there at the moment. We use these tools to quickly build, test, and then deploy our code.
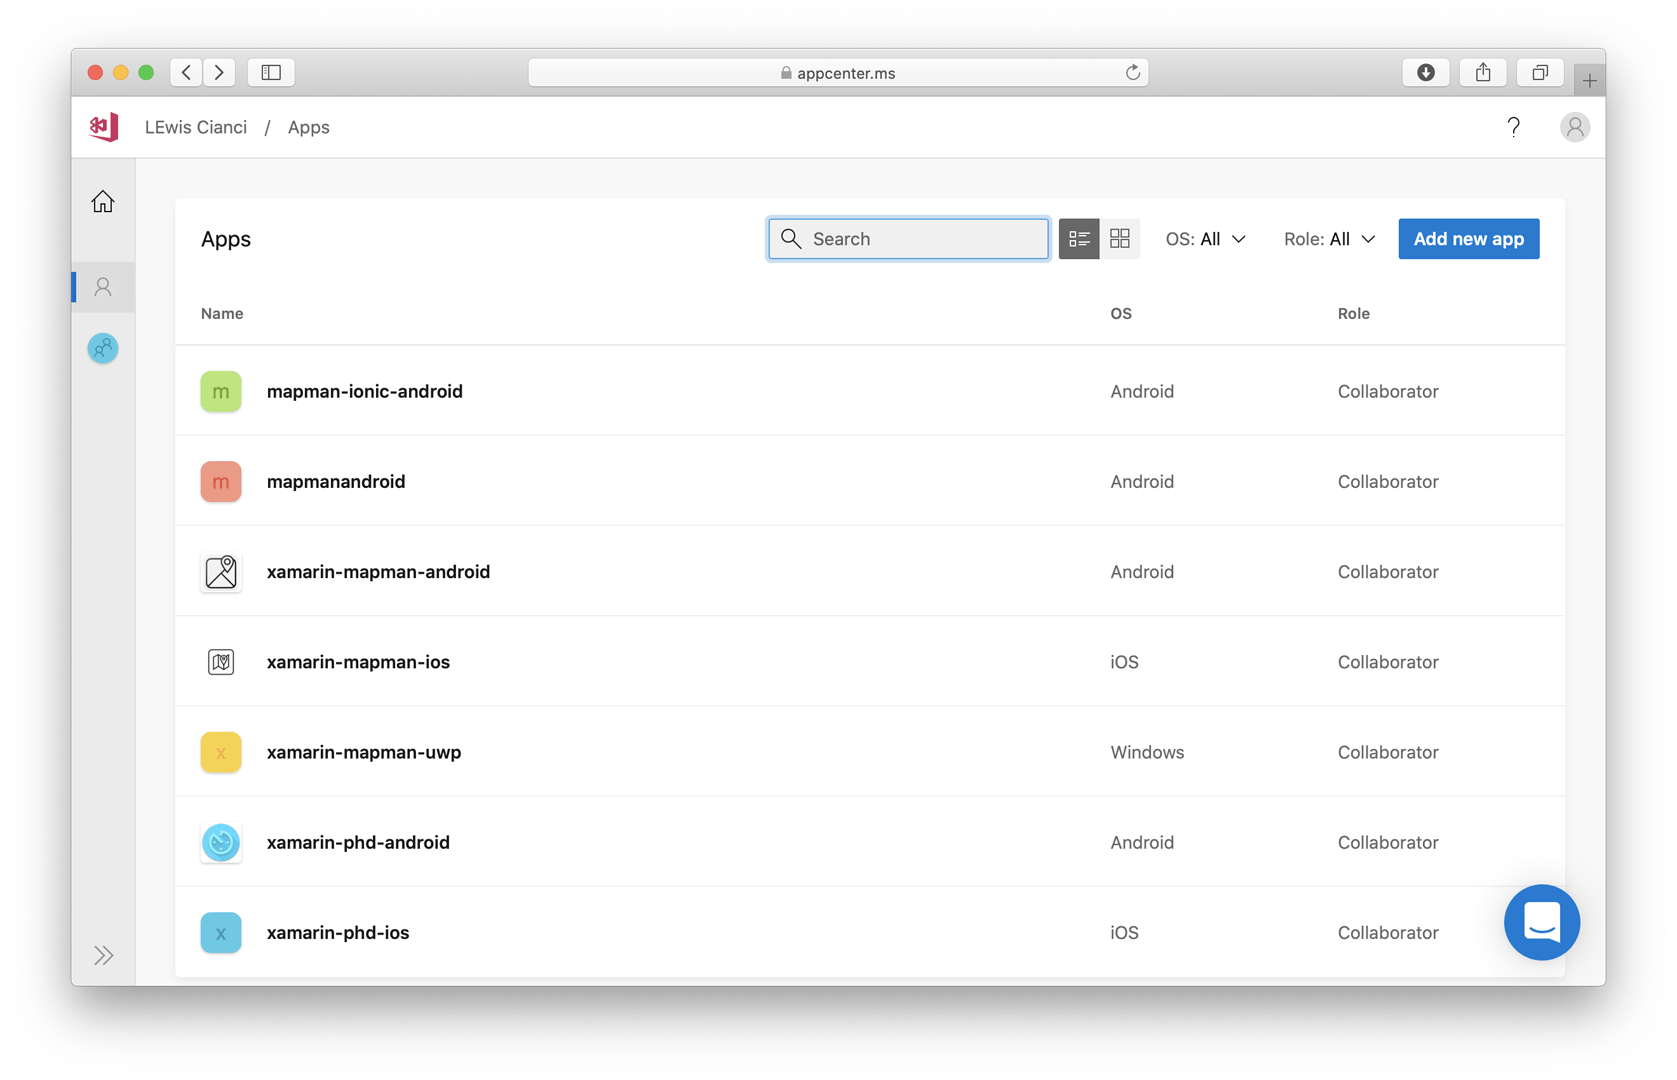
One of these tools that is used quite frequently today is Visual Studio App Center (VSAC). VSAC is an excellent, high quality CI/CD tool that is used quite extensively today.
 Visual Studio App Center
It’s so pretty 🤩. But there’s no official Flutter support (well, as of November 2019 anyway) 😞.
So, then, what do you do? Well, you’re on the codemagic.io blog reading this article, so maybe you’re thinking about giving the Codemagic CI/CD pipeline a shot?
You can do that, and you can even do that for free, and get 500 minutes of build time for free each month. That’s more than enough to put a few test apps through.
But it looks different to Visual Studio App Center. You’ll have some questions, questions like:
- How do I connect codemagic to my repository?
- How can I make codemagic perform a build when I push to a certain branch?
- How can I write tests to run as part of my pipeline?
- How can I publish to the Google Play Store or Apple Store?
Well, for the rest of this post, I’ll show you how to get started with codemagic and how to make the move across.
For this guide, I’ll create a brand new Flutter app and then connect it into codemagic, and also get it deployed onto the Play Store and the iTunes store.
Ready? Let’s go 🚀🚀🚀
Creating the project that we’re going to use
Open a terminal or command window and type in flutter create continual. You can call it whatever you want to, I just called it continual.
Your window should look like this now:
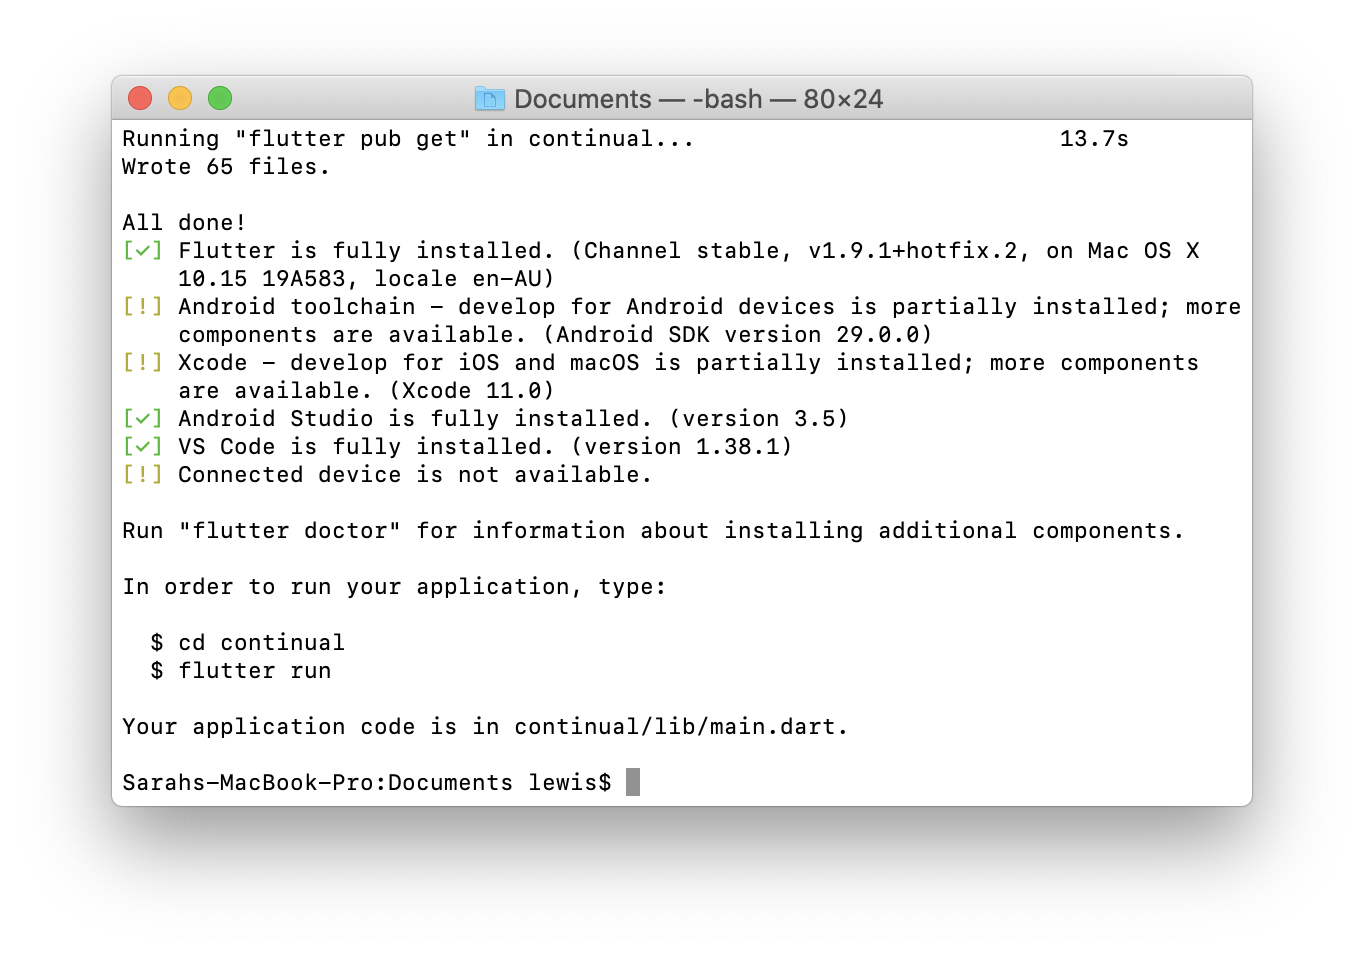 Terminal after Flutter app creation
Changing into that directory, you can simply run flutter run . You should get the default Flutter app starting up if you have a device connected. Awesome.
Connecting to an existing repository (GitHub)
For this article, I created https://github.com/lewcianci/continual. I’ll assume you already have a repository to connect to and you’re already using source control (because its 2019 and you probably don’t live in a cave).
Now, if I go to codemagic and login using GitHub, the repository will just automatically appear. Which is pretty cool.
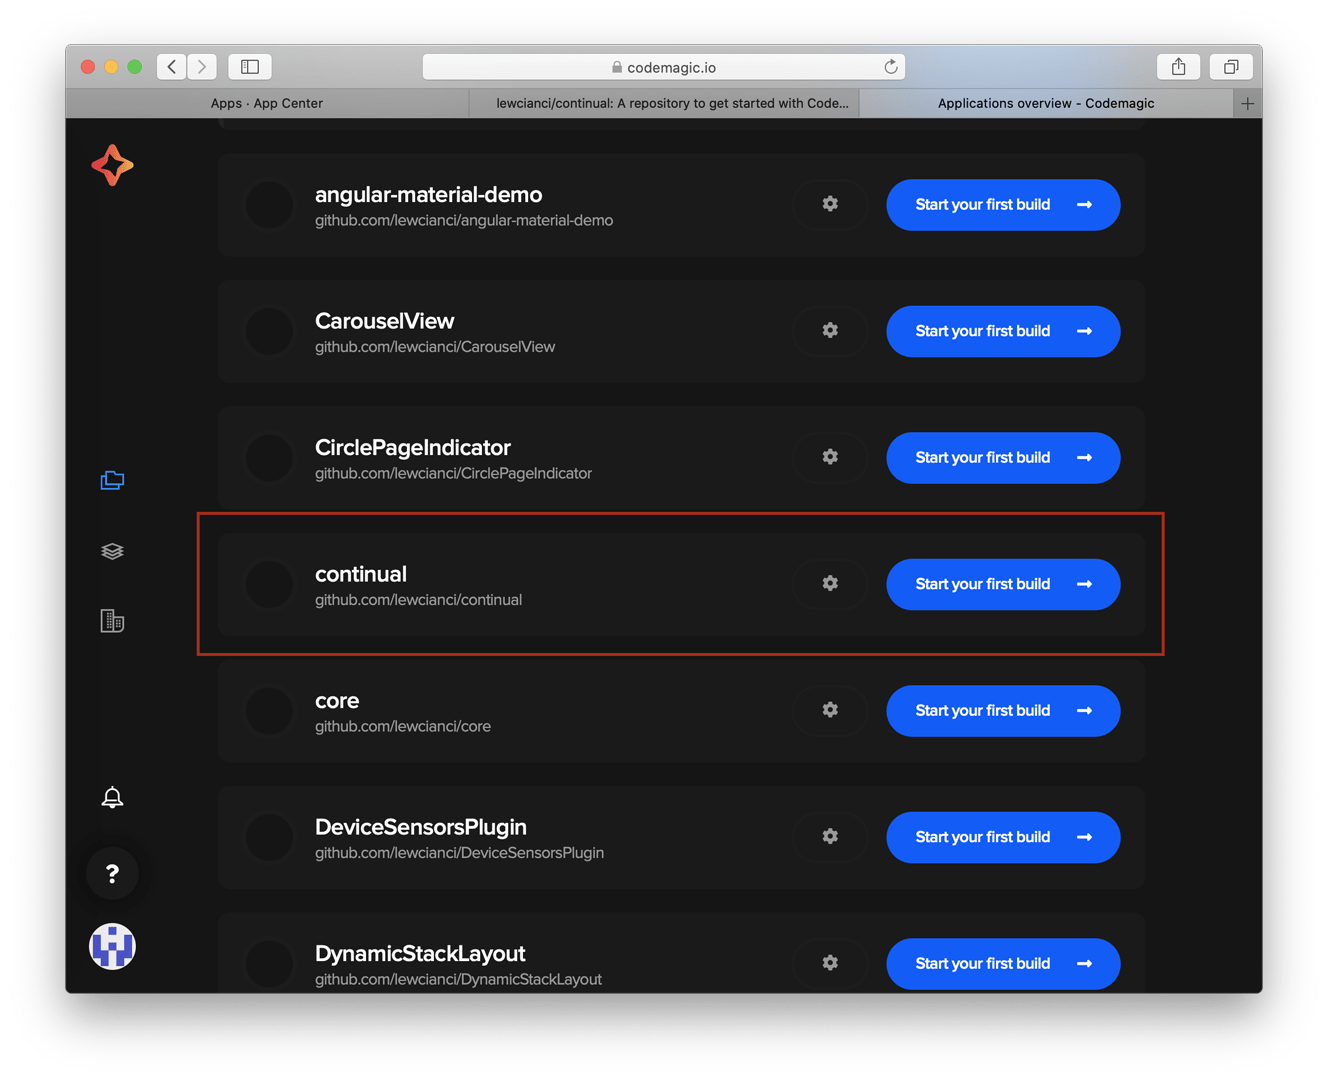 Its already here
In Visual Studio App Center, you configure builds based on their targeted platform. So even when you are using a cross-platform framework like Xamarin Forms, you wind up creating two projects that are based on the one codebase. With codemagic, you just configure your source repository once and then build whatever platform you want from that (iOS, Android, or even the Web, etc.)
That’s great, but how easy is it exactly to start a build of this app that we just made? Let’s find out.
First, we’ll sync our brand new project to this code repository. In this case I’ve set a repository up on GitHub to push my code to. So that’s as easy as changing to that directory and typing the following.
git init (initialises the git repository)
git add . (adds all the files to git)
git remote add origin https://github.com/lewcianci/continual (sets the git repository as our upstream)
git commit -m 'initial' (adds our first commit to the repository)
git push --set-upstream origin master --force (pushes our code to master and also forces it as the first check-in (github usually initialises a repository with a single file/commit, so this just overwrites that))
Now that our repository has a functional Flutter app in it, let’s start that build on Codemagic.
#visual studio code #visual studio #code
