To quickly get your own customizable Webhook URL, simply Fork this Source in Autocode. You can change the name of the project if you’d like, as it’s reflected in the webhook URL that’s generated.
Once you’ve created the Fork you’ll be brought into the Autocode editor. Click on the blue Deploy button at the bottom left corner of the editor. Once it’s deployed, open the
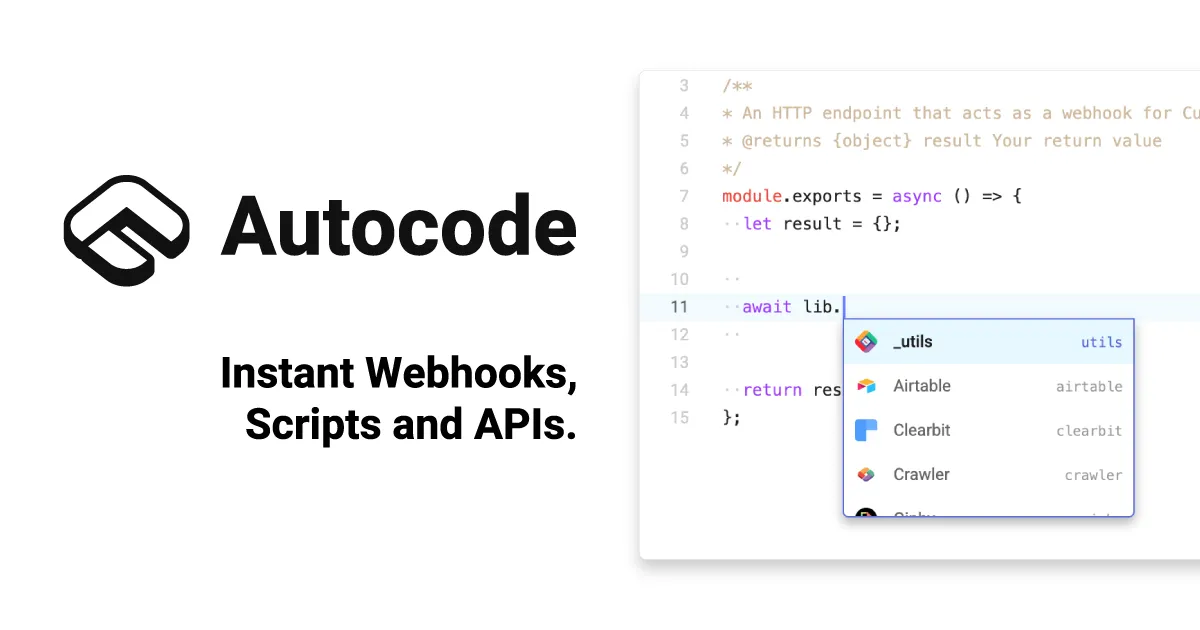
functions/__main__.js file to view the live Webhook URL at the bottom of the editor.
That’s it! You can add whatever custom handling logic you’d like to the webhook at anytime, and simply click deploy again!
Note: Make sure you include the / at the end of the url otherwise it will be redirected and the payload will be dropped.
$ curl --request POST \
    --url https://YOUR_USERNAME.api.stdlib.com/my-webhook@dev/ \
    --header 'content-type: application/json' \
    --data '{
  "some_data": "This is sample data",
  "more_data": "More sample data"
}'

## OR

$ curl --request GET \
  --url 'https://YOUR_USERNAME.api.stdlib.com/my-webhook@dev/?some_data=%22This%20is%20sample%20data%22&more_data=%22More%20sample%20data%22'

#nodejs #webhook #api #webdev #node #deploy #integration #serverless