Julia is fairly well-known in the world of scientific computing. Following the release of a stable 1.0 version in 2018, it has gradually matured into a highly powerful general purpose programming language. Julia is dynamically typed, designed to be as fast as C (see benchmarks) and makes use of an impressive math-friendly syntax. I recently completed an introductory course on Coursera, and thereafter started to include Julia in my daily workflow. As a small project, I decided to make use of DataFrames in Julia to visualize COVID-19 time-series data. During this process, I realized that information on using and troubleshooting Julia is relatively hard to find, which could raise the barrier to entry for new users like me. I, therefore, decided to put together this guide where I have shared the process, code and also the results.
I usually make use of Jupyter notebooks, they are easy to use and get the job done. I have not included detailed steps to set up Julia on your system, it is relatively straightforward. Keep in mind that:
- You need to have a working Jupyter installation, Anaconda is highly recommended
- Julia binaries are available online, don’t forget to verify the sha256 checksums
- You will need the ‘IJulia’ package to make Julia work with Jupyter notebook, these instructions worked for me! I was easily able to set up a working Julia environment in Elementary OS (based on Ubuntu).
Let’s get started: Loading the essential packages
Similar to Python, Julia also makes use of a number of packages which can be loaded in a Jupyter notebook. Unlike Python, most of them are written in Julia itself! ‘Pkg’ is the built-in package manager in Julia and handles their installation, update and removal. ‘Pkg’ comes with a REPL (Read-Evaluate-Print-Loop). Enter the ‘Pkg’ REPL by pressing ] from the Julia REPL. To get back to the Julia REPL, press backspace or ^C.
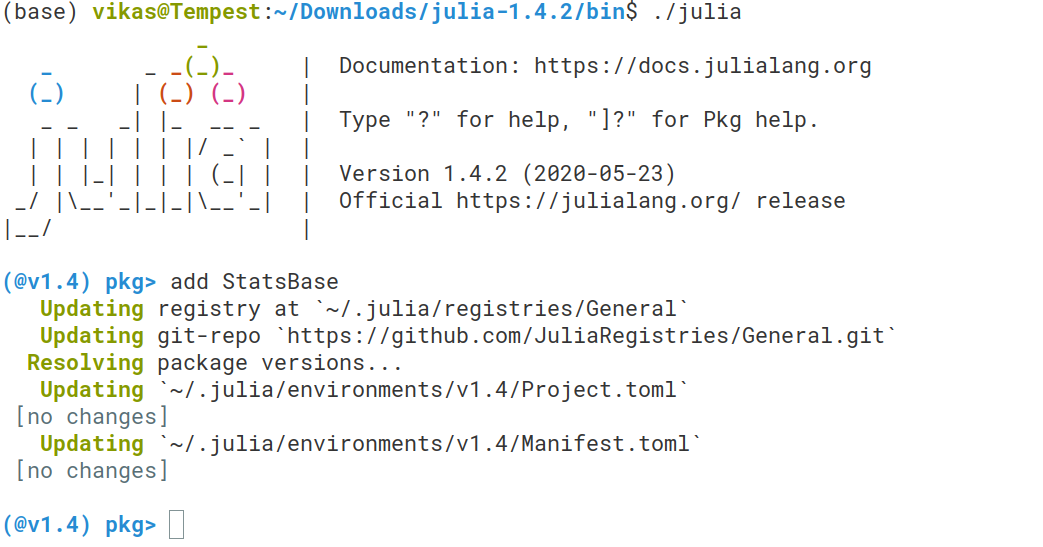
Adding StatsBase package in Julia REPL. This one was already added, hence no changes were made.
Packages can be added as shown above. Alternatively, you can add them directly in the Jupyter notebook, for example by executing: import Pkg; Pkg.add(“HypothesisTests”). Since packages are being updated on a regular basis (bug fixes, new features etc.), it might happen that some of the code linked in this post does not work for you at a different point of time. Don’t worry though, Julia has a very clever solution. ‘Pkg’ creates two additional files — ‘Project.toml’ and ‘Manifest.toml’, which include information about dependencies, versions, package names, UUIDs etc. These files can be easily shared, and will let you recreate the exact working environment as what I have.
Use package ‘InstantiateFromURL’ in the first cell of your notebook to directly download these files from my GitHub respository. It also activates the required environment.
Packages can now be compiled in the next cell as shown below. Package versions will be exactly the same as what I have used while working on this project.
#jupyter-notebook #julialang #covid19 #data-science #data-visualization #visual studio code