How to install Ubuntu with Oracle VirtualBox
What is VirtualBox?
Oracle VM VirtualBox is a cross-platform virtualization application developed by Oracle Corporation. It allows users to virtually install operating systems on virtual hard disks such as Windows, macOS, Solaris and Linux.
As an example, you can run Windows and Linux on your Mac, run Windows server on your Linux server or run Linux on your Windows PC while running your other existing applications.
Disk space and memory are the only problems that you’ll face when installing multiple virtual machines.
Why You’ll Need It
- Oracle’s VirtualBox is easy to install and use.
- It’s free.
- You can run and experience any operating system safely.
- If you’re a developer, VirtualBox can be used as a tool for safely testing your own development projects in multiple OS environments.
- It can run everywhere from small embedded systems to laptops.
- It’s good for testing and disaster recoverable as it can be easily copied, backed-up and transported between hosts.
VirtualBox Installation
VirtualBox can be downloaded here: VirtualBox Downloads
Why Ubuntu?
- It’s free.
- Easy customization: The GNOME desktop environment helps you customize easily.
- It’s secure.
- Ubuntu is open-source.
- Friendly and supportive community.
- Low system requirements.
- According to FOSSBYTES, Ubuntu is the second best Linux distro for programming & developers [2019 Edition].
- It’s beginner friendly.
Setup for Ubuntu
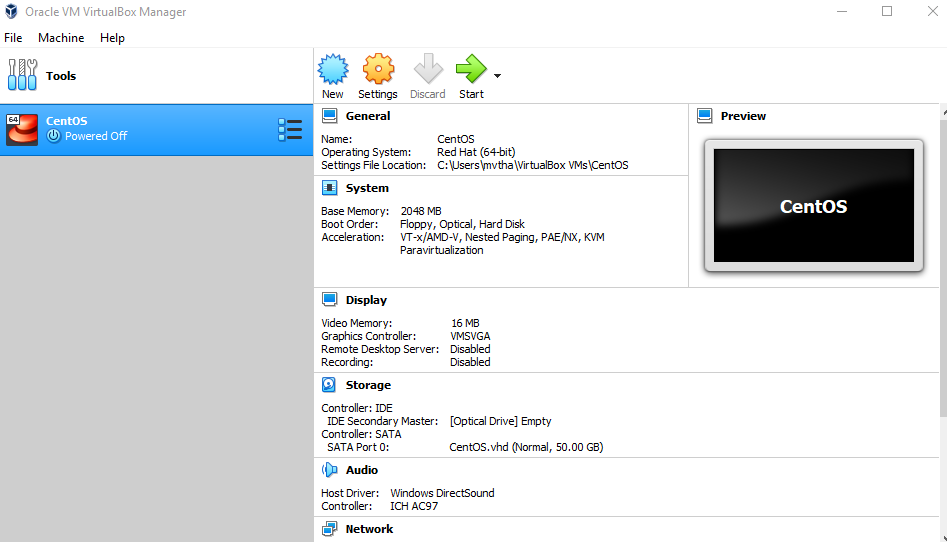
First, open the VirtualBox. Then click “New” to create a virtual machine.
Fill the OS name as Ubuntu since we’re installing it. Check the type as Linux and select version Ubuntu (64-bit).

NOTE: Select the amount of memory as you wish but don’t add more than 50 percentage of your RAM.
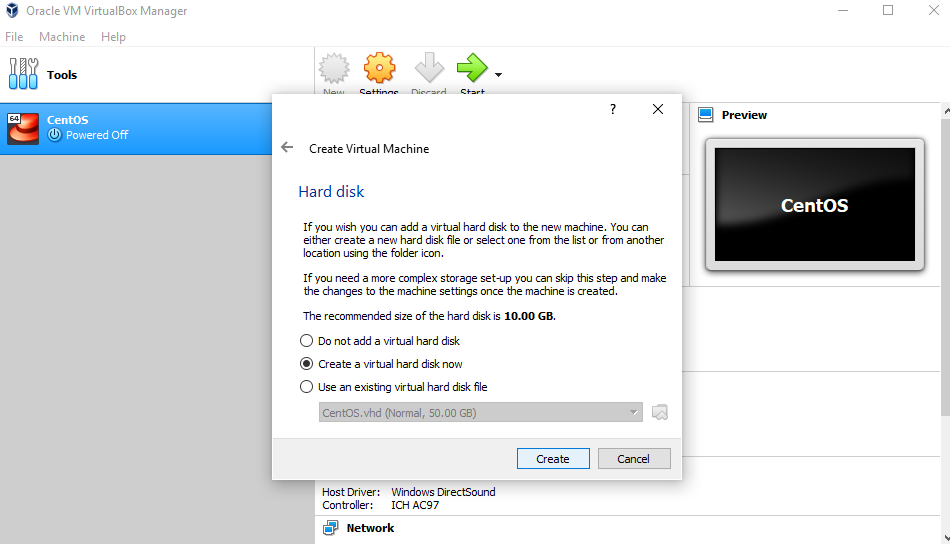
Check the “Create a virtual hard disk now” so we can later define our Ubuntu OS virtual hard disk size.
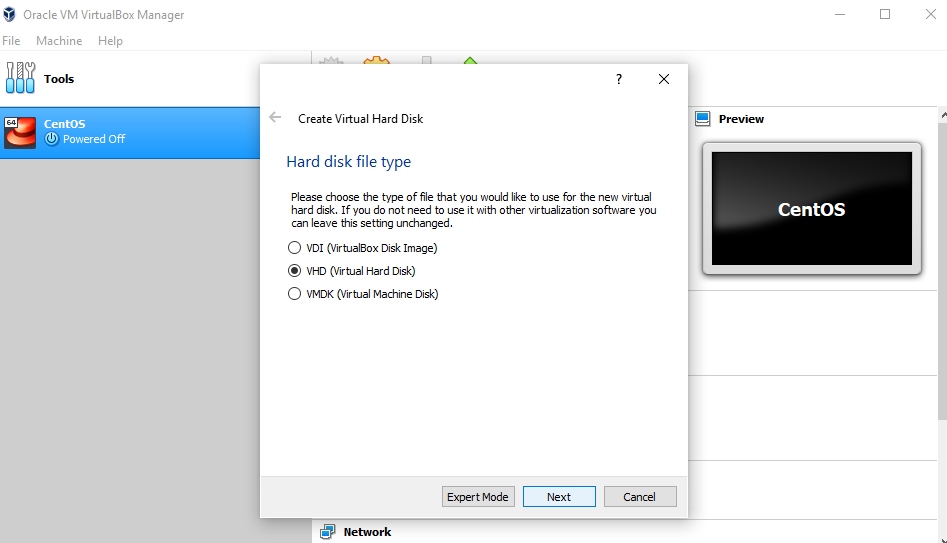
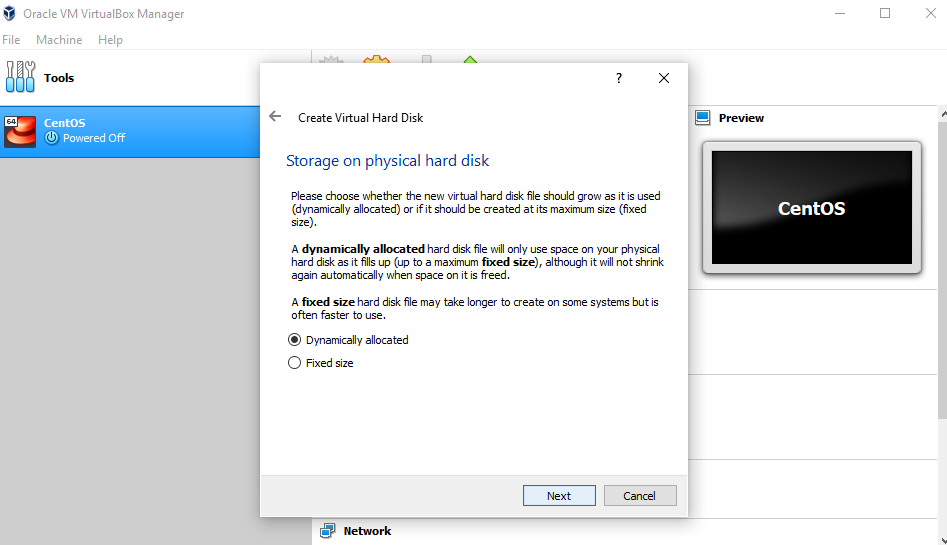
Now, we want to select “VHD (Virtual Hard Disk)”.
Next, we’ll dynamically allocate storage on physical hard disk.
We want to specify our Ubuntu OS’s size. Recommended size is 10 GB. You can increase more than that.
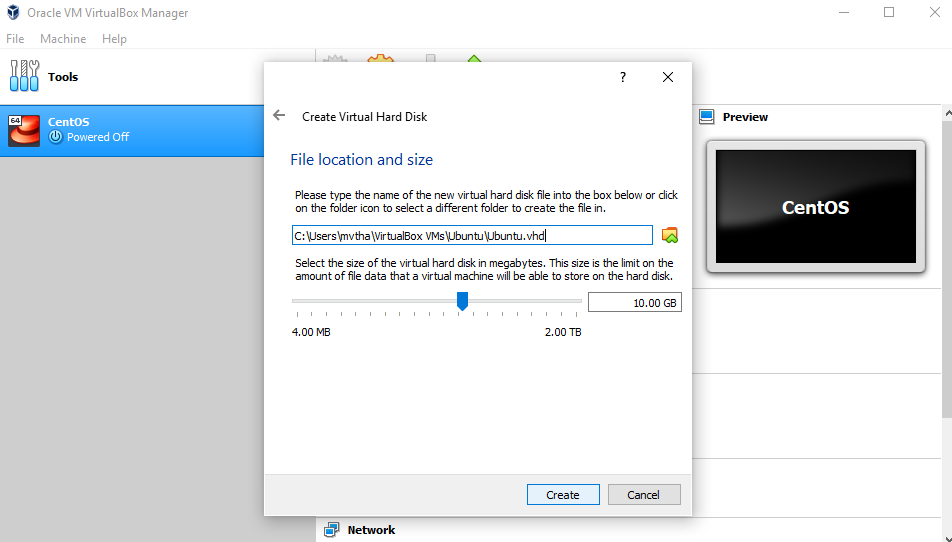
After creating a virtual hard disk you’ll see Ubuntu in your dashboard.

Now, we have to set up the Ubuntu disk image file (.iso)
The Ubuntu disk image file can be downloaded here: Ubuntu OS download
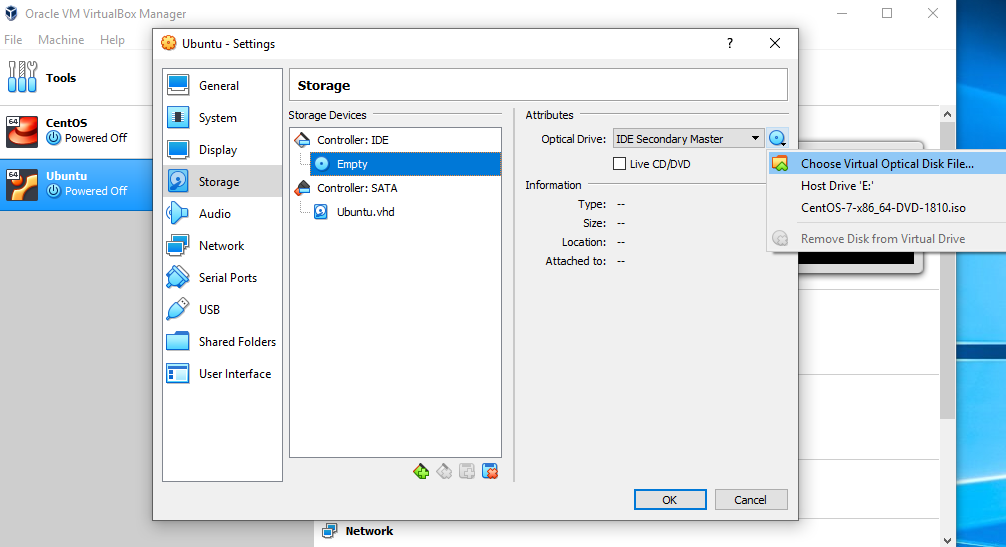
To set up the Ubuntu disk image file, go to settings and follow these steps:
- Click “Storage”.
- In storage devices, click “Empty”.
- In attributes, click the disk image and “Choose Virtual Optical Disk File”.
- Select the Ubuntu disk image file and open it.
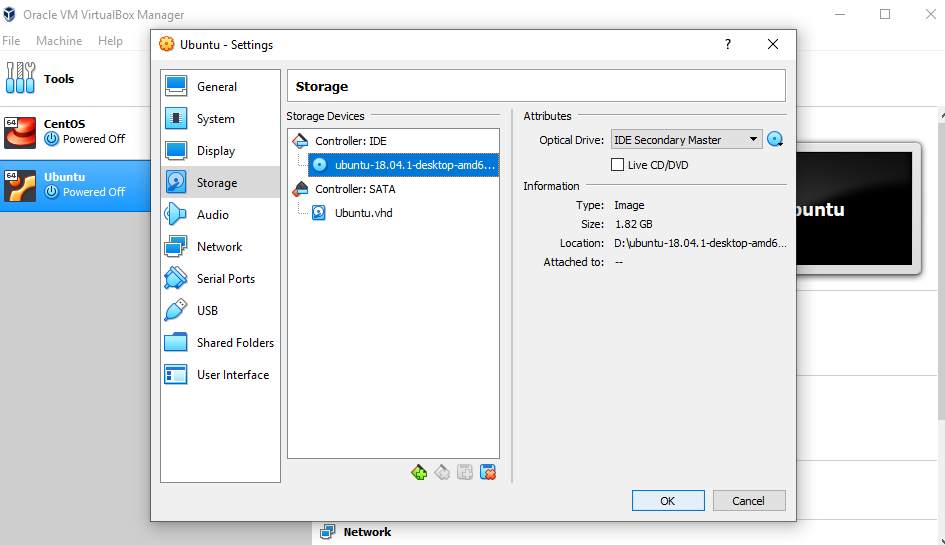
Click OK.
Your Ubuntu OS is fully ready for installation in your VirtualBox. So let’s start it!

NOTE: Ubuntu VirtualBox installation and actual OS installation steps may vary. This guide helps you to install Ubuntu in VirtualBox only.
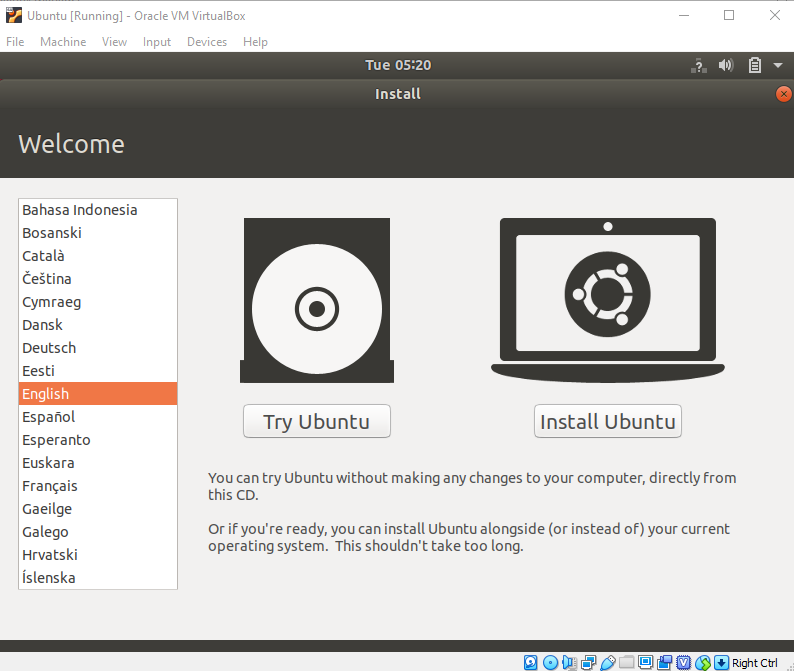
Let’s install Ubuntu!
Click Install Ubuntu.
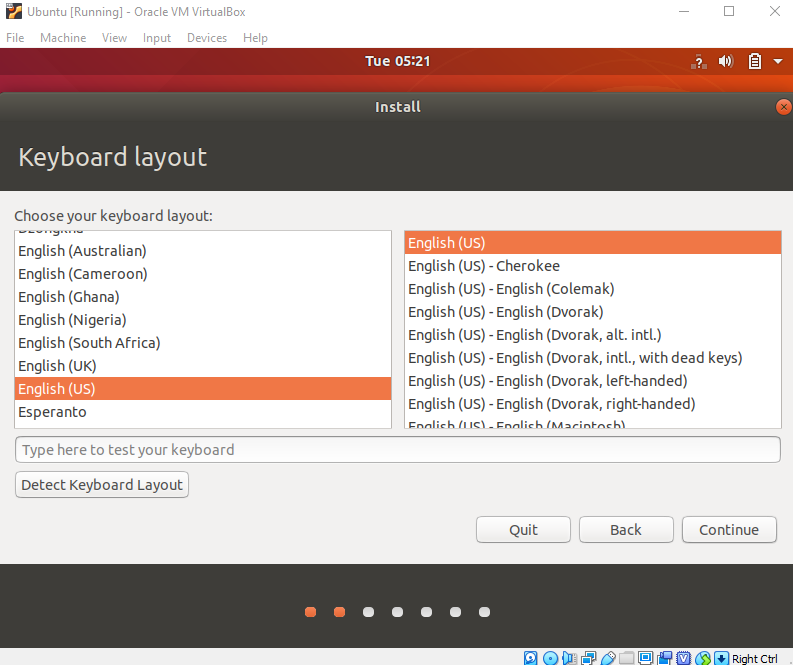
Select your keyboard layout.
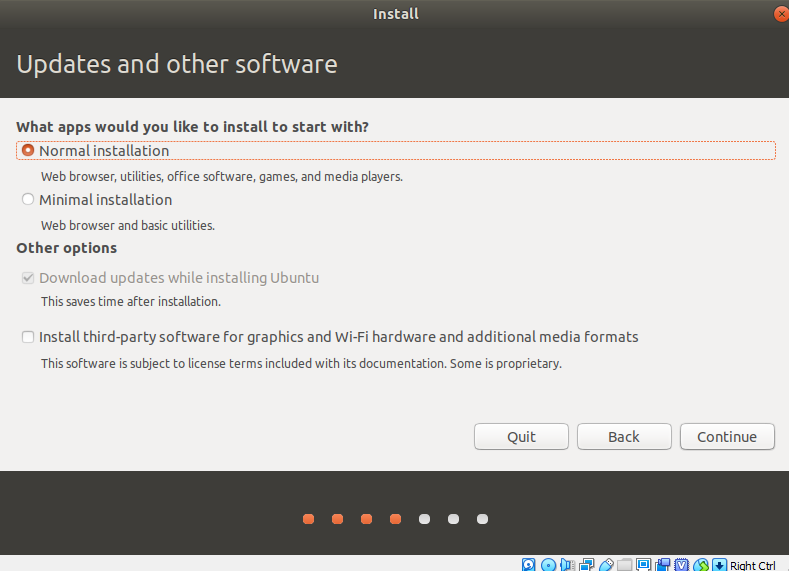
In “Updates and other software” section check the “Normal installation” and continue.
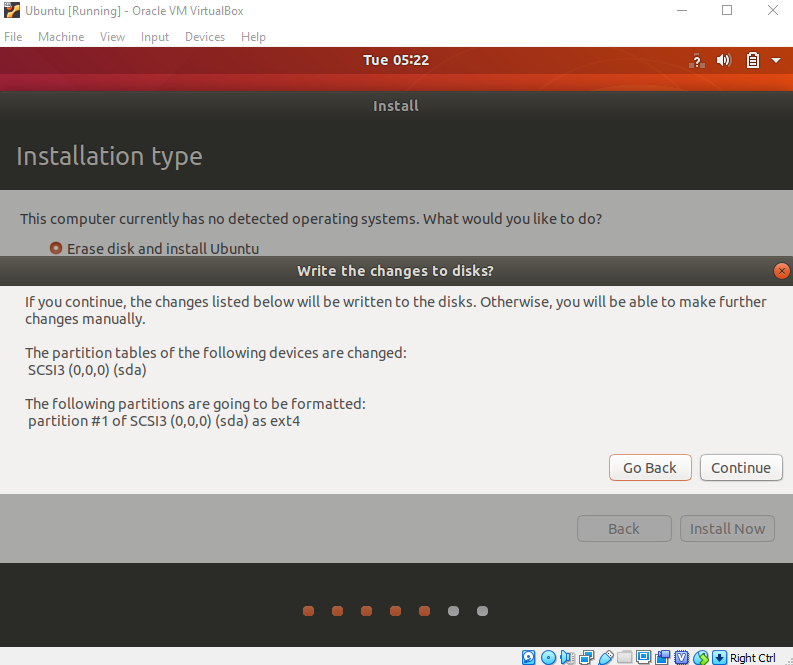
In “Installation type”, check “Erase disk and install Ubuntu”.
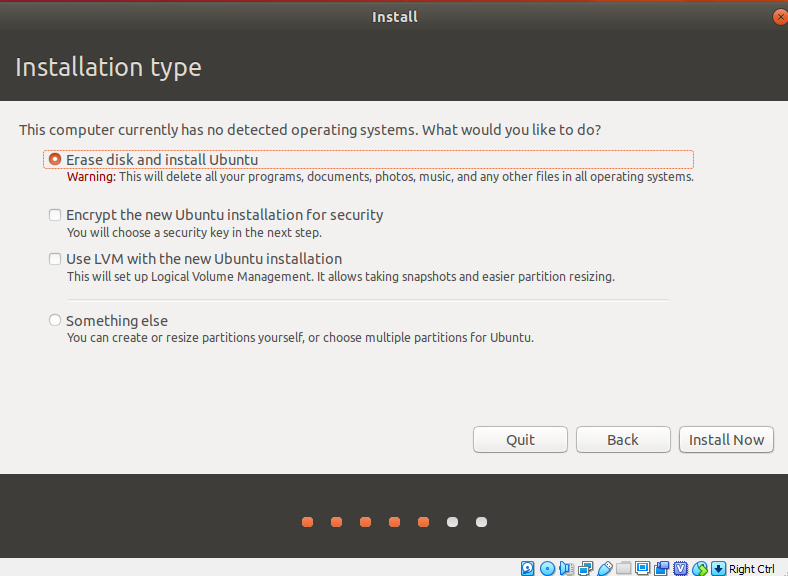
Click “Continue”.
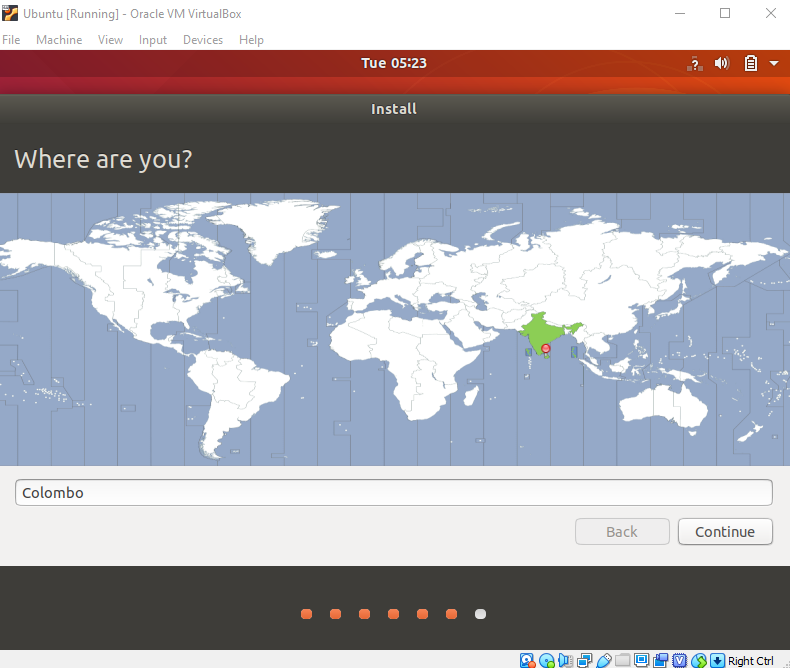
Choose your current location.
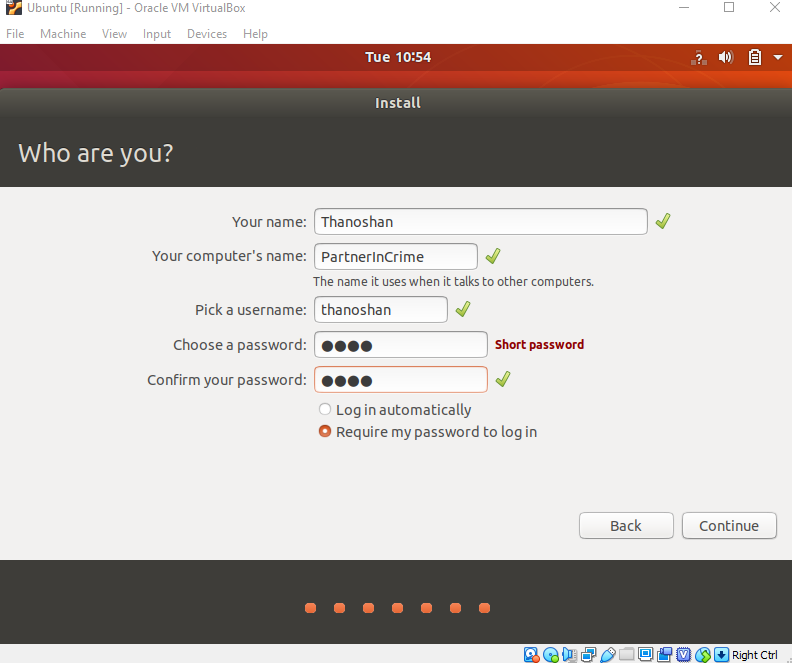
Now, set up your profile.
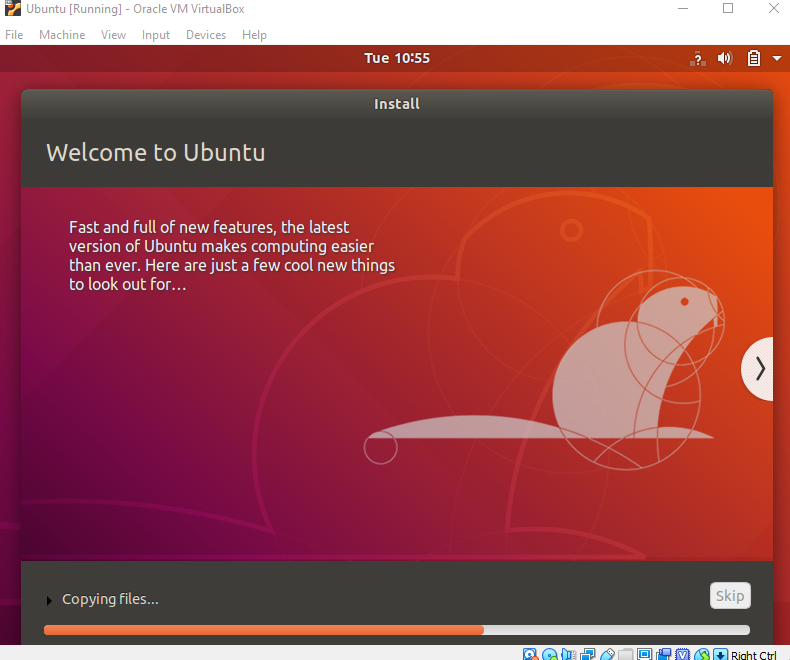
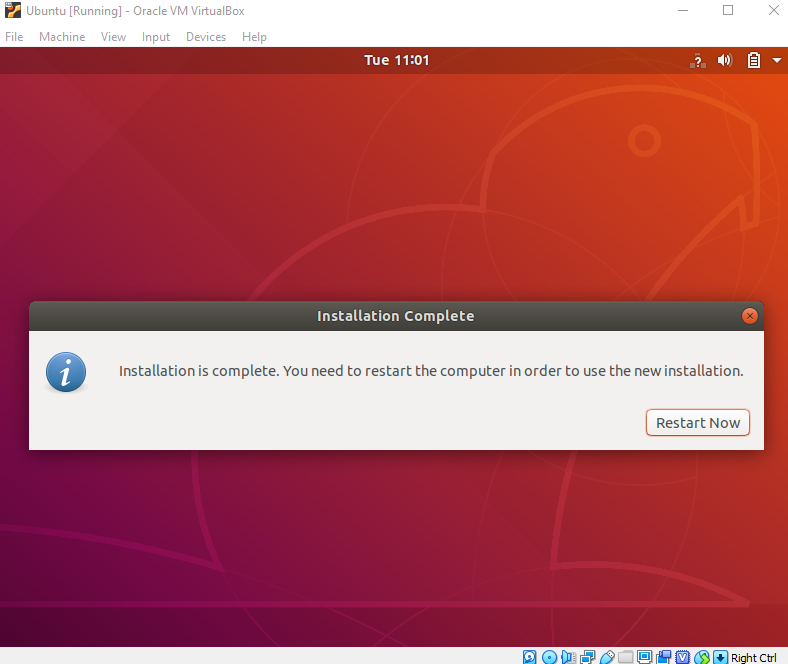
You’ll see Ubuntu installation.
After the installation, restart it.
After logging in, you’ll see Ubuntu desktop.

We have successfully installed Ubuntu in VirtualBox. It’s ready to use for your future development projects.
Let’s verify the installation.
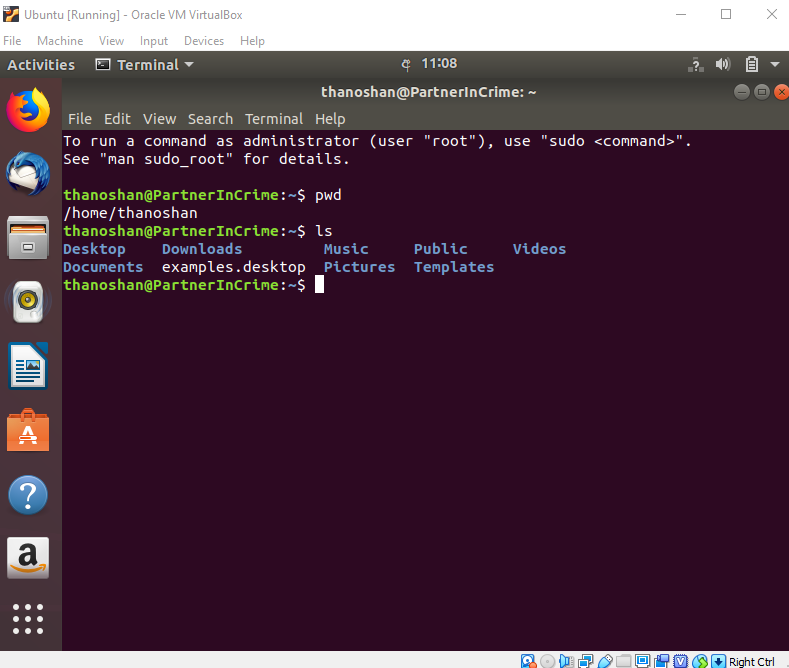
Open your terminal (Press Ctrl+Alt+T) and type the below commands and check if they work.
- pwd: This will print the current working directory.
- ls: This will list all items in your current directory.
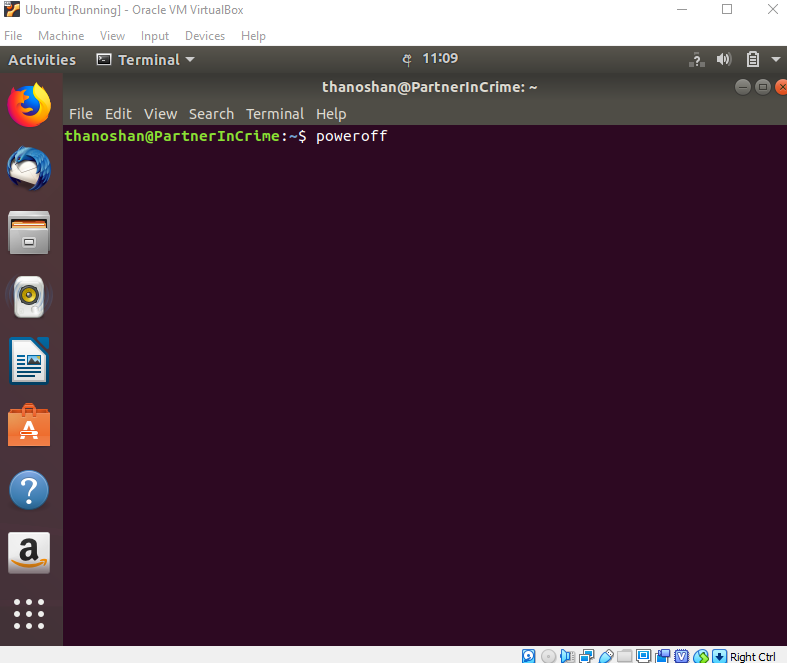
After checking those, power off your machine by using the following command.
poweroff
Conclusion
VirtualBox is free and is a great tool for running multiple OS in a single OS. Ubuntu has its benefits. If you’re a beginner to Linux, I would recommend you to use Ubuntu as it’s beginner friendly.
Please feel free to let me know if you have any questions.
Thank you for reading.
Happy Coding!
#Ubuntu #Oracle #VirtualBox