Let’s setup our lab environment for app development using Flutter. We will be using Visual Studio Code and Android studio IDE.
So what exactly is flutter?
Flutter is an open-source UI software development kit created by Google. It is used to develop applications for Android, iOS, Linux, Mac, Windows, Google Fuchsia and the web from a single codebase.
Flutter consists of two important parts:
- An SDK (Software Development Kit): A collection of tools that are going to help you develop your applications. This includes tools to compile your code into native machine code (code for iOS and Android).
- A Framework (UI Library based on widgets): A collection of reusable UI elements (buttons, text inputs, sliders, and so on) that you can personalize for your own needs.
To develop with Flutter, you will use a programming language called Dart. The language was created by Google in October 2011, but it has improved a lot over these past years.
Dart focuses on front-end development, and you can use it to create mobile and web applications.
If you know a bit of programming, Dart is a typed object programming language. You can compare Dart’s syntax to JavaScript.
What kinds of apps can I build with Flutter?
Flutter is optimized for 2D mobile apps that want to run on both Android and iOS. Flutter is also great for interactive apps that you want to run on your web pages or on the desktop. (Note that web support is in beta, and desktop support is in alpha.)
Apps that need to deliver brand-first designs are particularly well suited for Flutter. However, apps that need to look like stock platform apps can also be built with Flutter.
You can build full-featured apps with Flutter, including camera, geolocation, network, storage, 3rd-party SDKs, and more
Software Prerequisites:
- Operating System: Windows 7 or Later version of Windows (64 bit).
- Flutter application for windows/mac/linux (Available on the official flutter website)
- Android studio IDE
- Visual Studio Code for windows/mac/linux.

Prerequisites
So let’s get started!
Firstly, we need to extract the .zip file for Flutter Windows that we’ve downloaded already. As soon as we extract, flutter will be installed. All we need to do is set the path. After extraction, we should get the following files:
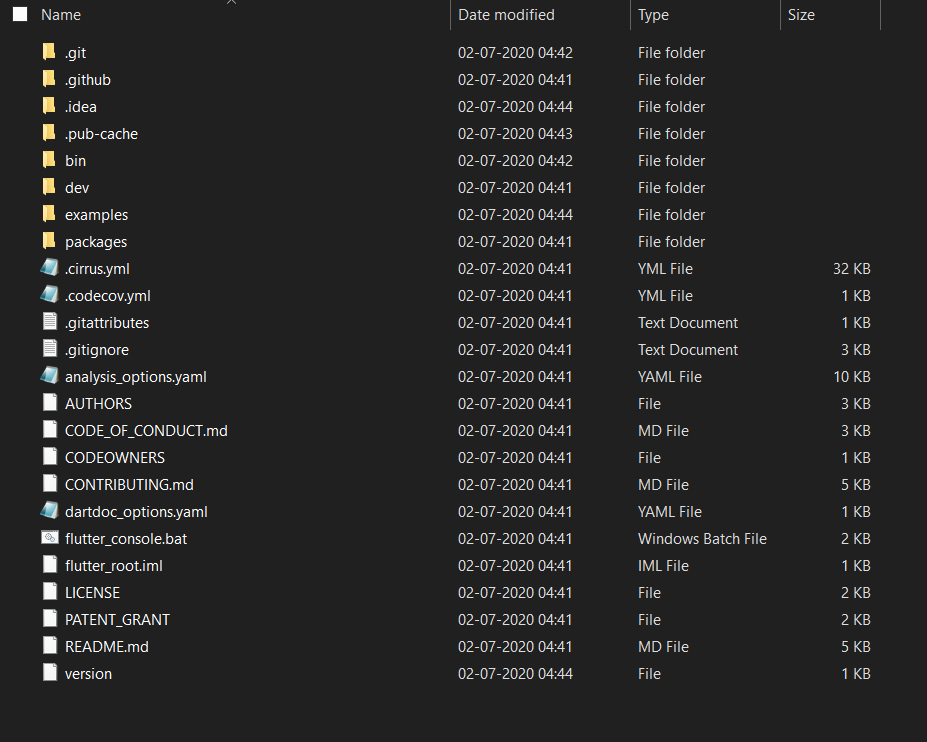
Flutter Windows
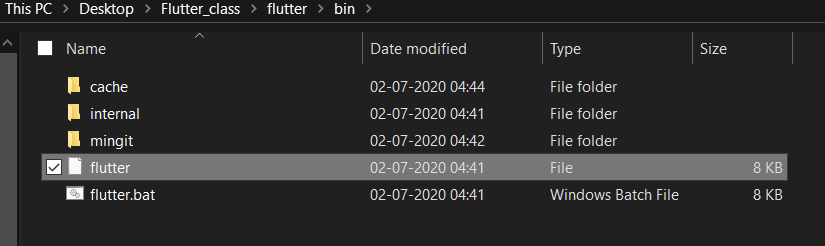
This is the program we will use and will have to set it’s path
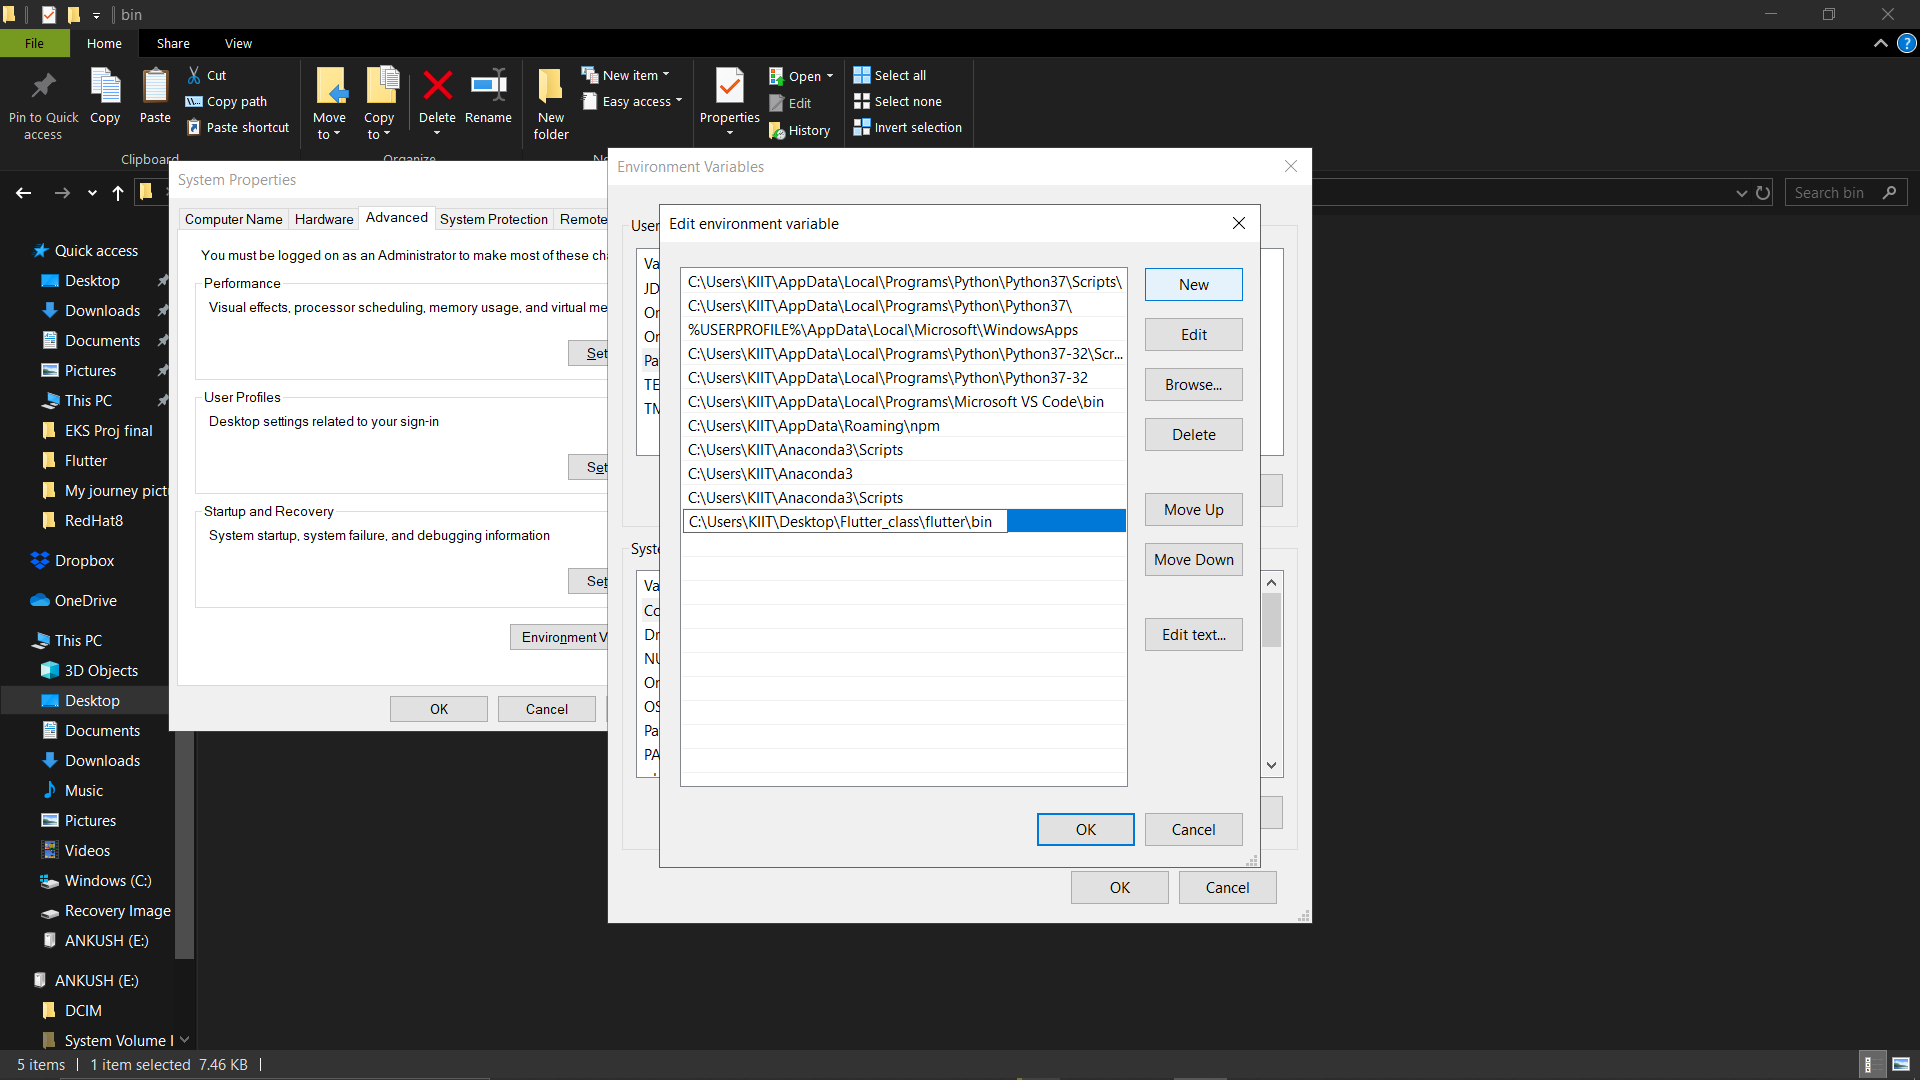
New Path added successfully in the Environment Variables
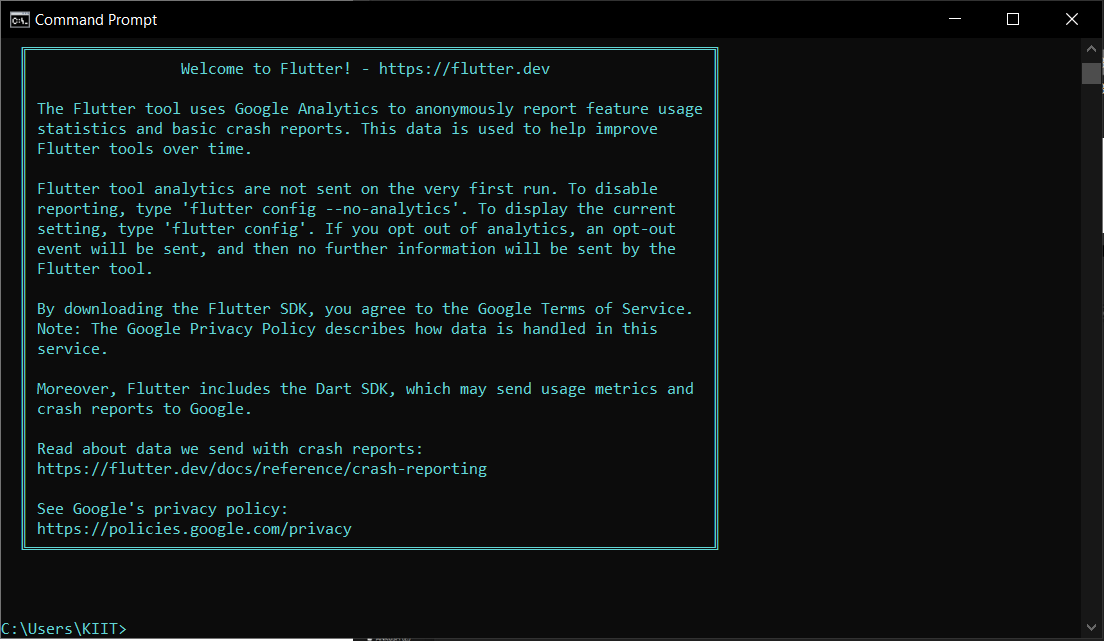
In Command Prompt, if we execute the command “flutter” and the following output comes up, installation of flutter is successful!
#flutter-widget #dart #android #app-development #ui #visual studio code