It is no doubt that doing a data science and machine learning project, starting from collecting the data, processing the data, visualizing insights about the data, and developing a machine learning model to do a predictive task is a fun thing to do. What makes it more fun and doable is that we can do all of those steps in our local machine and then be done with it.
However, wouldn’t it be awesome if other people can make use of our machine learning model to do fun and cool stuff? The true magic of machine learning comes when our model can get into other people’s hand and they can do useful stuff from it.
Creating a web app is one of the solutions such that other people can make use of our machine learning model. Fortunately, it is very simple to create a web app nowadays.
If you’re using Python, you can use Streamlit library to create a simple machine learning web app in your local machine. To deploy the web app to be accessible to other people, then we can use Heroku or other cloud platforms. In this article, I will show you step-by-step on how to create your own simple web app for image classification using Python, Streamlit, and Heroku.
If you haven’t installed Streamlit yet, you can install it by running the following pip command in your prompt.
pip install streamlit
Image Classification Data
For this image classification example, the rock-paper-scissor dataset created by Laurence Moroney will be used. You can download the data on his website. As a summary, rock-paper-scissor is a synthetic dataset which contains people’s hand forming either rock, paper, or scissor shape. In total, there are 2520 training images and 372 test images.
Below is the sneak-peek of what the synthetic image data look like:
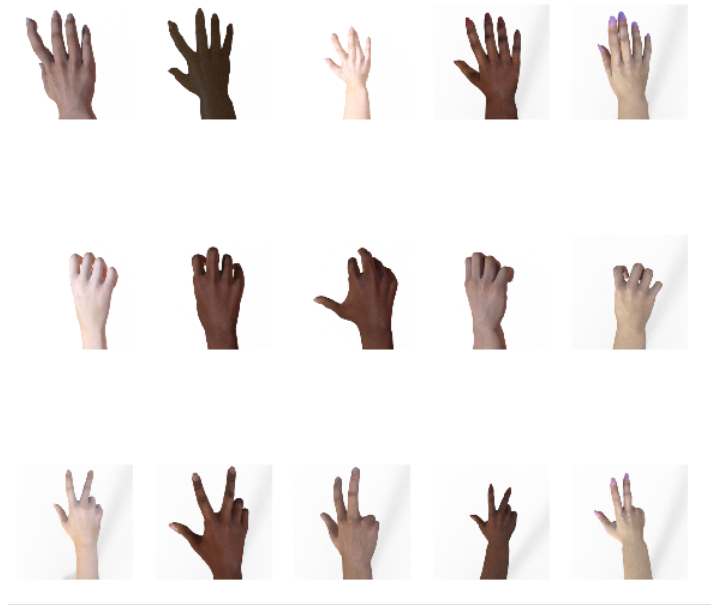
Sneak-peek of training images of rock-paper-scissor dataset
Overall there are three steps will be covered in this article:
- Creating the first Python file to load the data, build the model, and finally train the model.
- Creating the second Python file to load the model and to build the web app.
- Deploying the web app using Heroku.
Load the Data, Build the Model, and Train the Model
As a first step, download the training set and the test set and save it to the directory of your choice. Next, you need to unzip them. There will be two folders, one called ‘rps’ for training images and the other called _‘rps-test-set’ _for test images. After that, create a Python file called rps_model.py to load the data, build the machine learning model, and train the model.
#machine-learning #data-science #artificial-intelligence #deep-learning #python