Learn how to use web workers in JavaScript to create parallel programming and perform multiple operations simultaneously rather than interleaving them.
Web workers enable developers to benefit from parallel programming in JavaScript. Parallel programming lets us run different computations at the same time. Let’s see how we benefit from doing tasks in parallel as humans to help us understand the value of web workers.
Let’s imagine that each one of us runs a tech blog. We work by ourselves and are responsible for coding a demo app, writing about the app development process, and creating assets for the post (like diagrams, images, or logos). That’s a heavy task pipeline to handle by ourselves. Coding the app and writing the content are interconnected since the experience of writing the code motivates writing the content. However, creating assets is something that we could delegate to someone else.
Let’s say that we have a group of friends that are talented designers. They agree to create the assets for us. All that they ask is for us to message them a description or sketch of the asset and they will reply back with a cool professional version of it when they are done. Now, we only need to focus on coding, writing, and integrating the assets of the designers once they message us.
This will give us a huge productivity boost. Initially, we were being blocked from coding and writing whenever we had to design assets. The completion of a blog post would have taken much longer if we were to work alone than if we were to delegate one task to a designer friend.
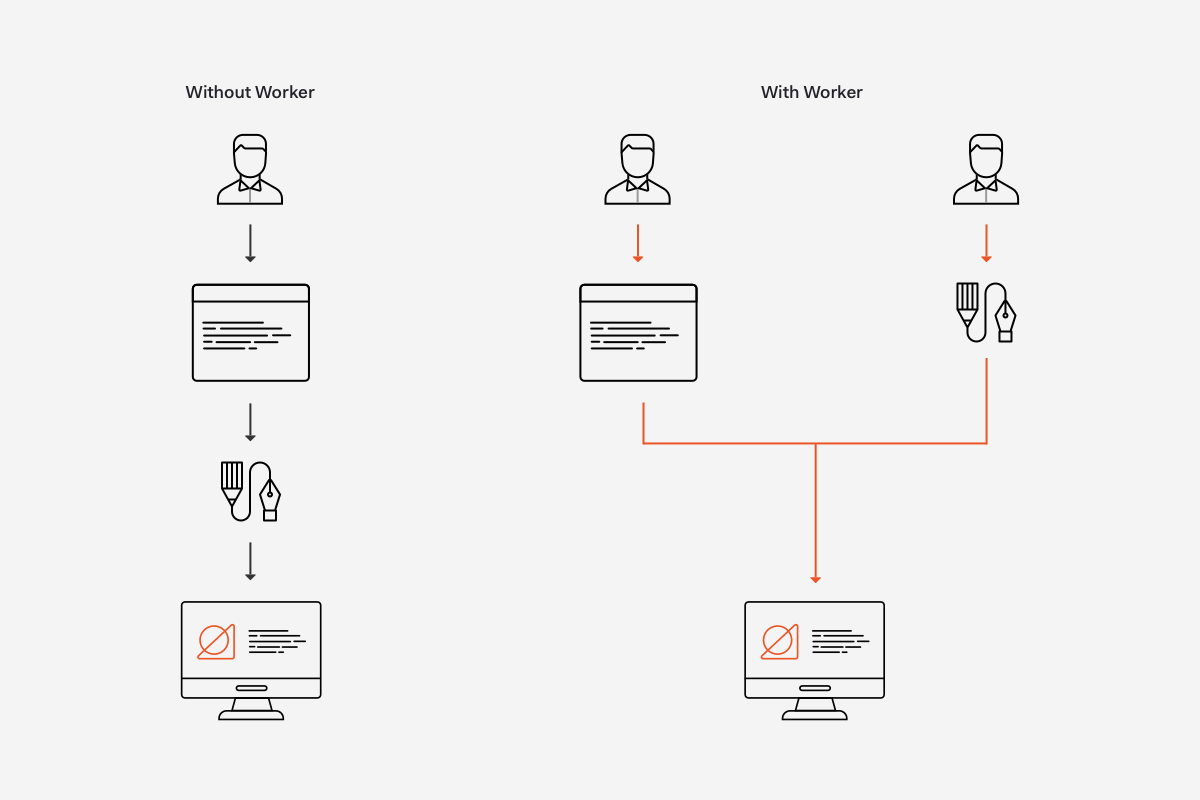
The design team handles the task asynchronously on their own pipeline. The design team acts exactly how a web worker acts in JavaScript applications. JavaScript is a single-threaded language. As such, running expensive logic in the main thread can block it and make our JavaScript application seem slow or unresponsive. Using web workers, we can create a separate thread to run any logic without interrupting the main thread.
[“Web workers in JavaScript allows us to create parallel programming to perform multiple operations simultaneously rather than interleaving them.”> [“Web workers in JavaScript allows us to create parallel programming to perform multiple operations simultaneously rather than interleaving them.”
Let’s explore what we need to know to make use of web workers in JavaScript and what benefits it brings to a web application.
[“Web workers in JavaScript allows us to create parallel programming to perform multiple operations simultaneously rather than interleaving them.”> [“Web workers in JavaScript allows us to create parallel programming to perform multiple operations simultaneously rather than interleaving them.”> [“Web workers in JavaScript allows us to create parallel programming to perform multiple operations simultaneously rather than interleaving them.”> [“Web workers in JavaScript allows us to create parallel programming to perform multiple operations simultaneously rather than interleaving them.”## Why use JavaScript Web Workers?
Let’s expand a bit more on what Jason Miller explained in his tweets.
In JavaScript, we can create parallel programming to perform multiple operations simultaneously using web workers. Web workers let us create background threads that are separate from the main execution thread, where we usually run our user interface logic. The core advantage of this workload separation is that we can run expensive operations within an isolated thread without interrupting or affecting the responsiveness and usability of the main thread. When the background thread completes its task it seamlessly notifies the main thread about the results through an event that is managed through regular JavaScript event handling.
[“Web workers in JavaScript allows us to create parallel programming to perform multiple operations simultaneously rather than interleaving them.”> [“Web workers in JavaScript allows us to create parallel programming to perform multiple operations simultaneously rather than interleaving them.”#### Tweet This
[“Web workers in JavaScript allows us to create parallel programming to perform multiple operations simultaneously rather than interleaving them.”> [“Web workers in JavaScript allows us to create parallel programming to perform multiple operations simultaneously rather than interleaving them.”
Web workers effectively enable a form of multi-threading in JavaScript with some restrictions such as not being able to access the DOM and not having access to the web worker’s parent page (the page that created it). With that in mind, let’s learn next how we can create web workers.
Setting Up a Development Environment
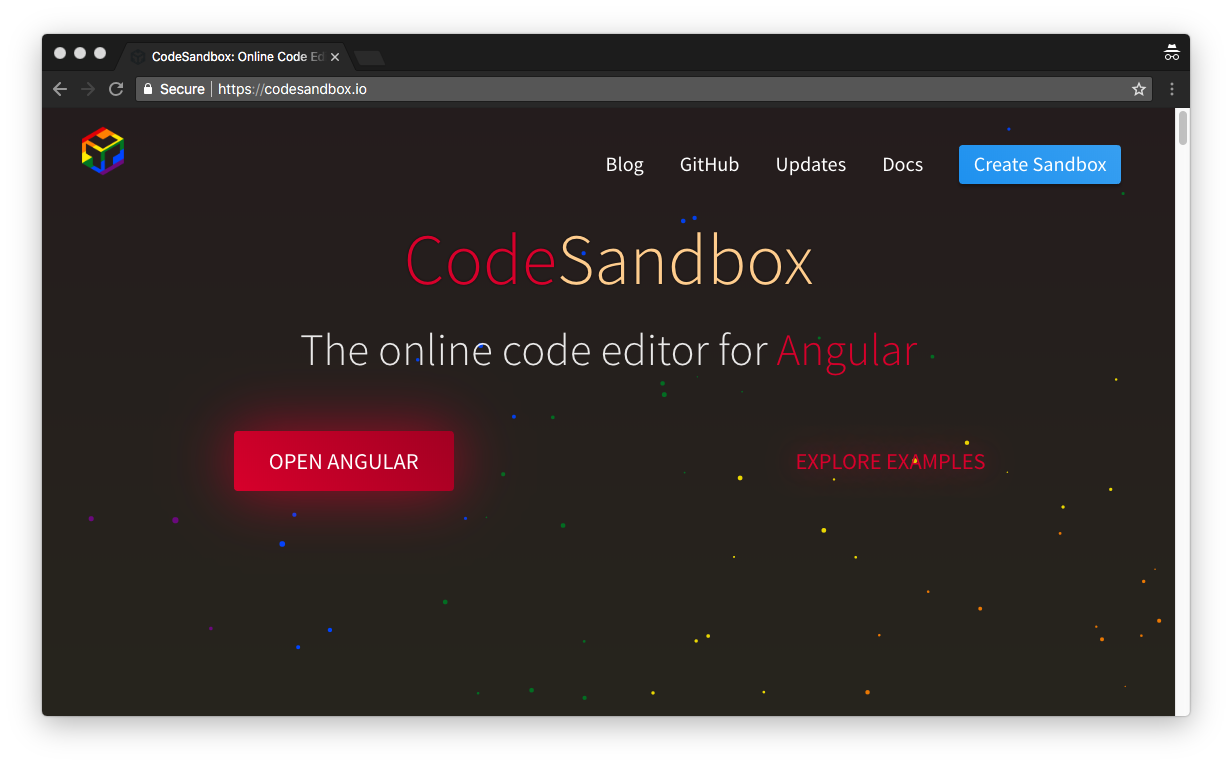
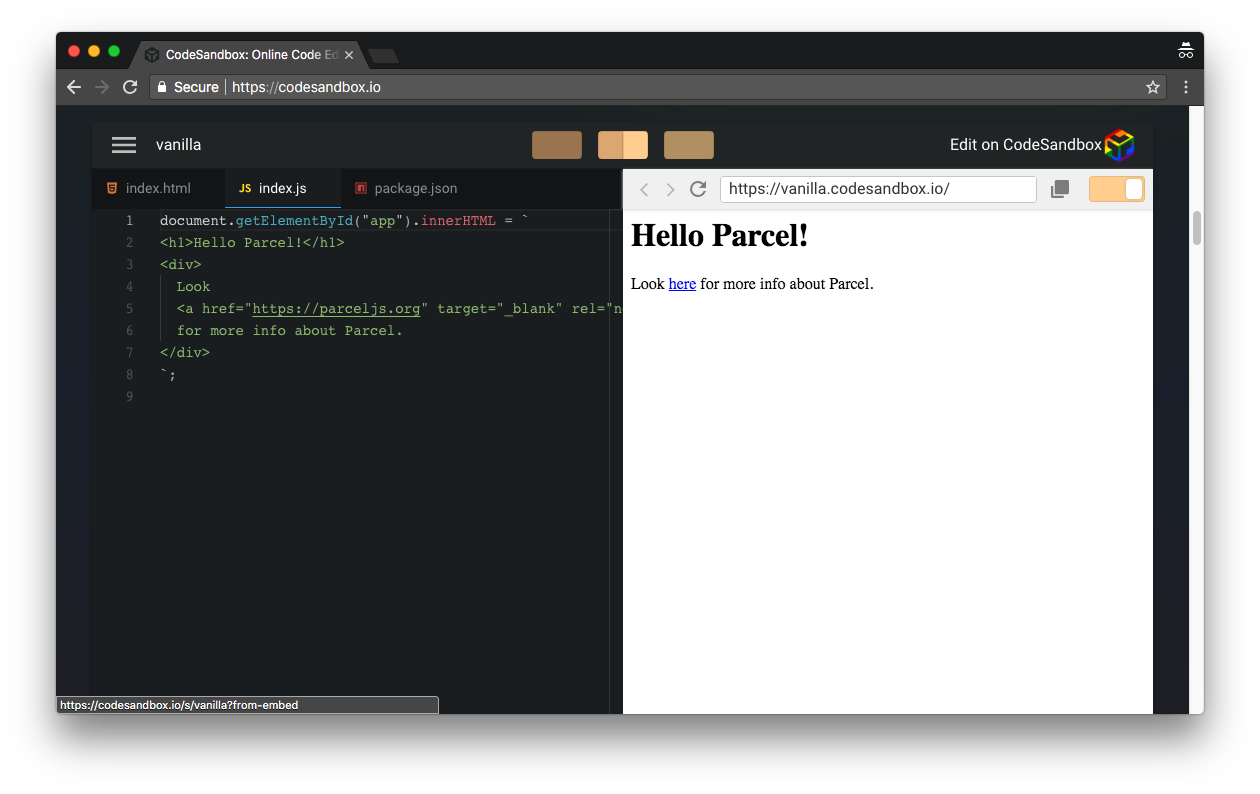
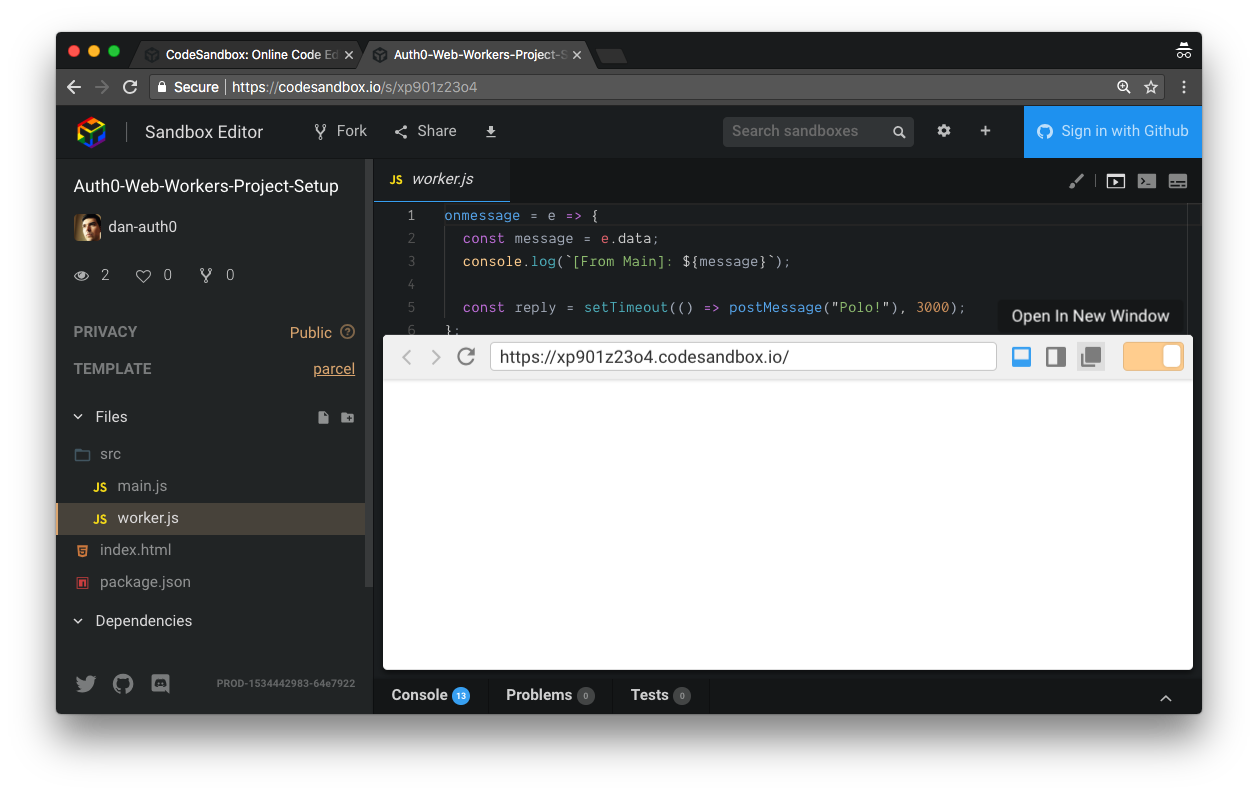
Getting hands-on with web workers will help us understand them better! For the purpose of this blog post, we’ll be running the sample code within a CodeSandbox project. It’s easy to bootstrap and run a vanilla JavaScript project there. Please, follow these steps:
- Visit CodeSandbox.
- Visit CodeSandbox.
![]()
- Visit CodeSandbox.
- Visit CodeSandbox.
- Visit CodeSandbox.
<html>

<head>
    <title>Parcel Sandbox</title>
    <meta charset="UTF-8" />
</head>

<body>
    <div id="app"></div>

    <script src="src/main.js"></script>

</body>

</html>
We’ll soon learn why we are creating these files. CodeSandbox uses ParcelJS to bundle the JavaScript application easily.
[“Web workers in JavaScript allows us to create parallel programming to perform multiple operations simultaneously rather than interleaving them.”## Creating Web Workers
To create a web worker, we use the [Worker()](https://developer.mozilla.org/en-US/docs/Web/API/Worker/Worker "Worker()") constructor from the Web Workers API. The Worker() constructor has the following signature:
Worker(aURL, options);
aURL is a string that represents the URL of the script that we want the worker to execute.
options is an object to customize the Worker instance. The allowed options are type, credentials, and name. We don’t need to configure them for the scope of this post.
In practice, we instantiate a web worker in the main thread. The main thread could be represented by a JavaScript file, for example, main.js, that is the entry point to the application. The web worker thread could be represented by another file, for example, worker.js. main.js then creates a new Worker using the worker.js file. Let’s see this in action.
Let’s open src/main.js in our project and populate it with the following code:
// src/main.js

const worker = new Worker("../src/worker.js");
In the code above, worker becomes a Worker instance that will execute the script on worker.js.
[“Web workers in JavaScript allows us to create parallel programming to perform multiple operations simultaneously rather than interleaving them.”
That’s it for the creation of a web worker! We effectively now have two threads available in our application:mainandworker. Next, we’ll learn how to communicate between threads.
Sending Messages To and From a Web Worker
In the introduction, we discussed how the internal collaboration between our Content and Design teams at Auth0 resemble the interaction between threads using web workers in JavaScript. In our case, a Content Engineer represents the main thread and the Designer represents the worker thread. How would the main thread ping the worker thread and vice versa? We do that through the [postMessage()](https://developer.mozilla.org/en-US/docs/Web/API/Worker/postMessage "postMessage()") method and the [onmessage](https://developer.mozilla.org/en-US/docs/Web/API/Worker/onmessage "onmessage") event handler from the Web Workers API.
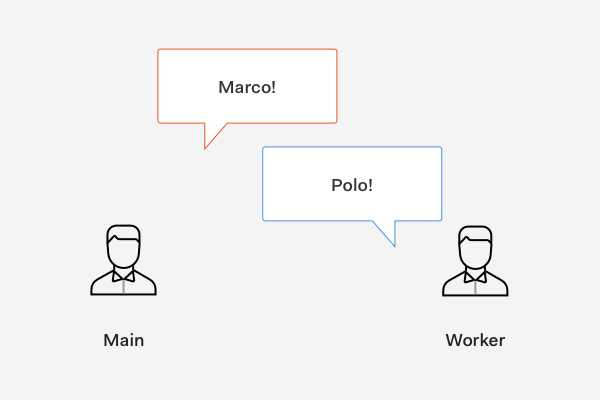
Let’s use the classic Marco Polo game to see this communication in action. In this game, one player shouts “Marco!” and the other player must reply “Polo!”. Within our context we want to do the following:
main.jsandworker.jsare on standby listening for any message between each other.main.jssends a message toworker.js:"Marco!".worker.jsgets the message frommain.jsand replies:"Polo!".- Step 2 and Step 3 are repeated infinitely.
Step 1: Listen for Messages
The Worker.onmessage event handler let us listen for messages between the threads. The signature of this Worker event handler property is as follows:
myWorker.onmessage = e => {
  // Event handler logic
};
The function assigned to onmessage is called when a message event occurs.
To set this up in main.js, we use the Worker instance we created:
// src/main.js

const worker = new Worker("../src/worker.js");

worker.onmessage = e => {};
To set this up in the web worker thread represented by worker.js, we use the onmessage property directly:
// src/worker.js

onmessage = e => {};
How do we access the message data that is being sent? The message payload can be accessed from the message event’s data property.
Let’s update our code as follows:
// src/main.js

const worker = new Worker("../src/worker.js");

worker.onmessage = e => {
  const message = e.data;
  console.log(`[From Worker]: ${message}`);
};

// src/worker.js

onmessage = e => {
  const message = e.data;
  console.log(`[From Main]: ${message}`);
};
Let’s save our work for each file. On CodeSandbox, we can use CMD + S or CTRL + S to save each file.
We got our threads listening for messages between each other. Next, let’s learn how to send messages.
Step 2: Send a Message from Main Thread to Worker Thread
To send messages, we rely on the Worker.postMessage() method:
worker.postMessage(message);
The postMessage() takes a single parameter representing the data that we want to send. This data may be any value or JavaScript object handled by the structured clone algorithm. As noted by MDN, the structured clone algorithm is an algorithm defined by the HTML5 specification for copying complex JavaScript objects. Why do we need to rely on this algorithm? Data transferred through web workers is passed as a copy, not as a reference.
With an understanding of how postMessage() work, let’s use this method to send a message from the main thread to the worker thread:
// src/main.js

const worker = new Worker("../src/worker.js");

worker.onmessage = e => {
  const message = e.data;
  console.log(`[From Worker]: ${message}`);
};

worker.postMessage("Marco!");
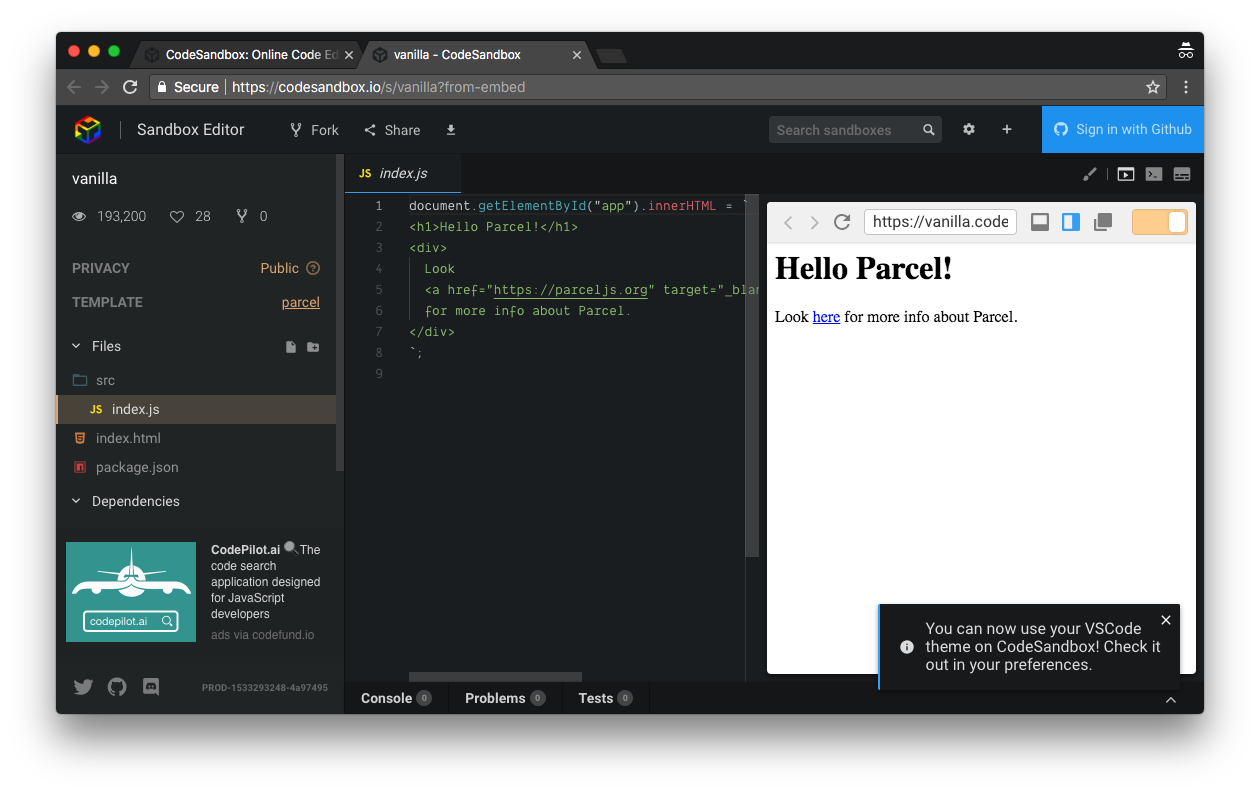
Let’s save our work and open the application preview on its own tab. This can be done by clicking on the Open In New Window button present in the navigation bar of the embedded browser:
In the new preview browser tab, let’s open the browser developer console and refresh the page. We should see the following output:
// [From Main]: Marco!
This output in the console confirms that our web worker is listening and reacting to the message event sent from main.js. Now, we need to reverse the communication. We need to send a message reply from worker.js to main.js.
Step 3: Send a Message from Worker Thread to Main Thread
This will be quick. We need to use the postMessage() method in the onmessage event handler in worker.js:
// src/worker.js

onmessage = e => {
  const message = e.data;
  console.log(`[From Main]: ${message}`);

  postMessage("Polo!");
};
Let’s save our work and refresh the preview browser tab. In the console, we should now see the following output:
// [From Main]: Marco!
// [From Worker]: Polo!
We have achieved bi-directional communication between threads, but the communication is short-lived. Let’s make this multi-threaded Marco Polo game run infinitely.
Step 4: Send Messages Between Main and Worker Infinitely
We are going to keep the communication between threads going endlessly. To better pace the back and forth, we are going to rely on [setTimeout()](https://developer.mozilla.org/en-US/docs/Web/API/WindowOrWorkerGlobalScope/setTimeout "setTimeout()") to delay messaging by 3 seconds.
To start, when main.js gets a message from worker.js, it replies back after 3 seconds:
// src/main.js

const worker = new Worker("../src/worker.js");

worker.onmessage = e => {
  const message = e.data;
  console.log(`[From Worker]: ${message}`);

  const reply = setTimeout(() => worker.postMessage("Marco!"), 3000);
};

worker.postMessage("Marco!");
Next, when worker.js gets a message from main.js it also replies back after 3 seconds:
// src/worker.js

onmessage = e => {
  const message = e.data;
  console.log(`[From Main]: ${message}`);

  const reply = setTimeout(() => postMessage("Polo!"), 3000);
};
The 3 seconds delay creates an eye-friendly pause to be able to see the communication calmly in the developer console. What makes this work infinitely is that every handled message event executes a postMessage() response. Before, the worker.onmessage in main.js did not have a reply within its body.
Let’s save our work and head back to the browser preview. Let’s refresh the page. After a few seconds, we should see the following output:
// [From Main]: Marco!
// [From Worker]: Polo!
// [From Main]: Marco!
// [From Worker]: Polo!
Your browser doesn’t support HTML5 video. Here is a instead.
This will go on forever until we close the browser tab running the preview of our application. But, we could also terminate the web worker manually. Let’s see how we can do that next.
Terminating a Web Worker
We can terminate web workers from the main thread immediately or from the worker thread.
From the main thread, we can terminate a web worker by calling the [terminate()](https://developer.mozilla.org/en-US/docs/Web/API/Worker "terminate()") method of the Web Workers API:
worker.terminate();
After terminate() is issued, the web worker is destroyed immediately without any chance of completing any ongoing or pending operations. The web worker is also given no time to clean up. Thus, terminating a web worker abruptly may lead to memory leaks.
We can also terminate a web worker from the worker thread using its own [close](https://developer.mozilla.org/en-US/docs/Web/API/DedicatedWorkerGlobalScope/close "close") method:
close();
Upon calling close(), any queued tasks present in the event loop are discarded and the web worker scope is closed.
Checking the documentation for close() may be confusing at first because there is a version of the [close()](https://developer.mozilla.org/en-US/docs/Web/API/WorkerGlobalScope "close()") method that has been deprecated. The deprecated version belongs to the WorkerGlobalScope interface. In reality, there are two types of web workers that we can create: dedicated and shared web workers. Each web worker type has its own interface, [DedicatedWorkerGlobalScope](https://developer.mozilla.org/en-US/docs/Web/API/DedicatedWorkerGlobalScope "DedicatedWorkerGlobalScope") and [SharedWorkerGlobalScope](https://developer.mozilla.org/en-US/docs/Web/API/SharedWorkerGlobalScope/close "SharedWorkerGlobalScope") respectively. For the scope of this introduction, we’ve used a dedicated web worker under the hood. The difference between these two types of web workers and how and where to use them will be addressed in a future post along with best practices on terminating workers!
Recap
We’ve learned the basics of how to create a web worker. We learned how to effectively send messages between two threads and how to react to those messages. We briefly touched on the subject of terminating web workers. This last task is to be handled with care and deserves a more detailed explanation. Badly terminated web workers may lead to memory leaks in the application.
[“Web workers in JavaScript allows us to create parallel programming to perform multiple operations simultaneously rather than interleaving them.”
What’s left to learn? A lot! Web workers have been around for a long time and they are great at executing expensive logic. This logic will be much more complex than what we’ve done in this blog post. We’d need to learn topics like handling errors, spawning subworkers, using external libraries, and monitoring web workers using developer tools.
Please let me know in the comments how you liked this introduction to web workers and what else you’d like to learn about this handy technology that lets us perform parallel programming in JavaScript.
#javascript #web-development