Installing Bootstrap in Angular Project with 2 simple steps
In this tutorial you will have learned the concepts listed below:
- How to create a new directory using the command,
- How to create a new Angular project,
- How to add style while creating a new Angular project
- How to Install NPM
- How to run the Angular project
- How to install Bootstrap files
- How to create a navigation bar in the Angular project
Steps to create a new Angular project,
Step 1
Open command prompt & create a new directory with the below command shown in the screenshot

Check your D: drive and the csharpcorner folder will be created.
Step 2
Now go ahead and create a new Angular project with the below command:

We are creating a new Angular application with ng new command and the application name in TaskManager. Now we are required to specify style options whether we want to use CSS, SASS, SCSS, etc. If you look at our command above we are using -style=scss command to add the styles. In order to add the routing to our application we need to give --routing as shown above. When the application is created it will try to install all npm packages, so to skip those installations we have to add --skip-install text in our command.
So our final command looks like below:
command: ng new TaskManager --style=scss --routing --skip-install
You can check your csharpcorner folder and see the application is created, it looks like below.
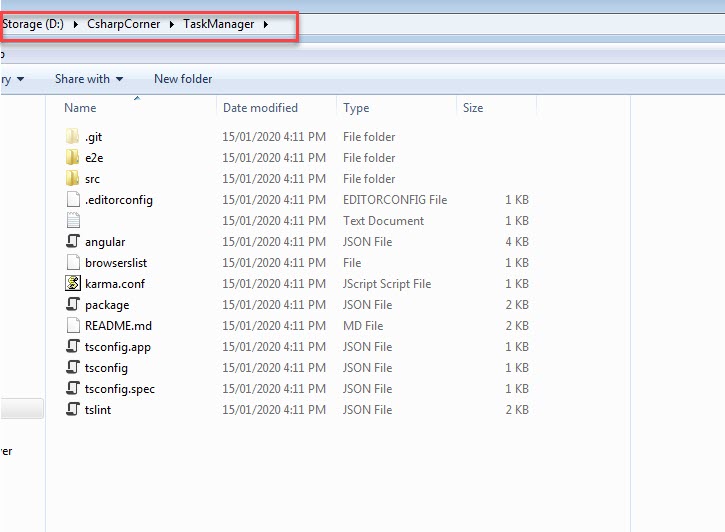
Install NPM Packages by running the below command, this will install the essential packages to run the Angular application.
npm install
Now open the folder in Visual Studio Code,

Now go back to command prompt and type this command ng serve --open, the default port number for angular is 4200, we can also change the default port by using this command and hit enter.
ng serve --open --port=8112
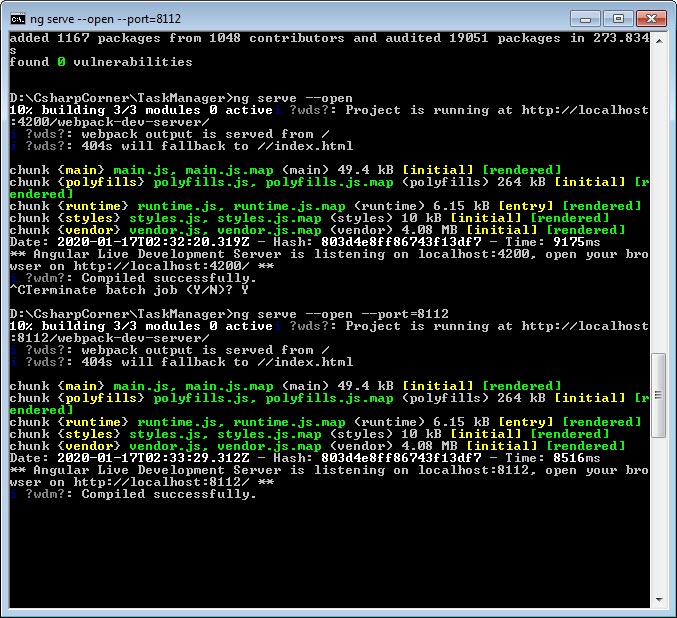

So far, we have learned,
- Creating a new Angular project with SCSS style,
- Installing NPM packages,
- Run the application by changing the default port number explicitly.
Now, let’ see how we can install Bootstrap in our new brand angular project
Install jquery package because bootstrap works on jquery, run this command in the command prompt,
_npm install jquery --save _
Next, install another package called popper.js, so the command is,
npm install popper.js --save
Now install the actual package called bootstrap, this package will load CSS files/javascript files of bootstrap.
npm install bootstrap --save
Additionally, in our article, we shall use font-awesome which provides a large set of icons,
npm install font-awesome --save
After installing all the above, we have to add these files in angular.json file in styles and scripts components as shown below,
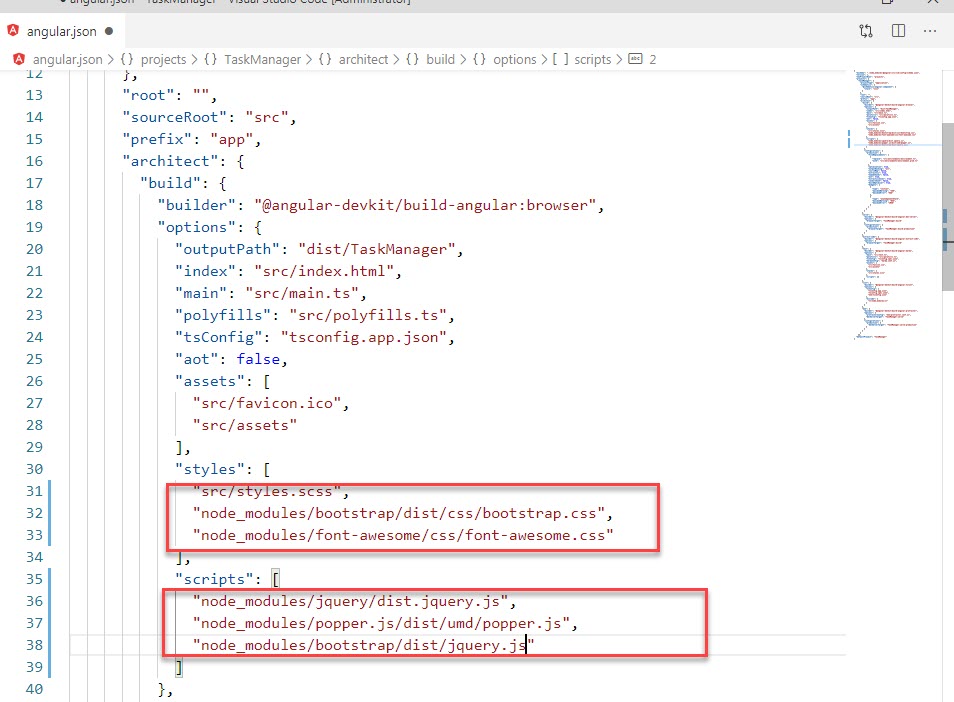
Now we have loaded essential CSS/javascript files that are required to run bootstrap.
Go back to the command prompt, stop the ng serve command by pressing cntrl+c twice and run the ng serve --open command again
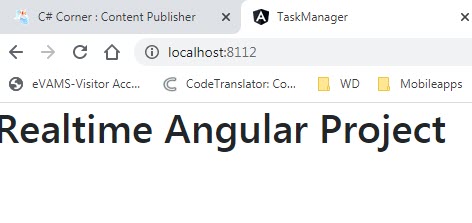
Result before adding bootstrap files

Results after adding bootstrap files
Finally, we are done adding bootstrap files to our Angular project. Now let me show you how to add a Navigation bar to our new brand angular application. Get “app.component.html” and create nav tag and the below code in the nav tag,
<nav class="navbar navbar-expand-sm bg-success navbar-dark">
    <a class="navbar-brand" href="#">
Angular Task Manager
</a>
    <button class="navbar-toggler" type="button" data-toggle="collapse" data-target="#mynav">
        <span class="navbar-toggler-icon"></span>
    </button>
    <div class="collapse navbar-collapse" id="mynav">
        <ul class="navbar-nav mr-auto">
            <li class="nav-item">
                <a class="nav-link" href="#">Dashboard</a>
            </li>
            <li class="nav-item">
                <a class="nav-link" href="#">About</a>
            </li>
        </ul>
        <form class="form-inline my-2 my-lg-0">
            <div class="input-group">
                <div class="input-group-prepend">
                    <span class="input-group-text" id="search">
                        <i class="fa fa-search"></i>
                    </span>
                </div>
                <input type="text" class="form-control" placeholder="Search">
                </div>
                <button class="btn btn-warning my2- my-sm-0" type="button">Search</button>
            </form>
        </div>
    </nav>
Screenshot reference
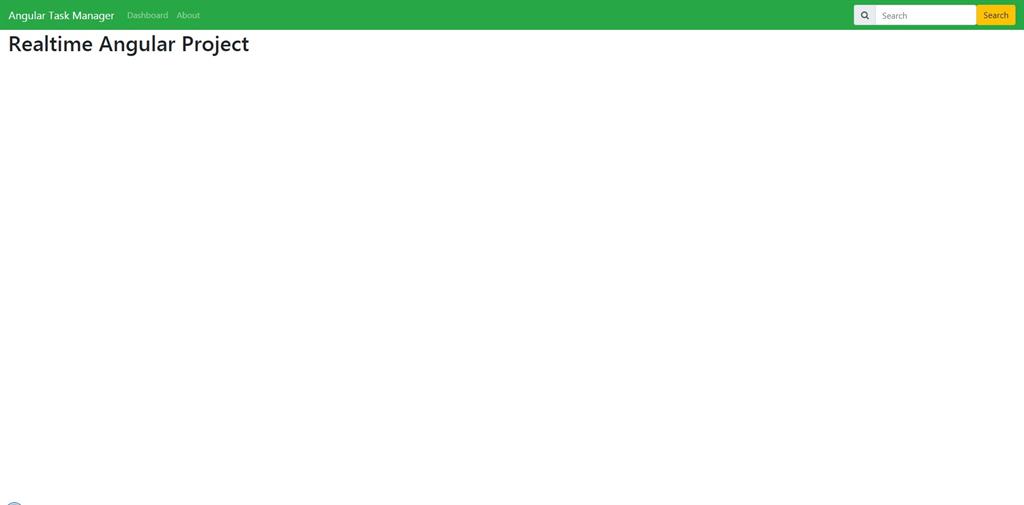
Now go back to command prompt window and run ng serve --open command again to see the result as below with maximized window,
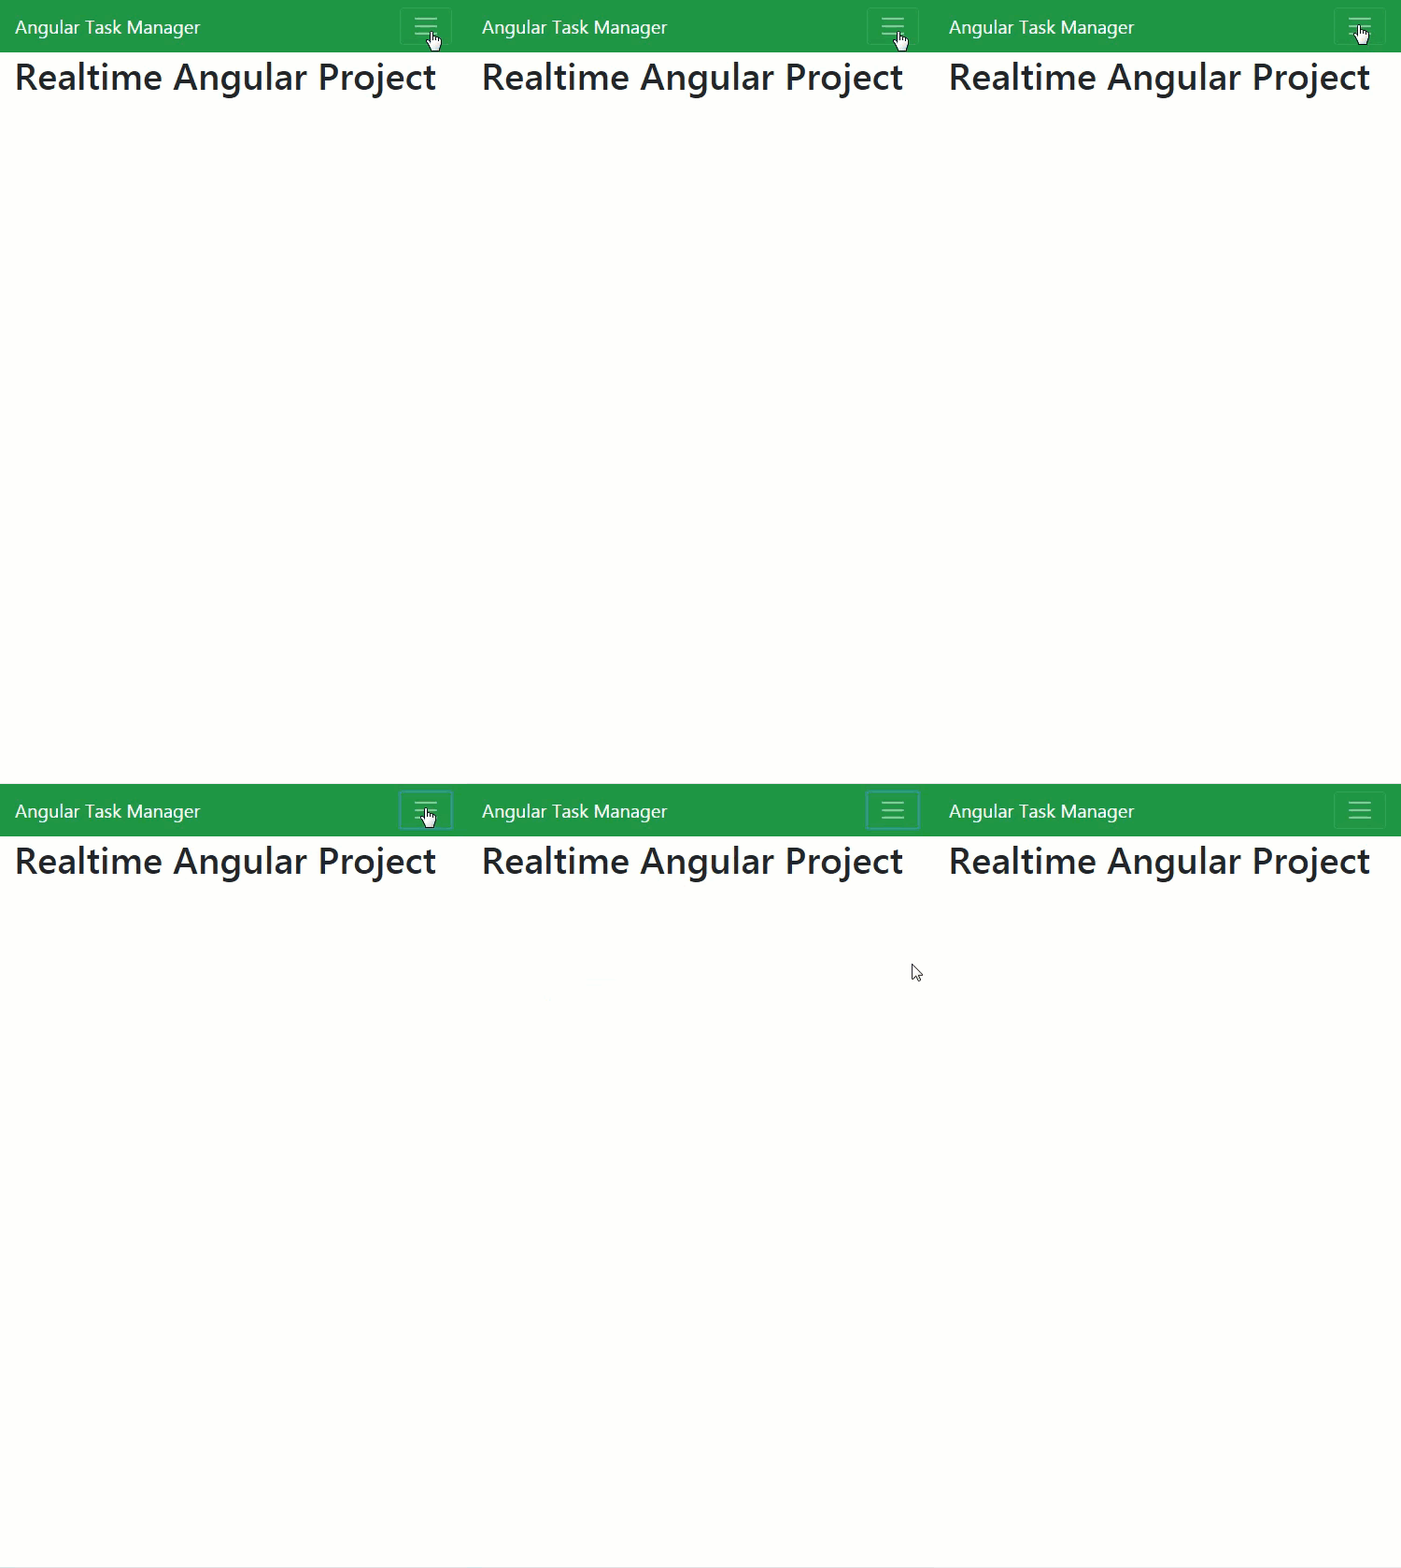
With minimized window,
Conclusion
In this article, we learned,
- How to create a new directory using the command
- How to create a new Angular project
- How to add style while creating a new angular project
- How to Install NPM
- How to run the Angular project
- How to install Bootstrap files
- How to create a navigation bar in the Angular project
Would you tell us how you feel about this article?
**Happy Coding ! **
#angular #npm #bootstrap #Installing-bootstrap
