A while back, we looked into Dynamic Type with the system font. This time, we are going to check out how to use Dynamic Type with a custom font in our iOS apps. Apple provides great APIs to make our apps accessible — even if we’re using custom font styles.
Add Custom Font to App
First, we need to add our custom font to the project. There are several steps involved, so let’s go over them.
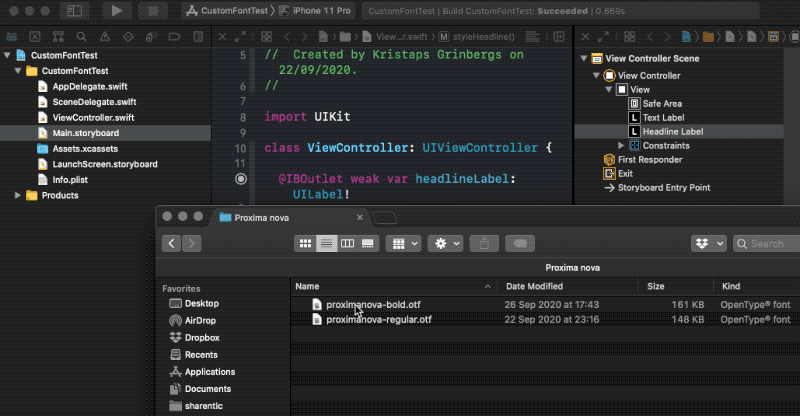
We need to add a font file to the Xcode app project. Currently, True Type Font (.ttf) and Open Type Font (.otf) files are being supported. Just drag and drop files in your XCode project. Be careful and select targets you want to use this font in:
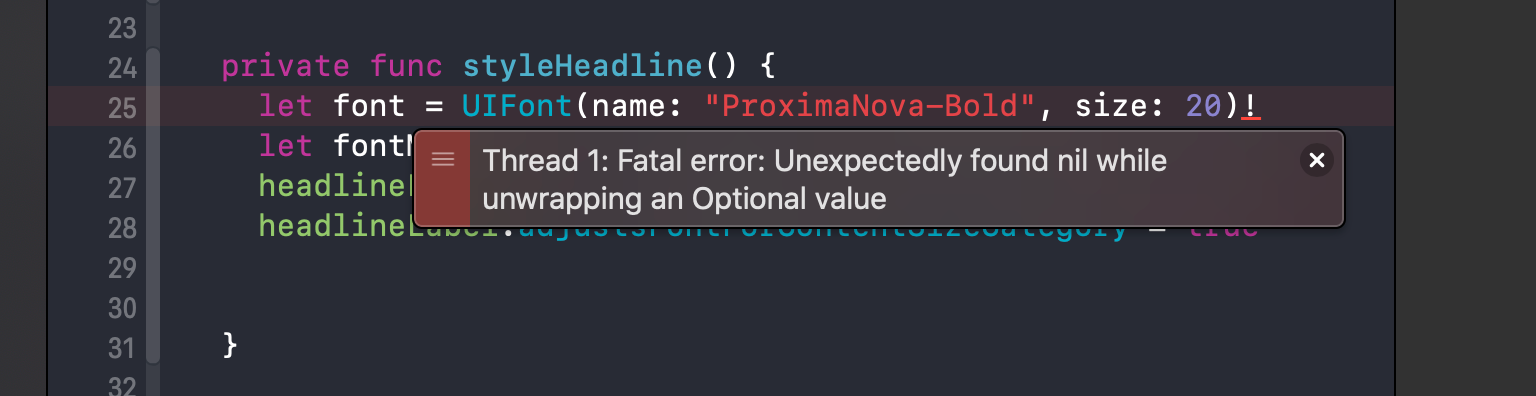
If you forget to add the font to the specific target membership in your Xcode project, you will run into an issue when the font file is not found:
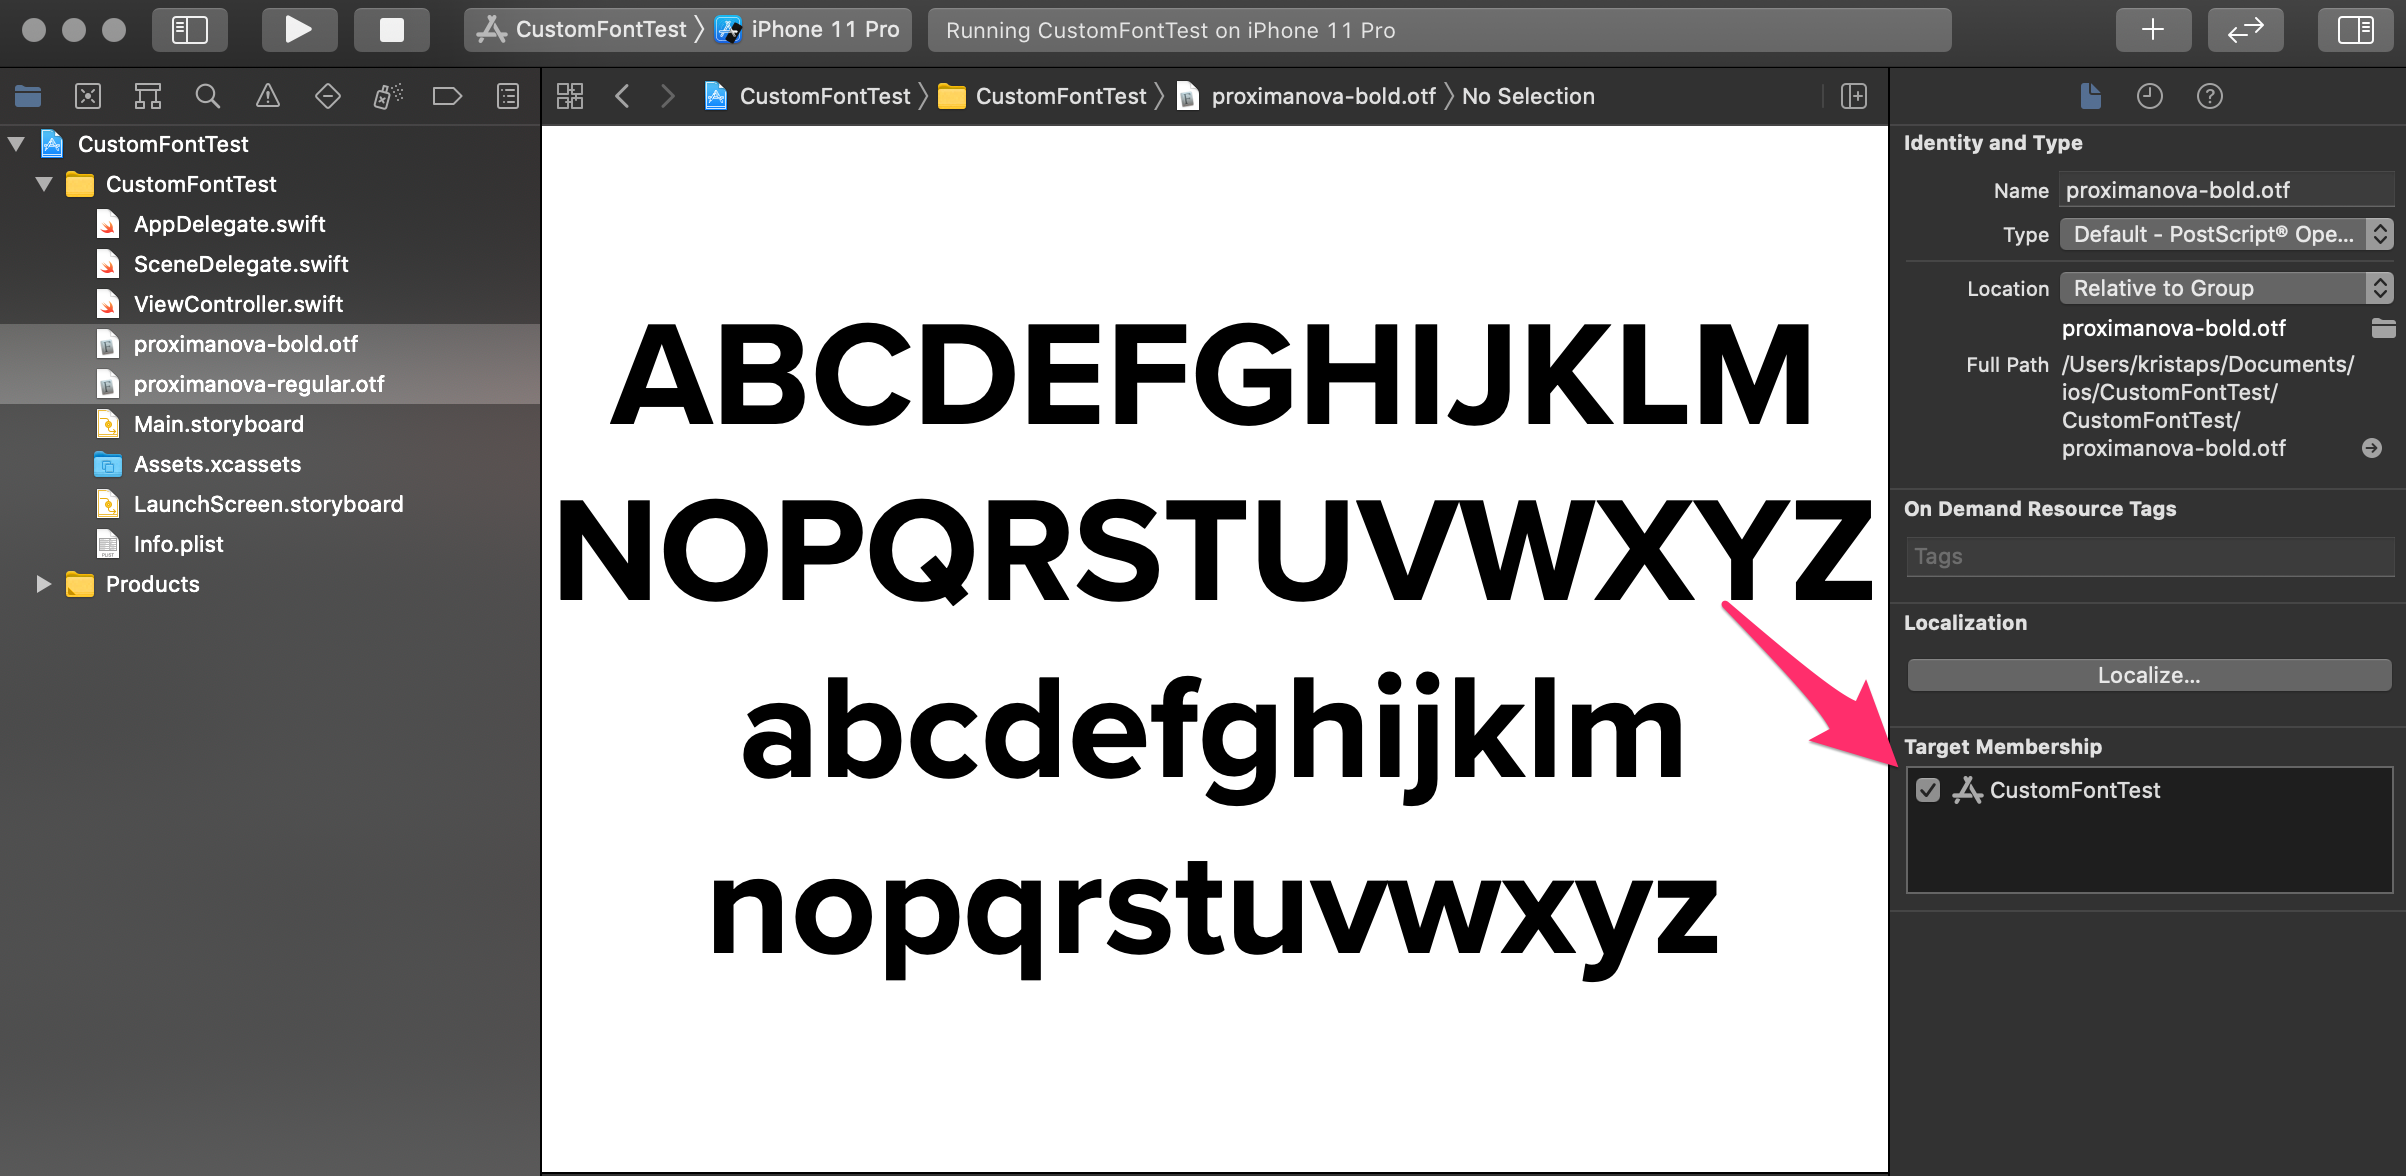
To fix that, just check the checkbox and add it to your designated target:
After that is done, head down to the Info.plist file and add a new entry with the key Fonts provided by application. There, we need to provide an array with all the font files we have added to the project.
Check that the font files have been added and that we can use this piece of code to print all available font families and names:
Just paste this code in your AppDelegate didFinishLaunchingWithOptions, and when you run the app, it will print font families and names in the console.
#mobile #swift #ios-development #accessibility #programming