How to Install and running with Angular on Windows
Angular is an open-source, front-end web application development framework, it is TypeScript-based and led by the Angular Team at Google and by a community of individuals and corporations.
Prerequisites
This guide assumes that you are using Windows 10. Before you begin, you should have a user account with installation privileges and should have unrestricted access to all mentioned web sites in this document.
Audience:
This document can be referred by anyone who wants to install latest nodejs on windows 10
System requirements
- Windows 10 OS
- 4 GB RAM
- 10 GB free space
Installation Procedure
To install angular cli we need nodejs and npm. First let’s understand what these are and why we need them.
What is Nodejs and Why you need for angular development?
Node.js is an open-source, cross-platform JavaScript run-time environment that executes JavaScript code outside of a browser. Node.js lets developers use JavaScript to develop wide variety of applications like network applications, command line tools, web api, web applications. You need nodejs for dev tooling (like local web server with live reloading features) and dev experience, you do not need nodejs to run react in production.
What is npm and Why you need for angular development?
Npm stands for node package manager, it is a dependency management tool for JavaScript applications. This tool will help to install the libraries and other tools to support angular development.
Let’s start with nodejs installation post completion on nodejs we will install angular cli and create new angular project
1.Download nodejs
1.Visit nodejs download page here
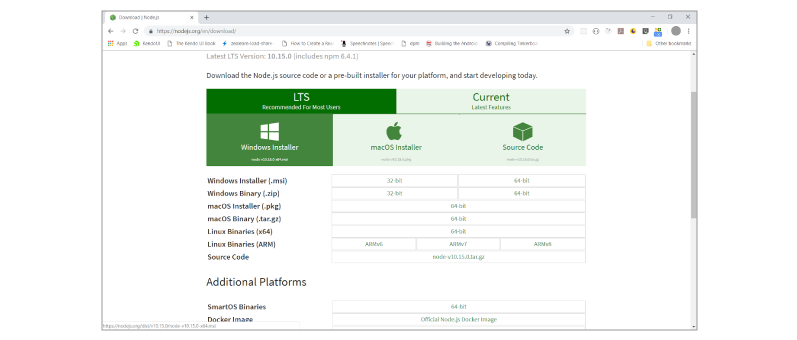
2.Click on windows Installer to download the latest version of node installer.
2.Install nodejs
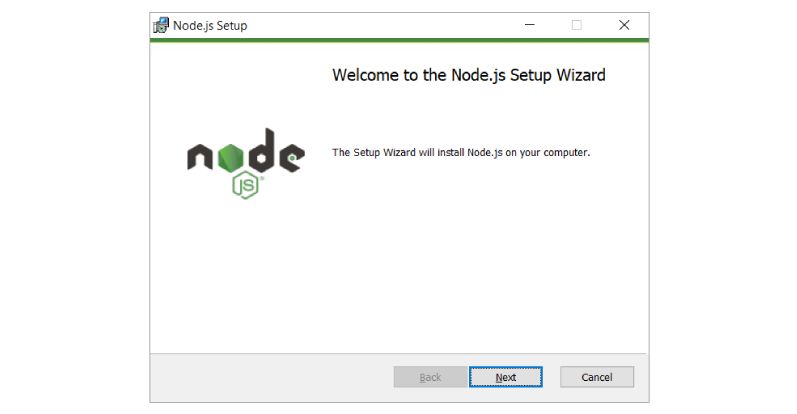
1.Click on the downloaded node-vxx.xx.xx.msi ( for example node-v10.15.0.msi) in previous step to start the installation which brings up below screen. Please click Next
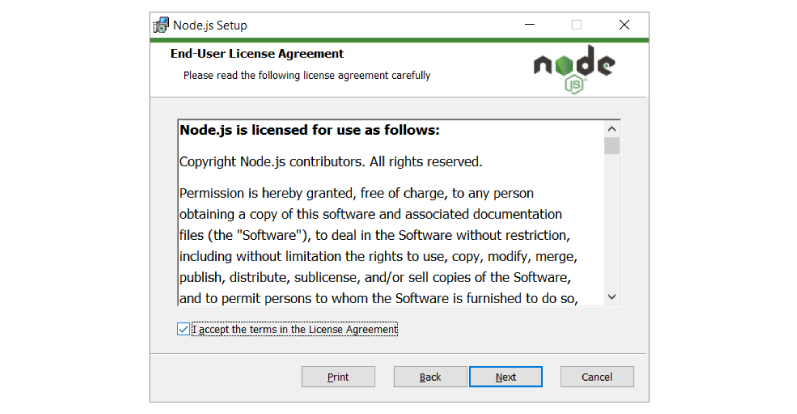
2.By clicking next in previous step you will be asked to accept license, please accept by clicking checkbox and click Next
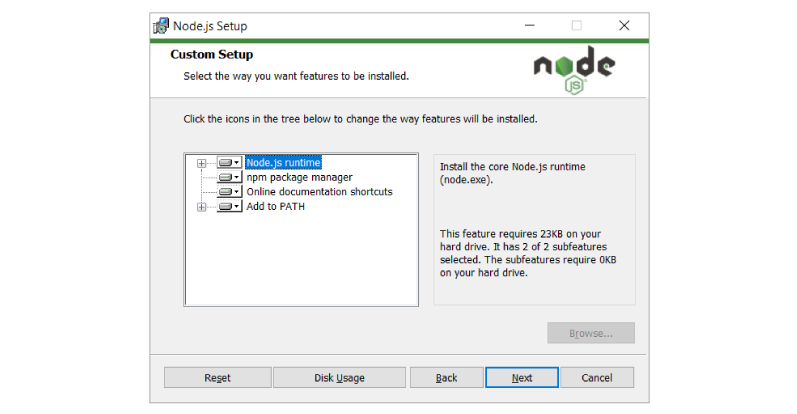
3.Click Next

4.Click Next
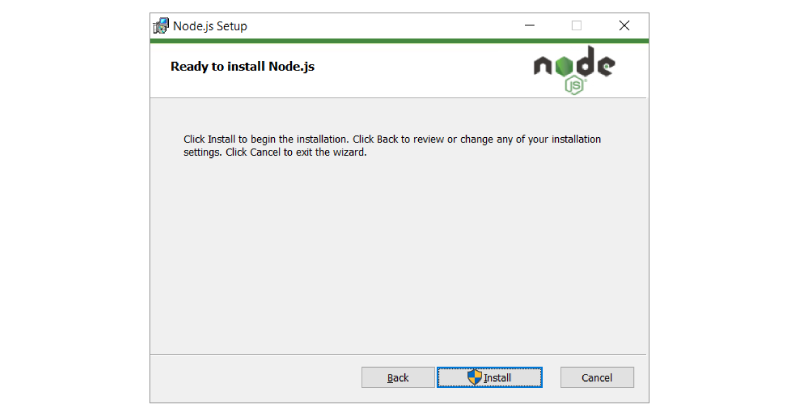
5.Click **Install, **this may need elevated permissions provided necessary rights requested
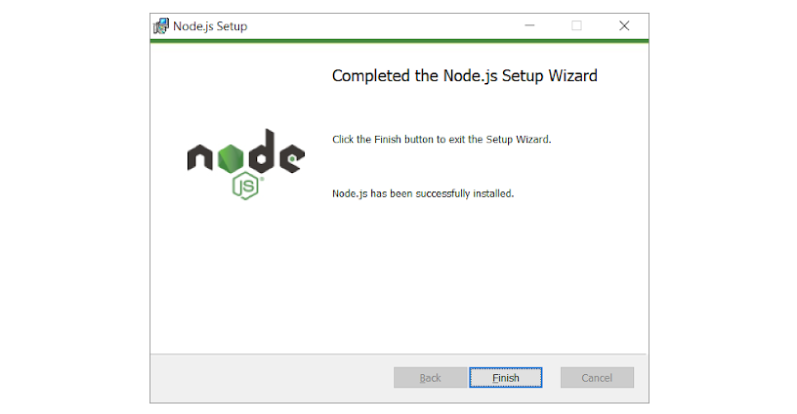
6.Click Finish
3.Testing Installation
- Open command prompt and run below command to test node
node -v
You should see an output like below (Note: Your version may vary depending on your date of installing as nodejs team make an aggressive release but make sure your node version is > v10.0.0)

- Open command prompt and run below command to test npm
npm -v
You should see an output like below (Note: Your version may vary depending on your date of installing as nodejs team make an aggressive release but make sure your npm version is >5 )

Install angular cli
Setting up productive angular development environment would need to configure tools like Typescript, webpack and other angular dependencies which are complex to configure for a newbie in angular world. There are several tools that help to alleviate this problem out of which angular cli is the easiest and finest tool with production grade configurations pre-built. Angular cli comes with wide range of commands that help manage the angular development, testing and build process
We will install angular cli using npm. On terminal run the install command shown below
npm install -g @angular/cli
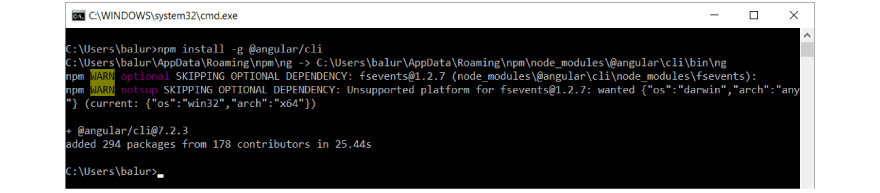
On successful installation you should see the output like above (note your angular/cli version may be different by the time you run this install command)
Test @angular/cli
To test the @angular/cli run ng version command
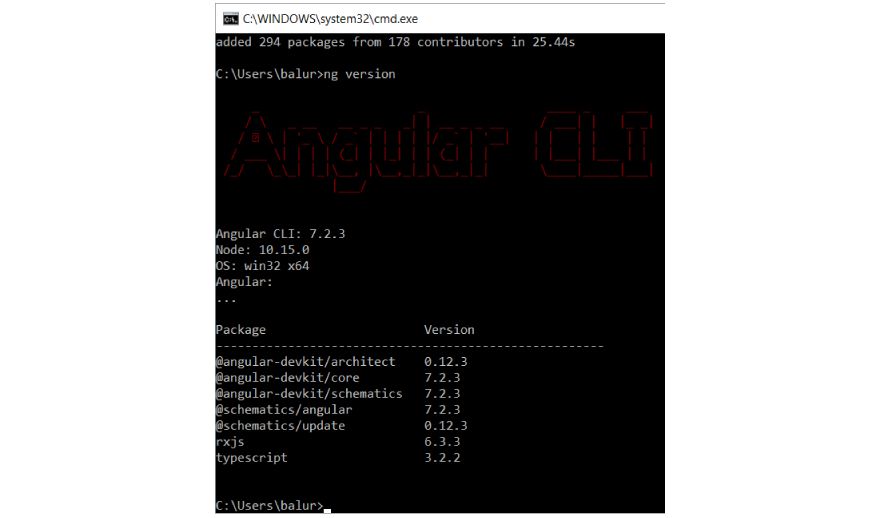
Congratulations, you have successfully installed @angular/cli
Running the first Hello World application
- Create angular application using ng new command as shown below

This command creates a new folder named hello-angular and creates all the files and setups the necessary libraries within this folder and makes the angular project ready to be executed without any additional configuration
2.Once project is created change into project directory and run application using ng serve command as shown below
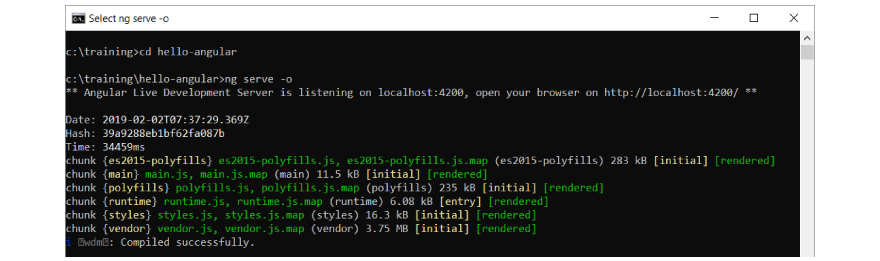
ng serve -o command starts webpack development server which in turn performs all the build process and opens a browser window and loads application url which runs at by default.
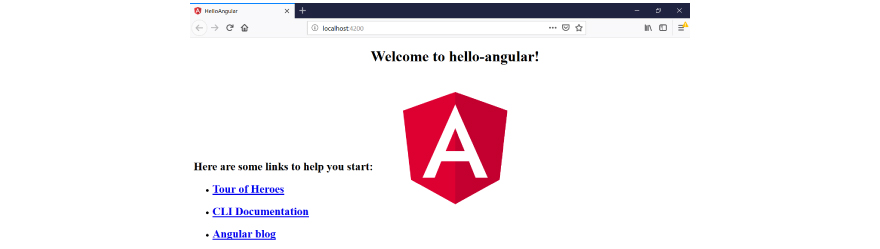
On successful execution you should see the below output in browser
As discussed, angular cli comes with great tooling, one of the productive features is webpack hot reloading, which deploys the change on live and saves developer lot of time to redeploy and reload work.
Let’s open the project and make some changes to see the experience of this great feature. We will go through the project structure to understand the importance of the files and folders created
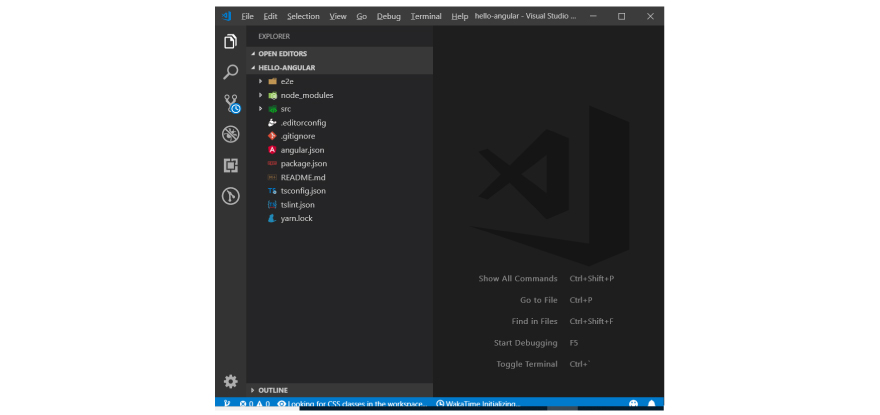
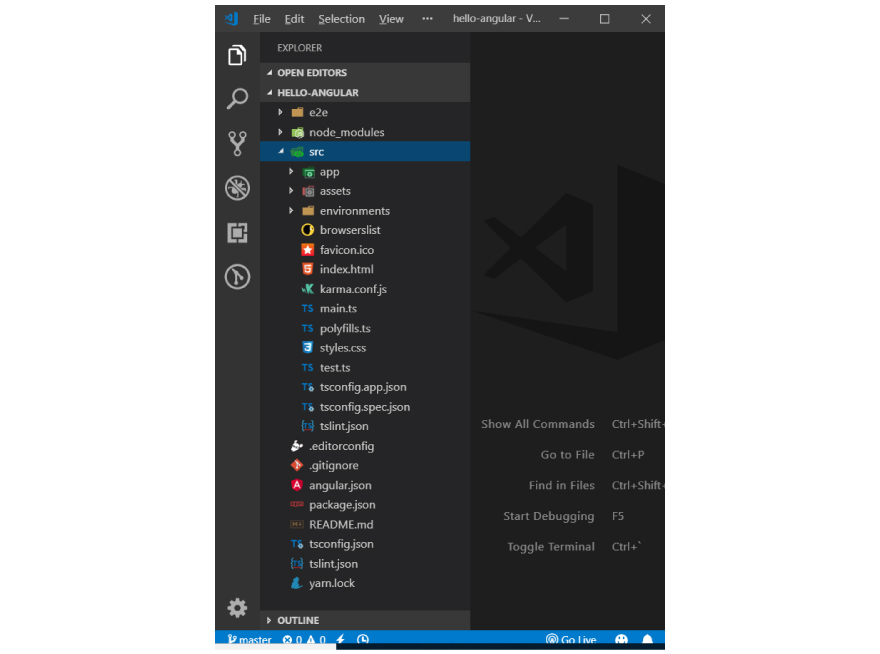
Open the project which was created in previous step in any JS editor, here you see the project is open in vscode editor. On to the left in explorer section you see file explorer which shows you several folders and files which were created by ng new command. Let’s walkthrough them
**e2e: **this folder contains end to end testing source and configuration code. If you wish to write end to end testing automation code, you efforts go into this folder
**node_modules: **This folder is managed by package manager (npm) and contains all the project library dependencies. Files in this folder should not be modified as the changes made are not guaranteed to be safe as updating/installing any other library can overwrite the changes made.
**src: **This is the folder that contains all your development effort. As a angular developer you spent lot of time in this folder creating modules, components, services, directive etc.,
Other files that are outside src folder and configuration files for angular cli, editor, typescript, linting and npm
Now let’s get into src folder. Within this folder there are several other folders like
app – this folder contains all your source code, and this is the place all your development effort goes
assets – contains the static asses to like images etc.,
environments – contains the per environment configuration file which holds the settings to be used for dev/test and prod environments
Other files are configuration files and settings.
Out all files main.ts is the starting file and the project code execution starts from this file.
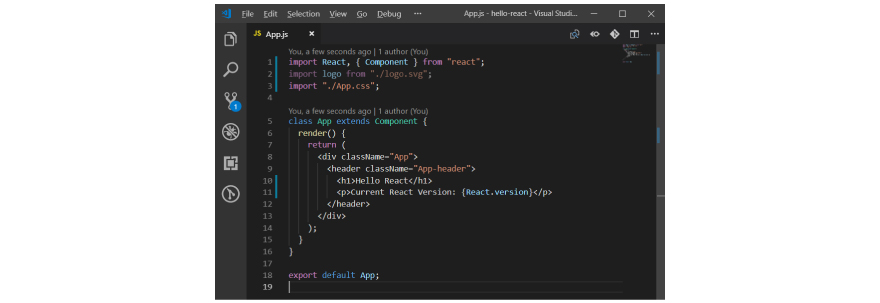
Lets make a code change to the AppComponent, open app.component.html and make the changes as shown in below code
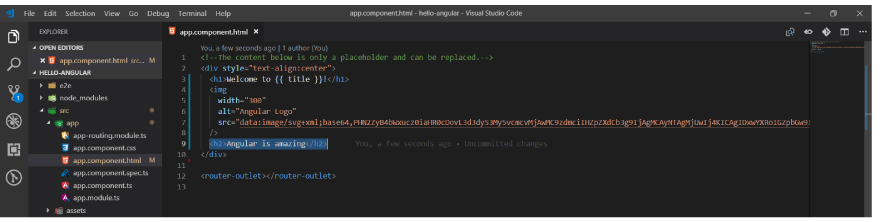
Save the file and switch back to browser to see the changes deployed and loaded as discussed, this one of the features of angular cli tooling setup.
With new changes your browser window should look like below
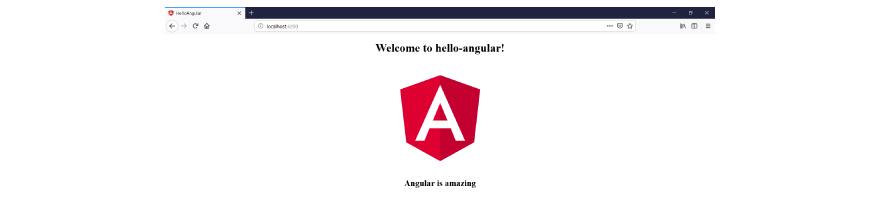
Congrats!! You have setup an angular project
Uninstall angular cli
You can uninstall any library or tool setup via npm install can be uninstalled using npm uninstall. Perform below step to remove angular cli installed previously
- On command prompt run
npm uninstall -g @angular/cli

Uninstall nodejs
- Press windows + R to open run and type appwiz.cpl and press ok.
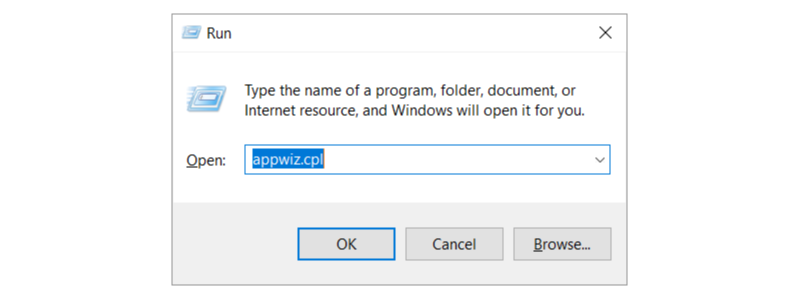
This will open Programs and Features the look for node.js
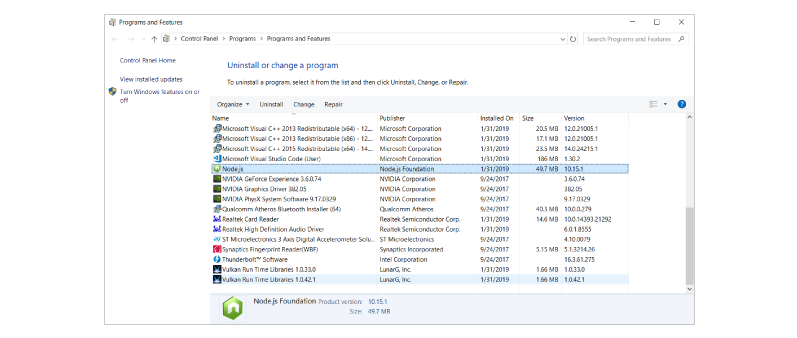
- Double click node.js or right click and select uninstall which will prompt as below and then choose Yes
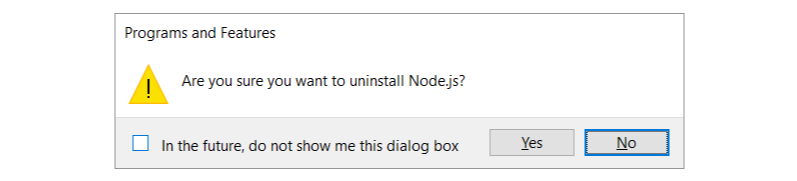
Nodejs uninstallation process will initiate and would ask you to authorize the same via user control. Choose Yes, this will take a while and complete

#angular #web-development #node-js
