How to Generate a PDF file in React
Introduction
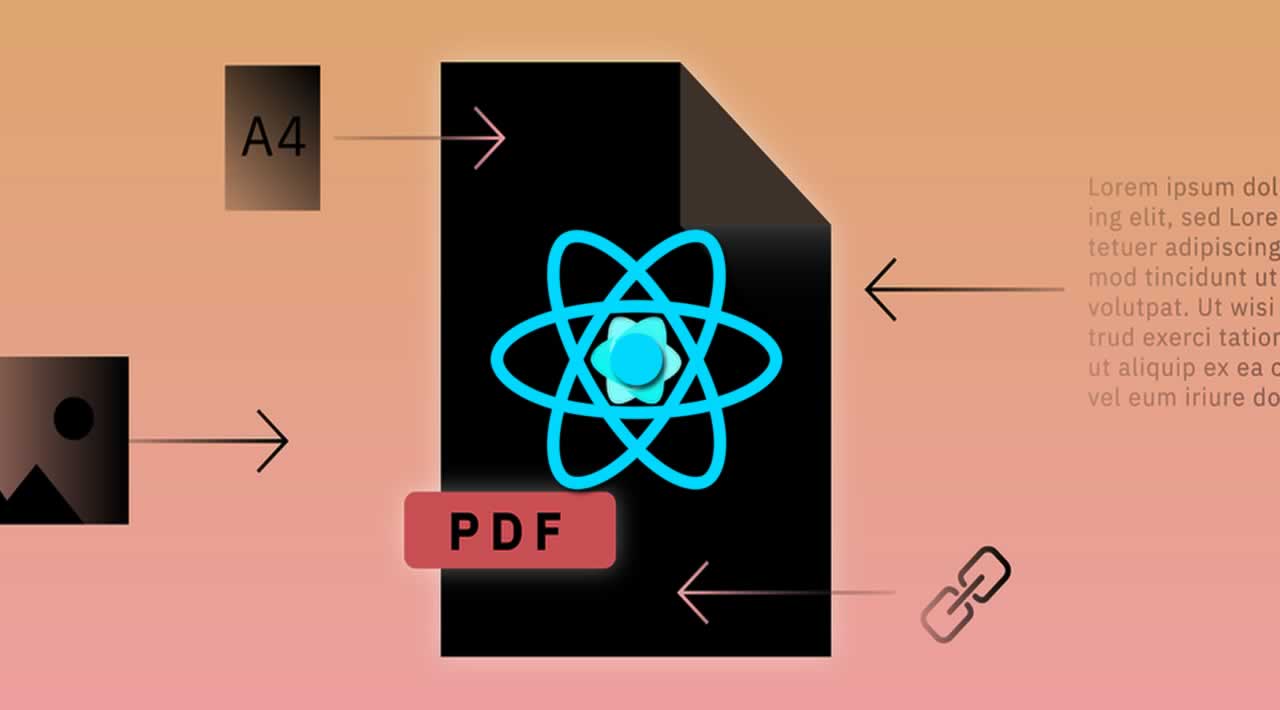
In this article, we will learn how to generate a PDF in Reactjs spplications. Generating a PDF of reports or invoices or any other documents in web application is the basic requirement. In this article we use the following libraries to create our pdf. Rendering React as a pdf is generally complex, but using these libraries we can generate it easily.
- html2canvas
- jsPDF
Prerequisites
- We should have basic knowledge of React.js and Web API.
- Visual Studio and Visual Studio Code IDE should be installed on your system.
- SQL Server Management Studio.
Create ReactJS Project
Let’s create a React app by using this following command.
npx create-react-app Matfrom
Open the newly created project in Visual Studio Code. and install following packages using these command.
npm install jspdf --save
npm install --save html2canvas
In this demo we use Material UI for design, so let’s install material ui in this application.
npm install @material-ui/core --save
Now install the Axios library by using the following command. Learn more about Axios
npm install --save axios
Now let’s create a component named ‘MatTable.js’ and import the following packages in this component
import jsPDF from 'jspdf';
import html2canvas from 'html2canvas';
Now add the following code in this component.
import React, { Component } from 'react'
import Table from '@material-ui/core/Table';
import TableBody from '@material-ui/core/TableBody';
import TableCell from '@material-ui/core/TableCell';
import TableContainer from '@material-ui/core/TableContainer';
import TableHead from '@material-ui/core/TableHead';
import TableRow from '@material-ui/core/TableRow';
import Paper from '@material-ui/core/Paper';
import axios from 'axios';
import jsPDF from 'jspdf';
import Button from '@material-ui/core/Button';
import './App.css';
import html2canvas from 'html2canvas';

export class MatTable extends Component {
  constructor(props) {
    super(props)
    this.state = {
      ProductData: []

    }
  }
  printDocument() {
    const input = document.getElementById('pdfdiv');
    html2canvas(input)
      .then((canvas) => {
        var imgWidth = 200;
        var pageHeight = 290;
        var imgHeight = canvas.height * imgWidth / canvas.width;
        var heightLeft = imgHeight;
        const imgData = canvas.toDataURL('image/png');
        const pdf = new jsPDF('p', 'mm', 'a4')
        var position = 0;
        var heightLeft = imgHeight;
        pdf.addImage(imgData, 'JPEG', 0, position, imgWidth, imgHeight);
        pdf.save("download.pdf");
      });
  }

  componentDidMount() {
    axios.get('http://localhost:51760/Api/Emp/employee').then(response => {
      console.log(response.data);
      this.setState({
        ProductData: response.data
      });
    });
  }
  render() {
    console.log(this.state.ProductData);
    return (
      <div>
        <TableContainer id="pdfdiv" className="txt" component={Paper}>
          <Table stickyHeader aria-label="sticky table">
            <TableHead>
              <TableRow>
                <TableCell>Id</TableCell>
                <TableCell align="right">Name</TableCell>
                <TableCell align="right">Age</TableCell>
                <TableCell align="right">Address</TableCell>
                <TableCell align="right">City</TableCell>
                <TableCell align="right">ContactNum</TableCell>
                <TableCell align="right">Salary</TableCell>
                <TableCell style={{ paddingRight: "60px" }} align="right" >Department</TableCell>
              </TableRow>
            </TableHead>
            <TableBody>
              {
                this.state.ProductData.map((p, index) => {
                  return <TableRow key={index}>
                    <TableCell component="th" scope="row">
                      {p.Id}
                    </TableCell>
                    <TableCell align="right">{p.Name}</TableCell>
                    <TableCell align="right">{p.Age}</TableCell>
                    <TableCell align="right">{p.Address}</TableCell>
                    <TableCell align="right">{p.City}</TableCell>
                    <TableCell align="right">{p.ContactNum}</TableCell>
                    <TableCell align="right">{p.Salary}</TableCell>
                    <TableCell style={{ paddingRight: "114px" }} align="right">{p.Department}</TableCell>
                  </TableRow>
                })
              }
            </TableBody>
          </Table><br></br>
          <Button onClick={this.printDocument} variant="contained" color="primary">
            Generate Pdf
                                </Button>
        </TableContainer>

      </div>

    );
  }
}

export default MatTable
Now open app.js file and add the following code.
import React from 'react';
import logo from './logo.svg';
import './App.css';
import MatTable from './MatTable'
function App() {
  return (
    <div className="App">
      <MatTable/>
    </div>
  );
}

export default App;
Create a table in the database
Open SQL Server Management Studio, create a database named “Employee”, and in this database, create a table. Give that table a name like “Employee”.
CREATE TABLE [dbo].[Employee](
    [Id] [int] IDENTITY(1,1) NOT NULL,
    [Name] [varchar](50) NULL,
    [Age] [int] NULL,
    [Address] [varchar](50) NULL,
    [City] [varchar](50) NULL,
    [ContactNum] [varchar](50) NULL,
    [Salary] [decimal](18, 0) NULL,
    [Department] [varchar](50) NULL,
 CONSTRAINT [PK_Employee] PRIMARY KEY CLUSTERED
(
    [Id] ASC
)WITH (PAD_INDEX = OFF, STATISTICS_NORECOMPUTE = OFF, IGNORE_DUP_KEY = OFF, ALLOW_ROW_LOCKS = ON, ALLOW_PAGE_LOCKS = ON) ON [PRIMARY]
) ON [PRIMARY]
GO
Add a new demo data in this table.
Create a new Web API project
Open Visual Studio and create a new project.

Change the name to MatUITable.

Choose the template as Web API.

Right-click the Models folder from Solution Explorer and go to Add >> New Item >> data.

Click on the “ADO.NET Entity Data Model” option and click “Add”.
Select EF Designer from the database and click the “Next” button.

Add the connection properties and select database name on the next page and click OK.

Check the “Table” checkbox. The internal options will be selected by default. Now, click the “Finish” button.

Now, our data model is successfully created.
Right-click on the Controllers folder and add a new controller. Name it as “Employee controller” and add the following namespace in the Employee controller
using MatUITable.Models;
Now add a method to fetch data from database.
[HttpGet]
[Route("employee")]
public object Getrecord()
{
    var emp = DB.Employees.ToList();
    return emp;
}
Complete Employee controller code
using System;
using System.Collections.Generic;
using System.Linq;
using System.Net;
using System.Net.Http;
using System.Web.Http;
using MatUITable.Models;
namespace MatUITable.Controllers
{

    [RoutePrefix("Api/Emp")]
    public class EmployeeController : ApiController
    {
        EmployeeEntities DB = new EmployeeEntities();
        [HttpGet]
        [Route("employee")]
        public object Getrecord()

        {
            var emp = DB.Employees.ToList();
            return emp;
        }
    }
}
Now, let’s enable CORS. Go to Tools, open NuGet Package Manager, search for CORS, and install the “Microsoft.Asp.Net.WebApi.Cors” package. Open Webapiconfig.cs and add the following lines
EnableCorsAttribute cors = new EnableCorsAttribute("*", "*", "*");
config.EnableCors(cors);
Now go to visual studio code and run the project using ‘npm start’ command.

Click on the Button and check that the pdf is downloaded.

Summary
In this article we learned how to create pdf in Reactjs applications.Thank you for reading !
#react #sqlsever #vscode #wwebapi #pdf