Android of Things Arduino
The Android of Things platform has some big advantages compared to Arduino or Raspbian. We Android developers can use the same tools we use for building applications for our projects, including all our favorite libraries, Google Play Services, and of course Kotlin.
On the other hand, there’s a big disadvantage. Compared to Arduino, the Raspberry Pi can’t handle the low level custom protocols of some sensors. And compared to Raspbian, many of the available HATs are currently not supported.

How can we get the best of both worlds together? By using the right tool for the job. Let’s use the Arduino controller to read and write to our cheap and widely available sensors and use the Raspberry Pi to implement all the complex logic the same way we build Android applications.
Then, we will use the UART (universal asynchronous receiver/transmitter) of both platforms to exchange data between them. This is also known as the Serial on Arduino.
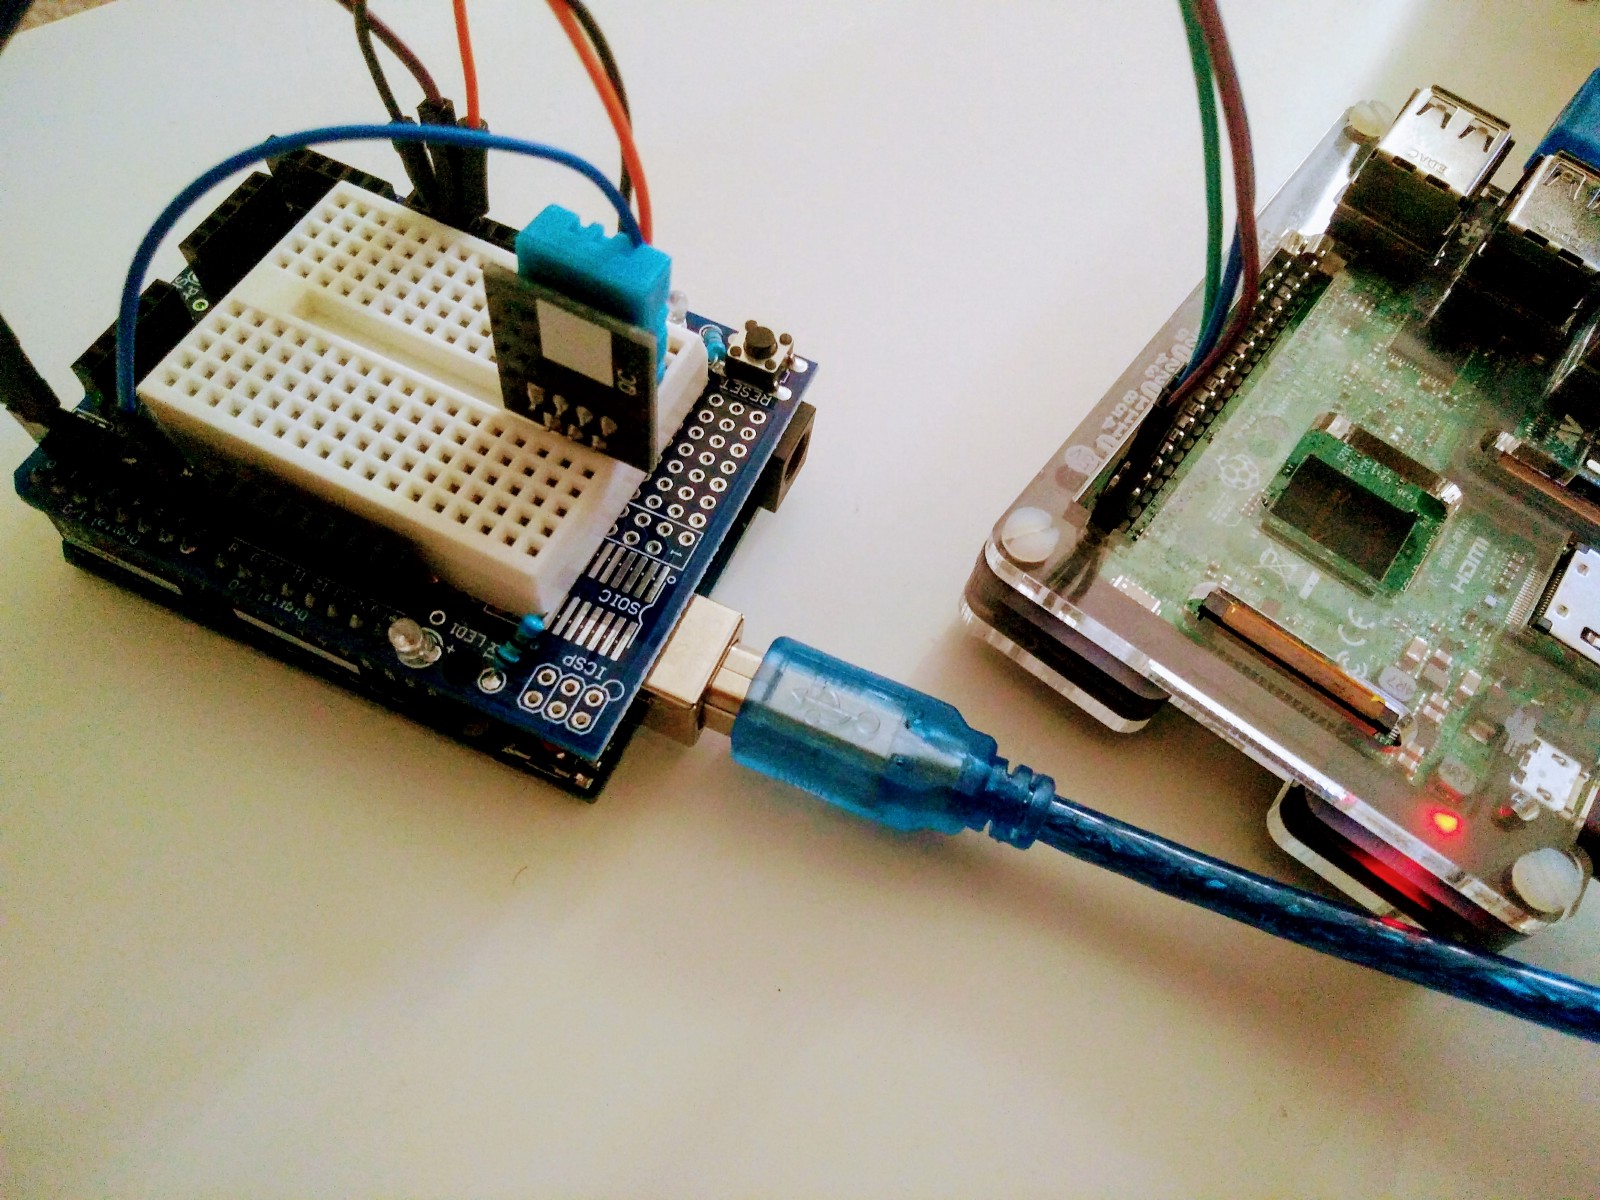
Wiring
Connecting the two devices is very simple:
- Connect the GPIO pin 14 of the Raspberry to the RX pin of the Arduino (aka GPIO zero)
- Connect the GPIO pin 15 of the Raspberry needs to the TX pin of the Arduino (aka GPIO 1)
- Connect a Ground pin from the Raspberry to the Arduino.

However there’s still one thing to do:
Take a look at the Configuring the UART mode in the official documentation:
☞ Arduino with Ardublockly: Block based Arduino Programming
Since the UART Bluetooth mode is enabled by default, you can’t start using the UART to talk with the Arduino out-of-the-box. You need to go through that configuration step!
Code
I’ll like to give all the credit of this idea to Marcos Placona, who wrote an article about the same topic months ago and helped me get started:
☞ Arduino Bootcamp : Learning Through Projects
The library he started didn’t fit my needs so I went with a simpler, one class solution that you can copy and modify for your projects:
import android.util.Log
import com.google.android.things.pio.PeripheralManagerService
import com.google.android.things.pio.UartDevice

class Arduino(uartDevice: String = "UART0"): AutoCloseable {
    private val TAG = "Arduino"
    private val uart: UartDevice by lazy {
        PeripheralManagerService().openUartDevice(uartDevice).apply {
            setBaudrate(115200)
            setDataSize(8)
            setParity(UartDevice.PARITY_NONE)
            setStopBits(1)
        }
    }

    fun read(): String {
        val maxCount = 8
        val buffer = ByteArray(maxCount)
        var output = ""
        do {
            val count = uart.read(buffer, buffer.size)
            output += buffer.toReadableString()
            if(count == 0) break
            Log.d(TAG, "Read ${buffer.toReadableString()} $count bytes from peripheral")
        } while (true)
        return output
    }

    private fun ByteArray.toReadableString() = filter { it > 0.toByte() }
            .joinToString(separator = "") { it.toChar().toString() }

    fun write(value: String) {
        val count = uart.write(value.toByteArray(), value.length)
        Log.d(TAG, "Wrote $value $count bytes to peripheral")
    }

    override fun close() {
        uart.close()
    }
}
Arduino.kt
This class provides three simple methods that cover the following:
- Connect the GPIO pin 14 of the Raspberry to the RX pin of the Arduino (aka GPIO zero)
- Connect the GPIO pin 15 of the Raspberry needs to the TX pin of the Arduino (aka GPIO 1)
- Connect a Ground pin from the Raspberry to the Arduino.
On the Arduino project, you need to handle the received commands and write the responses afterwards. This is an example of how to do it:
Arduino.c
if (Serial.available() > 0) {
  char command = (char) Serial.read();
  switch (command) {
     case 'H':
       Serial.write("Hello World");
       break;
  }
  Serial.flush();
}
You can write an “H” to the UART, and read back “Hello World” from it:
Example.kt
val arduino = Arduino()
arduino.write("H")
Thread.sleep(100) // let Arduino reply
val hello = arduino.read() // hello = "Hello World"
Now you can happily communicate your Android of Things applications with Arduino and use all the arsenal of sweet sweet cheap Arduino sensors on your Android of Things projects.
#arduino