The main task of a password generator is generating passwords, right? This will be our goal for this final part. First, we will implement some functionality for Input and Checkbox components. Then, we will add a few tweaks. After that, we will finally put together the core piece of our password generator, the method for generating passwords! I hope you ready because we have a lot of work to do today. So, without further ado, let’s bring this awesome app to life!
How to Build Password Generator with Electron & React part 1.
How to Build Password Generator with Electron & React part 2.
You can find the password generator app on GitHub and npm.
Expanding the state
Let’s start the work on our password generator by adding some key-value pairs to the state we will need today. Then, we can continue by creating two new methods, one will be for handling inputs and the second for handling checkboxes. Both these methods will have access to state and update it, will be able to change values for specific keys. State is defined in src/App/App.jsx and those two new methods will be defined here as well. So, let’s open this file and start working.
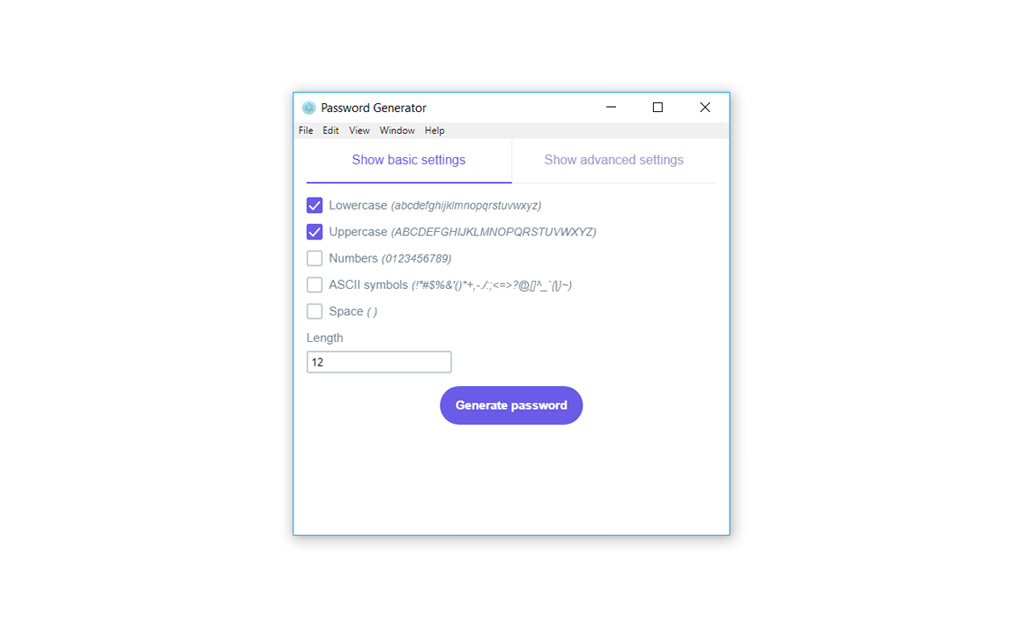
At this moment, our state contains four key-value pairs, showAdvancedSettings, showBasicSettings and showResult. Let’s add a few more. These will be settingsAsci, settingsLower, settingsNumbers, settingsSpace and settingsUpper. All these keys will be boolean and their default value will be false. We will use these keys for checkboxes and for switching on or off different options for our password generator, listed on the BasicSettings screen. Let’s stay here for a second because we are not done yet.
#electron #react #design development #javascript