I picked up the new Raspberry Pi High Quality camera last week. It’s pretty impressive. In this article, I’ll show you some ways to interact with this camera and do some cool stuff with it.

This is my current setup for this article. I built little stage with Mario, and I have the camera with a lens, into my Pi, and a temp/humidity sensor hooked to it. It’s the same I used in my previous live stream with this camera.
In this article, we’ll learn:
- How to set up Raspberry Pi High Quality Camera
- How to configure the camera with V4L2
- Take pictures with Raspistill
- Record video with Raspivid
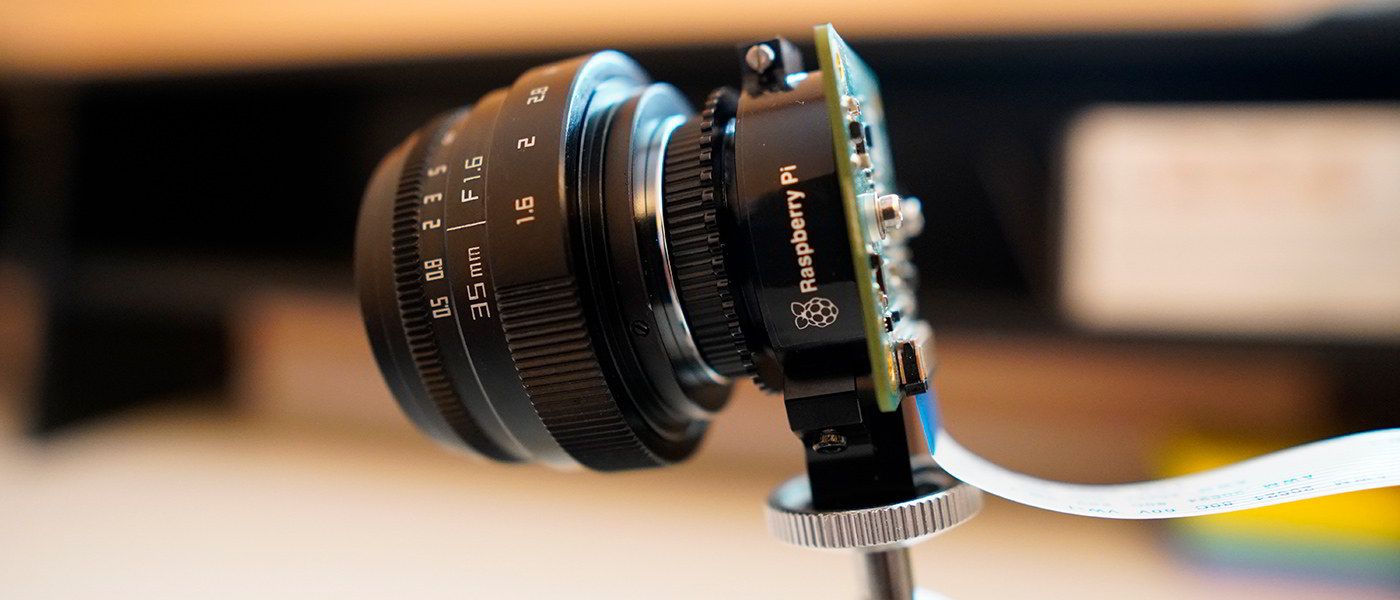
About the Raspberry Pi HQ Camera
So this camera has some pretty impressive specs for the price.
- Sony IMX477R stacked, back-illuminated sensor, 12.3 megapixels, 7.9 mm
- sensor - diagonal, 1.55 μm × 1.55 μm pixel size
- Output: RAW12/10/8, COMP8
- Back focus: Adjustable (12.5 mm–22.4 mm)
- Lens standards: C-mount, CS-mount (C-CS adapter included)
- IR cut filter: Integrated
- Ribbon cable length: 200 mm
- Tripod mount: 1/4”- 20
It’s a 12MP camera with a decent sensor. Far better than previous Raspberry Pi Cameras.

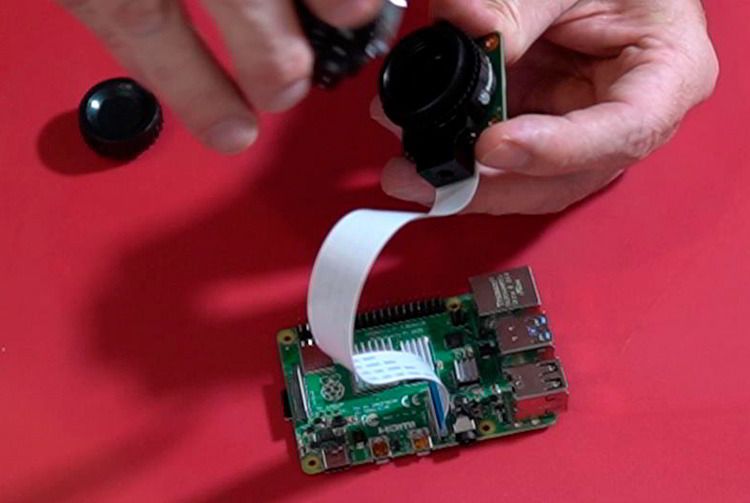
It comes with a ribbon, and a sensor cap out of the box. However you will need to provide a lens for it (C or CS Mount.)

You can get your own HQ Camera here. I chose this 35mm lens for the camera, it’s not too shabby and only 33 dollars. I also had an old cell phone tripod lying around so I mounted the camera to it.
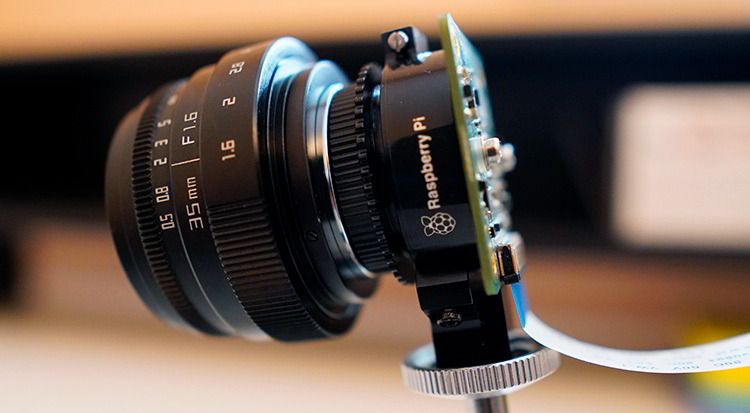
Assembly is pretty straightforward. So enough about the camera, let’s look at how to use it.
Configure the Camera
First, you’ll need to open up your Raspberry Pi Configuration:
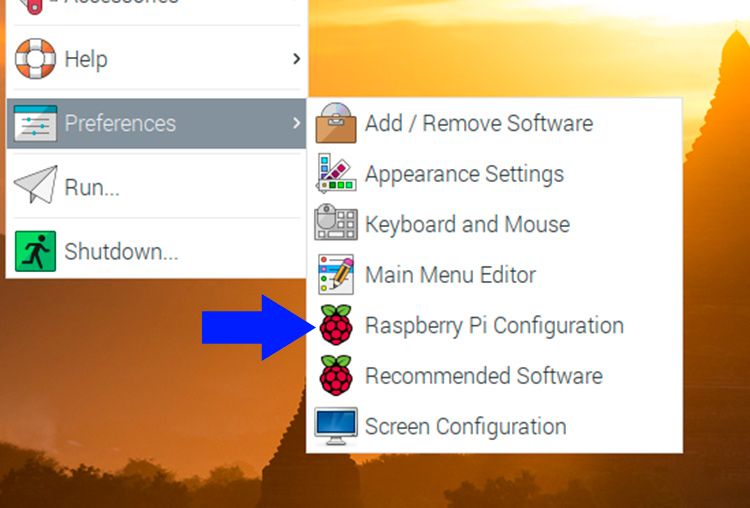
In the configuration, enable “Camera”:
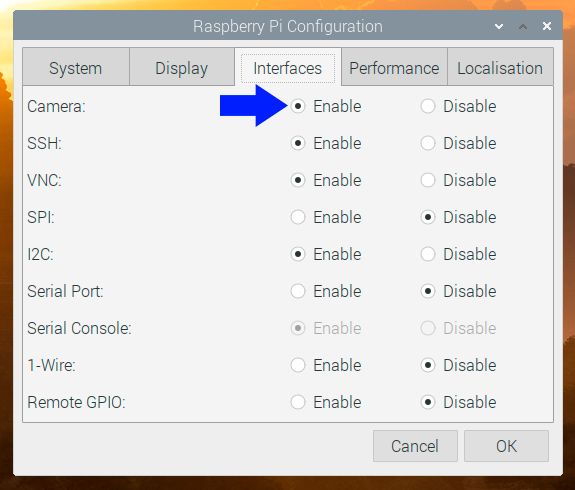
And reboot your Pi.
Dialing in the Camera
If you want to know right away the camera is working, get qv4l2.
This is the V3L2 Test Bench. It will help you get your camera into focus, and you can change various settings.
sudo apt-get install qv4l2
After installing it you’ll need to load this into your kernel:
sudo modprobe bcm2835-qv4l2
#internet-of-things #iot-top-story #deep learning