Picker
Pickers can be used to let the user select a value from a fixed set of options.
@State private var selection = 0

	Picker("Select an appearence", selection: $selection) {
	    Text("Light").tag(0)
	    Text("Dark").tag(1)
	    Text("Automatic").tag(2)
	}
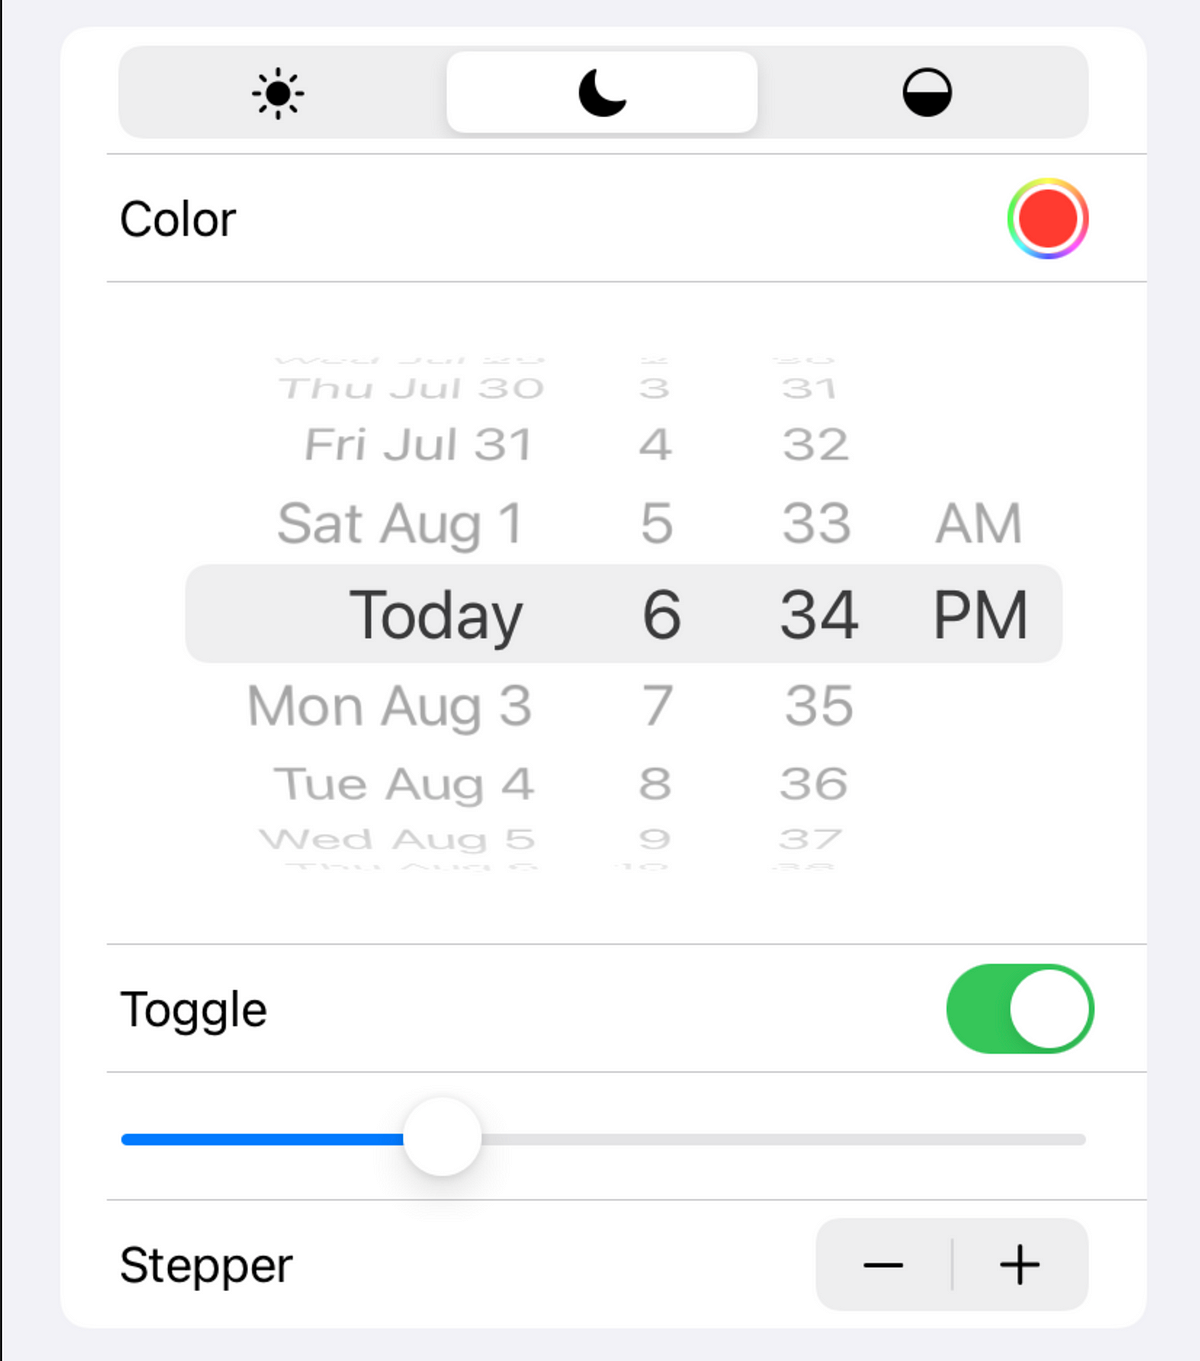
There are multiple types of pickers in SwiftUI, Picker , DatePicker , ColorPicker and in some way also TabView .
Ways to create your Picker
The most prominent way of creating a picker is with an Integer value. But you can also use every other value type as selection. For example boolean values:
@State private var selection = false

	Picker("Get notifications", selection: $selection) {
	    Text("Yes").tag(false)
	    Text("No").tag(true)
	}
Of course, boolean pickers like that are kind of sensless and should be better replaced with a Toggle , but if you only have two values, that don’t represent true or false you can use a boolean picker. Then you don’t need to “convert” the integer to the boolean value. You can also use a string selection, so that you directly have the value.
@State private var selection = "North America"

	Picker("Select region", selection: $selection) {
	    Text("Asia").tag("Asia")
	    Text("Africa").tag("Africa")
	    Text("North America").tag("North America")
	    ...
	}

	Text("Region: \(selection)")
You can also put a custom object in the .tag() . When you don’t want to have a default value, set the @State to a value, that isn’t in the picker.
Change the picker view
The picker content is just a view, like any other view. That means, you can extract the picker content to a View ,for example when you want to reuse the picker content. But you can’t just put the picker content in the var body: some View , because a variable cannot have multiple return objects. But that’s easy to fix, simply wrap the content in a List .
Picker("Select a count", selection: $selection) {
	    PickerView()
	}
When you have an array of objects, the user can choose from, you don’t need to hard code the picker. Instead you can use a ForEach or a List .
Picker("Select a count", selection: $s) {
	    List(1...30, id: \.self) { int in
	        Text("\(int)").tag(int)
	    }
	}.pickerStyle(WheelPickerStyle())
For pickers with a big selection like this, you may use theWheelPickerStyle . Depending on what the value represents, the count and the style of the view, you could also use a Slider , a Stepper or a TextField . When you only have a handful of options, where the user should get easy access to, you can use SegmentedPickerStyle .
import MapKit

	@State private var selection: MKMapType = .standard

	Picker("Map type", selection: $selection) {
	    Text("Standard").tag(.standard)
	    Text("Satellite").tag(.satellite)
	    Text("Hybrid").tag(.hybrid)
	}.pickerStyle(SegmentedPickerStyle())
#swift #swiftui #ios #ui #ios-app-development