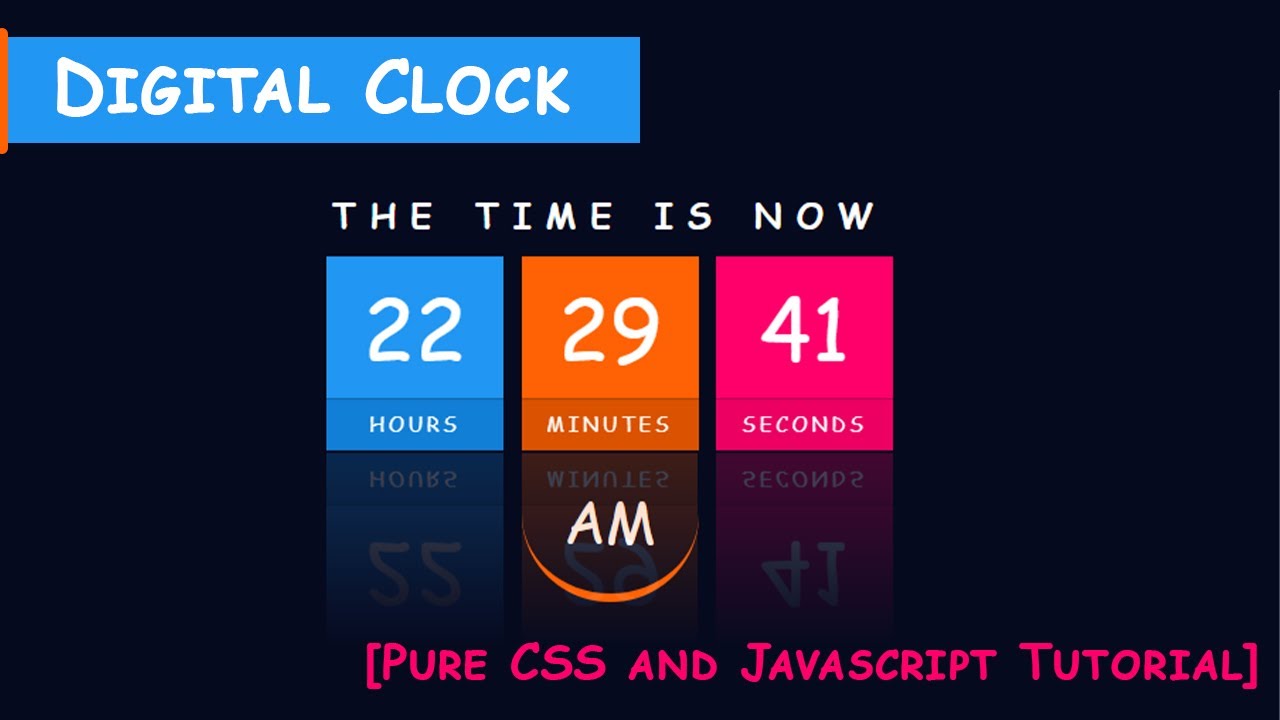
In this post, you will learn how to create a Digital Clock in 24-hour and 12-hour formats using JavaScript.
In the 24-hour format, time is displayed in the form of HH : MM : SS. In the 12-hour format, it is displayed in the form of HH : MM : SS AM/PM.
Digital Clock in 24-Hour format
See the Pen Digital Clock on CodePen
Let’s start with the HTML.
The Structure
To begin with, create a div with id clock in which you want to display time. We will insert the time into this div using JavaScript.
HTML
<div id="clock"></div>
The Styling
The styling for the text to be displayed in the div is defined in the CSS.
The text is given a font size and color. Its font family is chosen as _Orbitron_because it gives the look of a real digital clock. The body is given a dark background color and the text is center aligned.
CSS
/* Google font */
@import url('https://fonts.googleapis.com/css?family=Orbitron');

body {
  background-color: #121212;
}

#clock {
  font-family: 'Orbitron', sans-serif;
  color: #66ff99;
  font-size: 56px;
  text-align: center;
  padding-top: 40px;
  padding-bottom: 40px;
}
The Scrypting
Now here comes the main part. The entire code for the working of the clock is written within the currentTime() function.
Inside this function, an object of the Date Class is created which allows you to call year, date, hour, minute, second and millisecond.
In our code, this object is used for getting the current hours, minutes and seconds which are stored in different variables.
JS
function currentTime() {
  var date = new Date(); /* creating object of Date class */
  var hour = date.getHours();
  var min = date.getMinutes();
  var sec = date.getSeconds();
}
The obtained hours, minutes and seconds will be displayed in single digit if less than 10. For example, the current hour will be displayed as 7 instead of 07. To always display the elements of time in two-digit format, a 0 is appended before them whenever they are less than 10 using the updateTime() method.
JS
function currentTime() {
  hour = updateTime(hour);
  min = updateTime(min);
  sec = updateTime(sec);
}

function updateTime(k) {
  if (k < 10) {
    return "0" + k;
  }
  else {
    return k;
  }
}
Now once our time is ready, let’s display it in the div which we made before. This is done by obtaining the div using the document.getElementById method and give our time as the content of the div using the innerHTML property.
JS
document.getElementById("clock").innerHTML = hour + " : " + min + " : " + sec; /* adding time to the div */
To start the timer, setTimeout() method is used which takes the function currentTime() as the first argument and the time (in milliseconds) after which you wish to call the function as the second argument. In our case, the function is called after every 1000 milliseconds.
Finally, the currentTime() function is called to initiate the whole process.
JS
function currentTime() {
  var t = setTimeout(function(){ currentTime() }, 1000); /* setting timer */
}

currentTime(); /* calling currentTime() function to initiate the process */
So congratulations, you have just created a digital clock.
# Digital Clock in 12-Hour format
See the Pen Digital Clock on CodePen:
The HTML and CSS for 12-hour format will remain the same as in the previous case.
The Structure
Create a div to display time as done for the previous clock.
HTML
<div id="clock"></div>
The Styling
Style the clock in the same way as done for the previous clock.
CSS
/* Google font */
@import url('https://fonts.googleapis.com/css?family=Orbitron');

body {
  background-color: #121212;
}

#clock {
  font-family: 'Orbitron', sans-serif;
  color: #66ff99;
  font-size: 56px;
  text-align: center;
  padding-top: 40px;
  padding-bottom: 40px;
}
The Scrypting
The JavaScript code will have some extra lines in addition to the code created for the previous clock. The code for the digital clock in 24-hour format is shown below.
JS
function currentTime() {
  var date = new Date(); /* creating object of Date class */
  var hour = date.getHours();
  var min = date.getMinutes();
  var sec = date.getSeconds();
  hour = updateTime(hour);
  min = updateTime(min);
  sec = updateTime(sec);
  document.getElementById("clock").innerText = hour + " : " + min + " : " + sec; /* adding time to the div */
  var t = setTimeout(function(){ currentTime() }, 1000); /* setting timer */
}

function updateTime(k) {
  if (k < 10) {
    return "0" + k;
  }
  else {
    return k;
  }
}

currentTime(); /* calling currentTime() function to initiate the process */
Now we have to add just three more lines of code and our clock will be ready.
A variable named midday is created and an initial value of “AM” is assigned to it. This variable will be used to store “AM” or “PM”.
Further, ternary operator is used to give the value “PM” to the variable _midday_if the number of hours is greater than or equal to 12 and “AM” otherwise.
JS
function currentTime() {
  var midday = "AM";
  midday = (hour >= 12) ? "PM" : "AM";
}
In order to display time in 12-hour format, the number of hours should not be greater than 12. Therefore, 12 is deducted from the number of hours if it is greater than 12.
Also, the 24-hour format of 00 : 01 : 23 at midnight should be displayed as 12 : 01 : 23 AM in the 12-hour format. For this, the number of hours 00 is replaced by 12.
JS
function currentTime() {
  hour = (hour == 0) ? 12 : ((hour > 12) ? (hour - 12): hour);
}
#javascript #webdev
