In this article, we will explore the steps used to build a web application using Spring Boot with Angular and Maven and then launch it on a Tomcat Server.
Angular and Spring Boot are both great frameworks which are nowadays in great combination especially by java developers gladly used for building microservices.
In this article I want to show therefore how you can setup a parent maven project which includes an angular and spring boot child, which is finally be deployed on a tomcat server, including production ready jar with some pre-requisties.
Pre-Requisites
Since we are building the project locally and deploy, it’s recommended to try the below mentioned versions and then upgrade or downgrade as per your requirements.
Most importantly, you should also ahve some knowlegde of Spring, Angular, and Maven.
- Maven version 3.5.2
- Node version v8.9.3
- Npm version v5.5.1
- IntelliJ or any other IDE of your favourite
What Are We Going to Do?
Let’s start building the Spring Boot Project with the following structure.
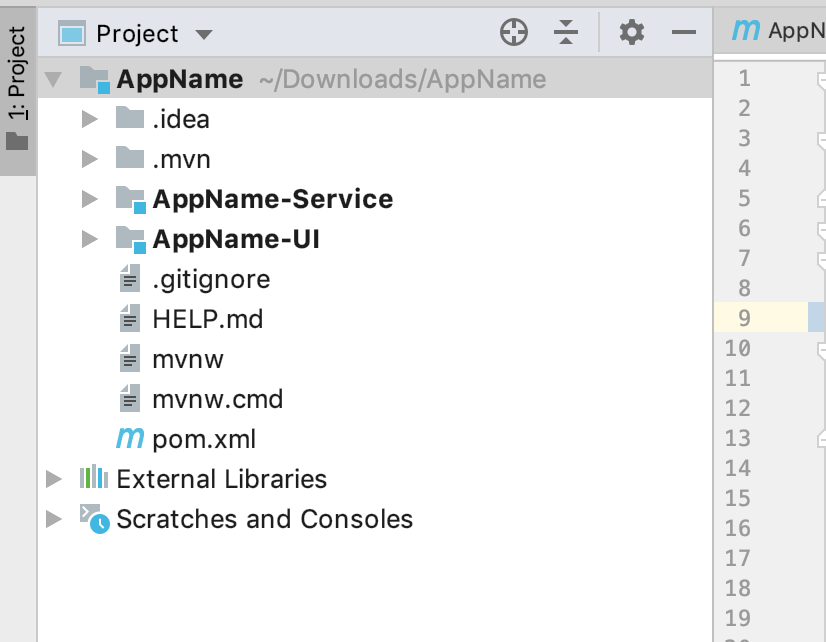
I have named it AppName — you can specify the any application name youe like.
To begin, it’s recommneded to use https://start.spring.io because its simple and ease to use.
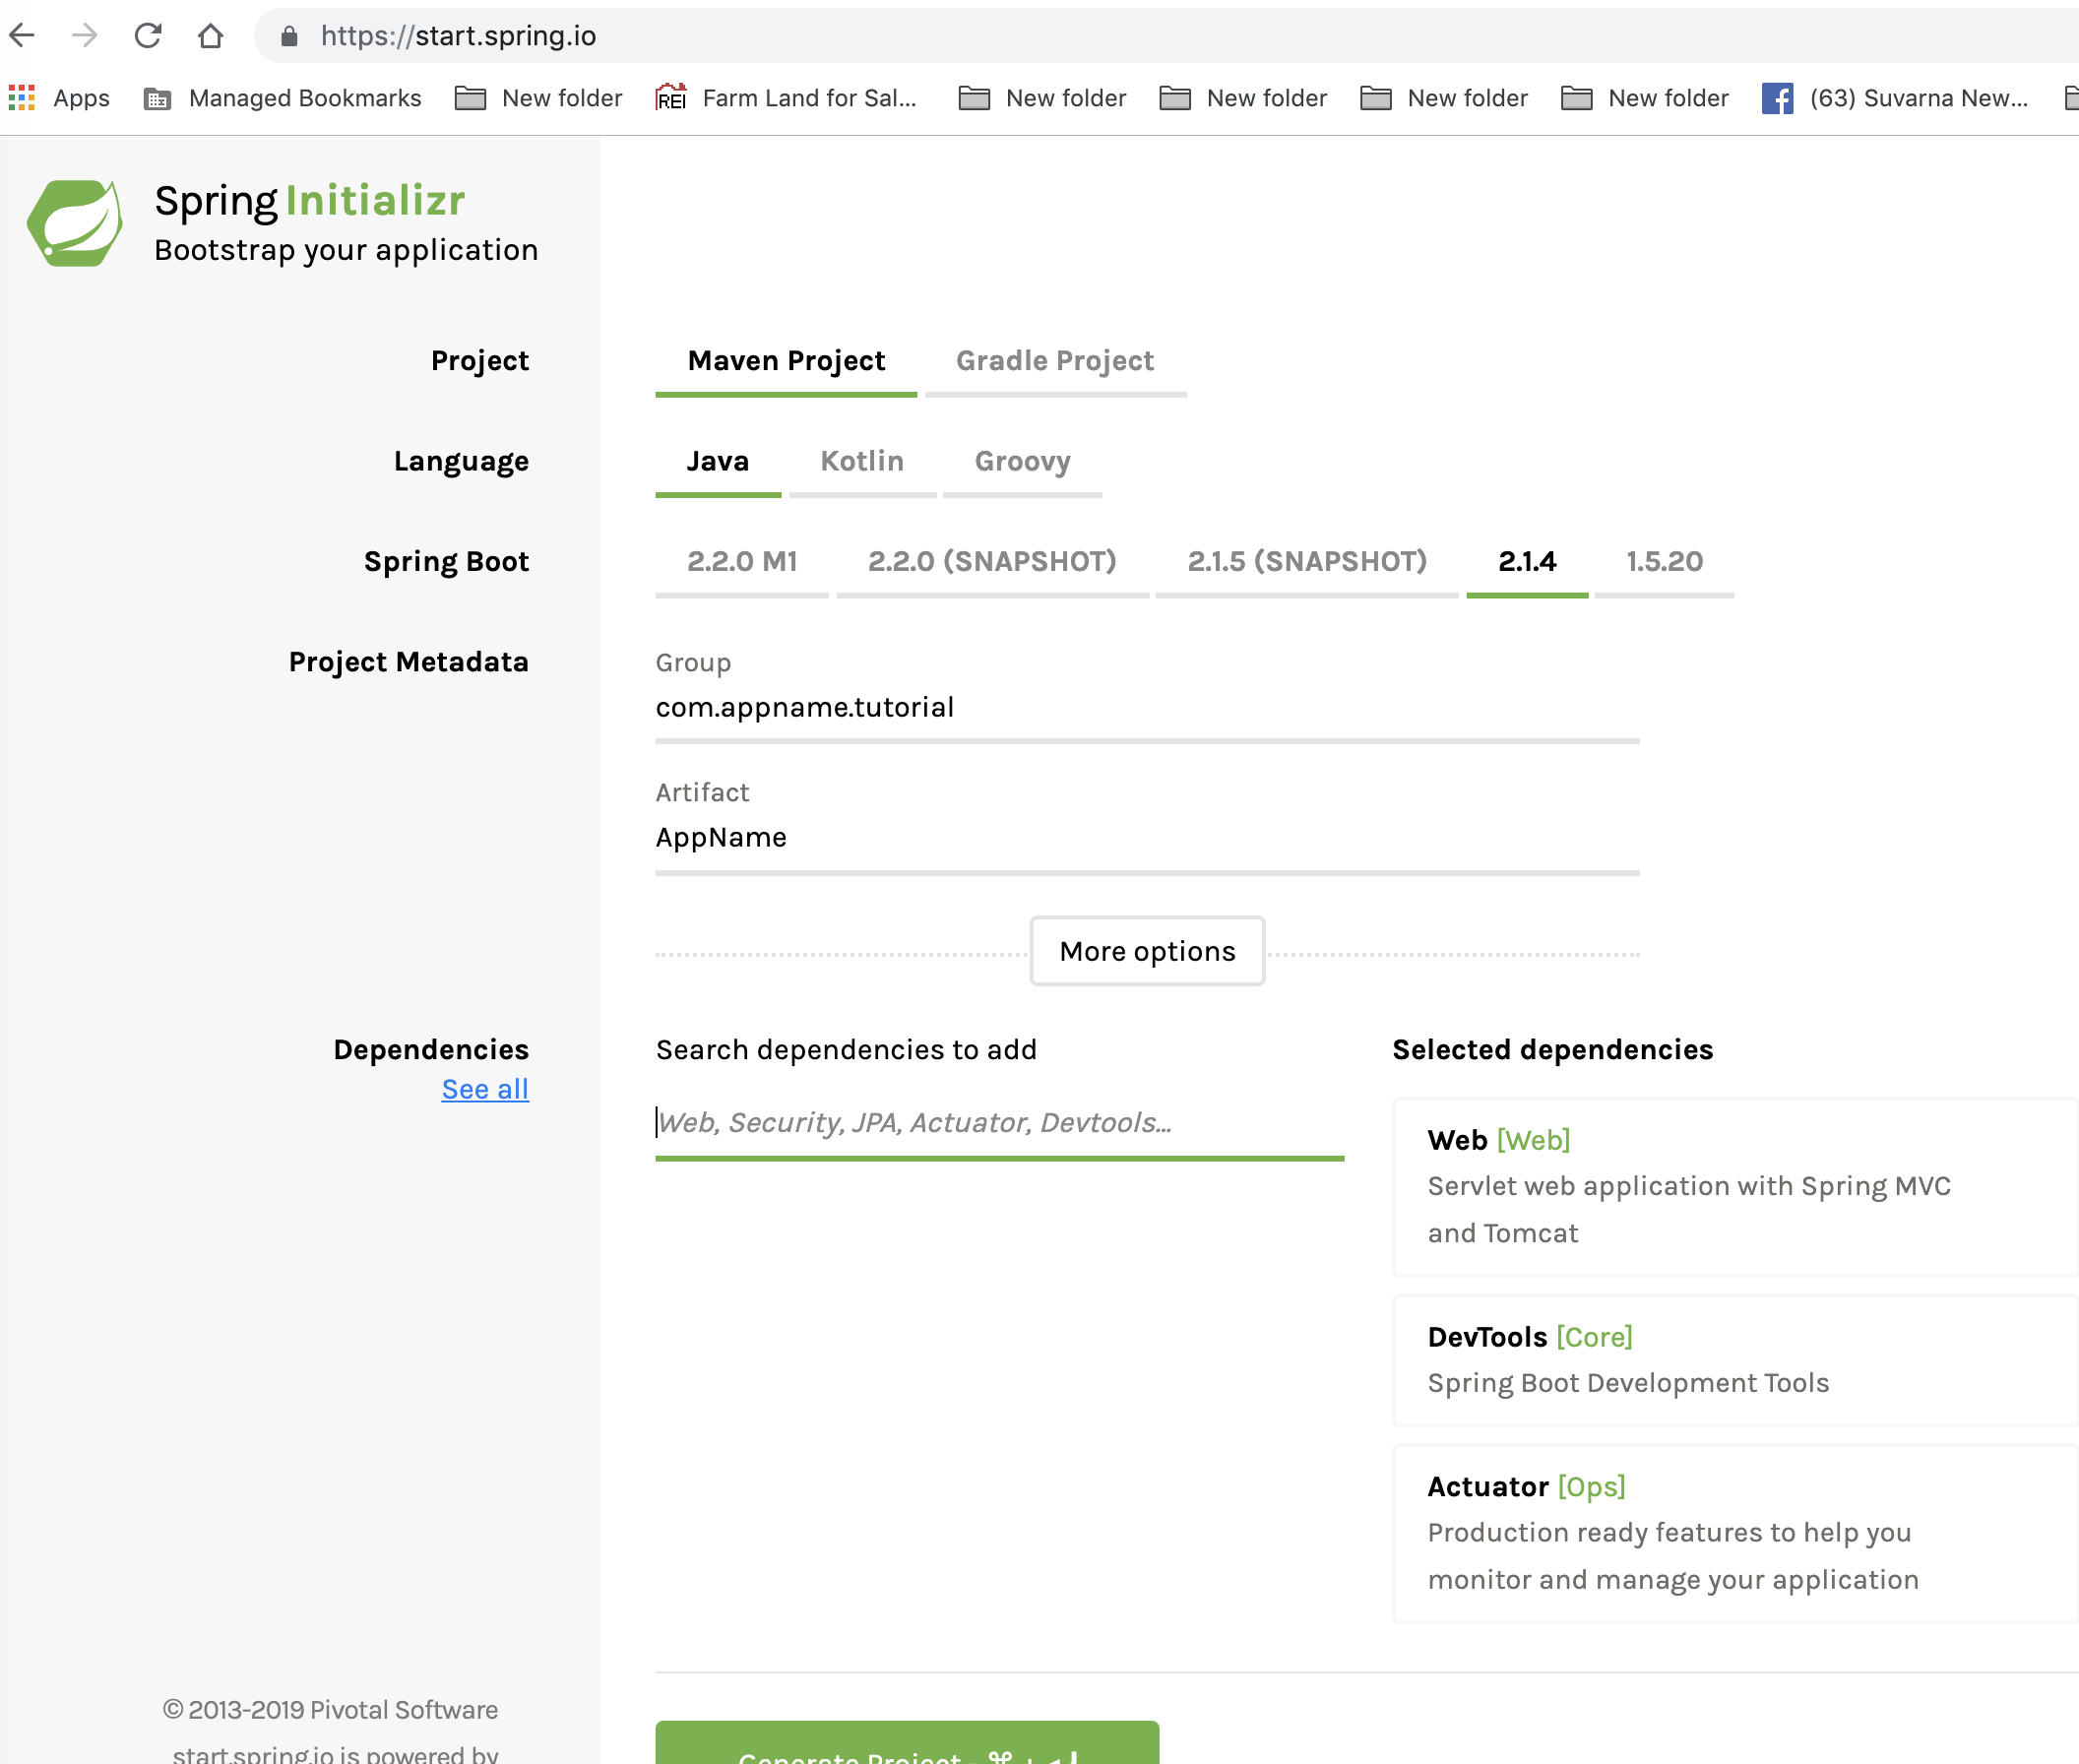
Also, you will need minimum dependencies shown above under the ‘Selected dependencies’ header.
Create Modules for Angular and a Service Module
Once you have downloaded a project and imported it into your favorite IDE, (mine is IntelliJ), right-click on the parent module, i.e AppName, and click ‘New Module’ as shown below.
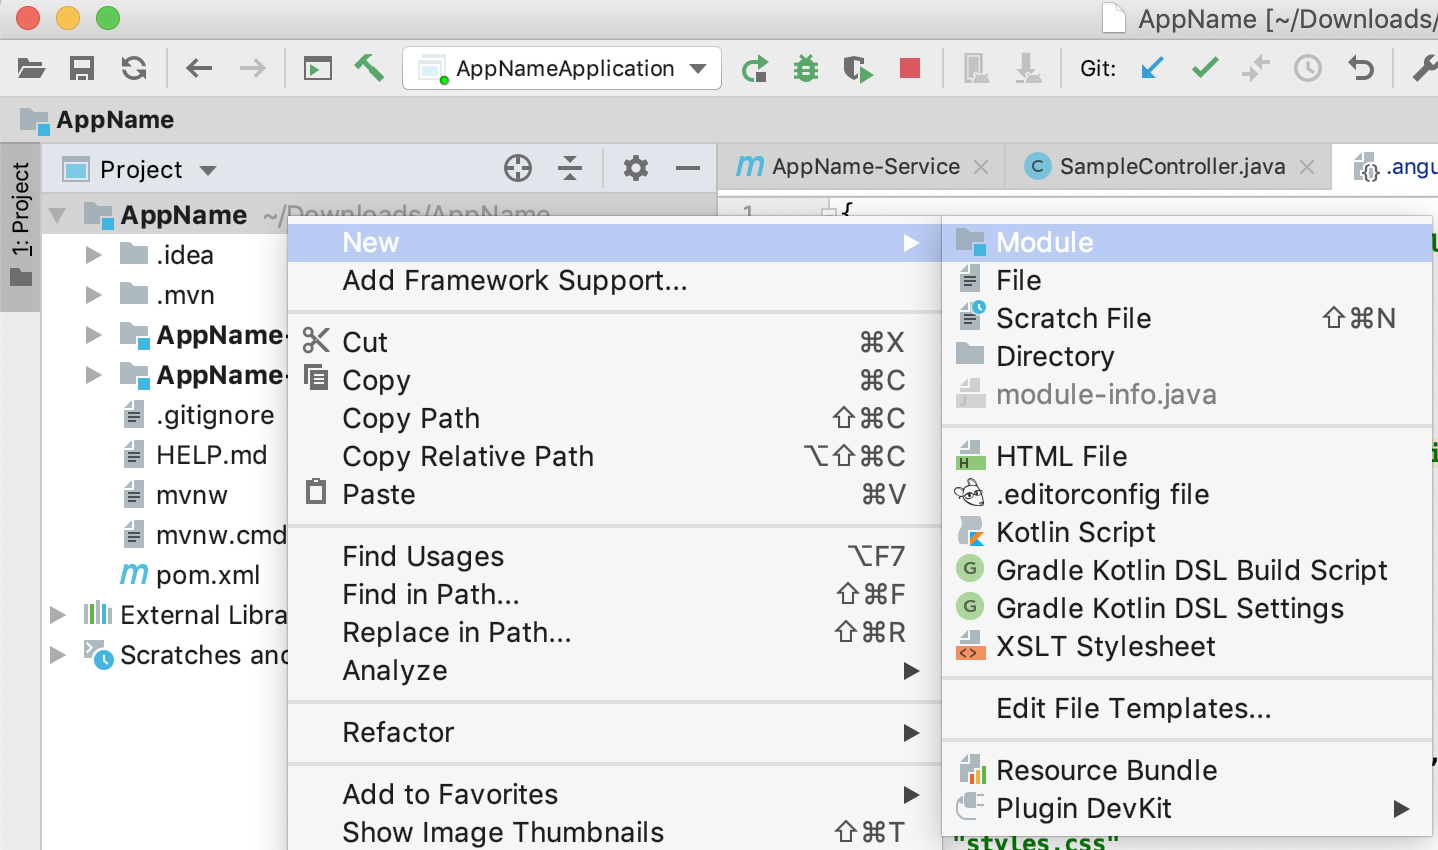
It’s recommended that you create a module with the project name suffixed with the module name. For example, AppName-UI or AppName-Service.
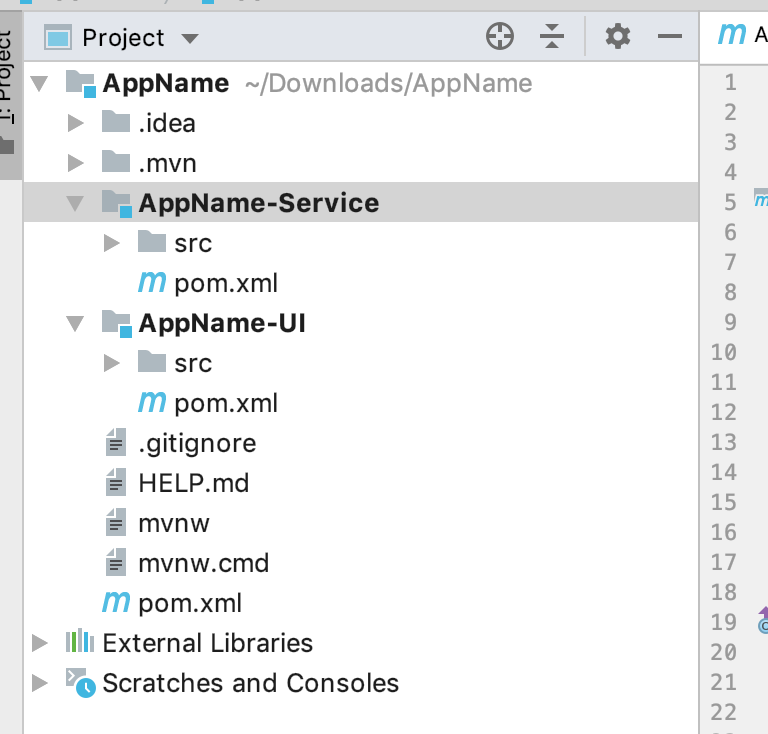
Once the modules are created, you can see that each module will havea pom.xml file associated with it, as shown in the figure below.
Now its time to discuess what are the modules used for and their purpose.
AppName-Service
This module is used for generating the final depolyment jar which, in turn, has core logic, REST controllers, models, repository classes, etc.
It would also have all the HTML, CSS, and JS files needed for the application.
AppName-UI
This module will contain the Angular project along with the pom.xml
Let’s now examine the pom.xml file used in the project.
The struture of parent pom.xml in the AppName folder of the pom.xml in AppName-Service module are as follows:
<?xml version="1.0" encoding="UTF-8"?>
<project xmlns="http://maven.apache.org/POM/4.0.0"
         xmlns:xsi="http://www.w3.org/2001/XMLSchema-instance"
         xsi:schemaLocation="http://maven.apache.org/POM/4.0.0 http://maven.apache.org/xsd/maven-4.0.0.xsd">
    <parent>
        <artifactId>AppName</artifactId>
        <groupId>com.appname.tutorial</groupId>
        <version>0.0.1-SNAPSHOT</version>
    </parent>
    <modelVersion>4.0.0</modelVersion>
    <packaging>jar</packaging>

    <artifactId>AppName-Service</artifactId>

    <build>
        <plugins>
            <plugin>
                <groupId>org.springframework.boot</groupId>
                <artifactId>spring-boot-maven-plugin</artifactId>
            </plugin>
        </plugins>
    </build>

</project>
Note: You have to remove the build configuration from the Parent pom.xml and place it the AppName-Service’s pom.xml.
Also, it’s important to add packaging in the AppName-Service’s pom.xml.
<packaging>Jar</packaging>
Let’s now look at building the Angular project.
You have to delete the src folder created in the AppName-UI module/folder.
Copy the pom.xml from the AppName-UI module and place it in your Desktop.
Navigate to AppName from the terminal and run the following commands:
cd ~/AppName
rm -rf AppName-UI
Create an Angular 6 Project Using Angular-CLI
Know more about https://cli.angular.io/.
Generate an Angular 6 project using the Angular-CLI from the AppName directory/folder. Navigate to the AppName directoryin the terminal and run the following command:
ng new AppName-UI
Once the above command has been run, you will see that Angular CLI generates a folder/directory including node_modules, package.json, angular-cli.json, etc.
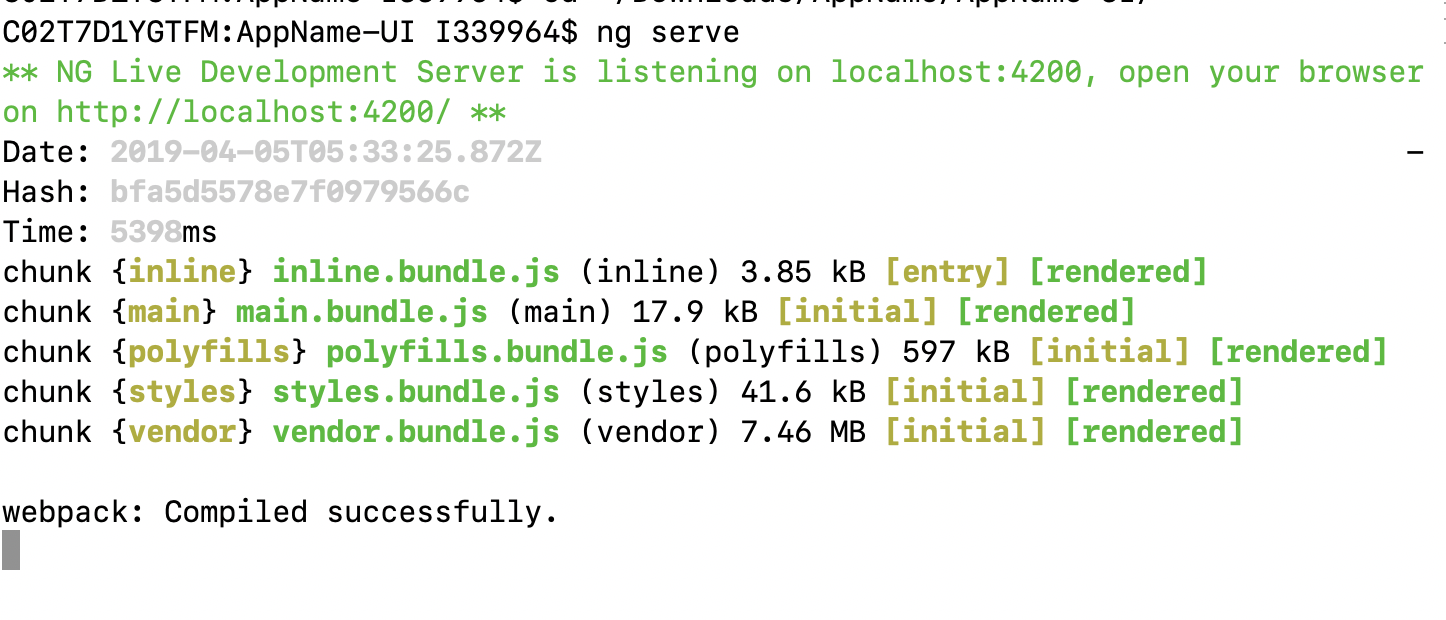
Just to ensure the newly created Angular app runs fine, you can navigate to that folder and run the below command
ng serve
Note:Replace the pom.xml file from the Desktop which we copied in the previous step.
The structure of pom.xml file in the AppName-UI is as follows.
<?xml version="1.0" encoding="UTF-8"?>
<project xmlns="http://maven.apache.org/POM/4.0.0"
         xmlns:xsi="http://www.w3.org/2001/XMLSchema-instance"
         xsi:schemaLocation="http://maven.apache.org/POM/4.0.0 http://maven.apache.org/xsd/maven-4.0.0.xsd">
    <parent>
        <artifactId>AppName</artifactId>
        <groupId>com.appname.tutorial</groupId>
        <version>0.0.1-SNAPSHOT</version>
    </parent>
    <modelVersion>4.0.0</modelVersion>
    <packaging>jar</packaging>

    <artifactId>AppName-UI</artifactId>

    <build>
        <plugins>
            <plugin>
                <groupId>com.github.eirslett</groupId>
                <artifactId>frontend-maven-plugin</artifactId>
                <version>0.0.28</version>
                <configuration>
                    <workingDirectory>./</workingDirectory>
                    <nodeVersion>${node.version}</nodeVersion>
                    <npmVersion>${npm.version}</npmVersion>
                    <nodeDownloadRoot>http://nodejs.org/dist/</nodeDownloadRoot>
                    <npmDownloadRoot>http://registry.npmjs.org/npm/-/</npmDownloadRoot>
                    <installDirectory>./</installDirectory>
                </configuration>
                <executions>
                    <execution>
                        <id>install node and npm</id>
                        <goals>
                            <goal>install-node-and-npm</goal>
                        </goals>
                        <phase>generate-resources</phase>
                    </execution>
                    <execution>
                        <id>npm install</id>
                        <goals>
                            <goal>npm</goal>
                        </goals>
                        <phase>generate-resources</phase>
                        <configuration>
                            <arguments>ci --loglevel=error</arguments>
                        </configuration>
                    </execution>
                    <execution>
                        <id>npm run-script build-prod</id>
                        <phase>prepare-package</phase>
                        <goals>
                            <goal>npm</goal>
                        </goals>
                        <configuration>
                            <arguments>run-script build-dev</arguments>
                        </configuration>
                    </execution>
                </executions>
            </plugin>
        </plugins>

    </build>
</project>
Where Are We Now?
We have created a Spring Boot application running on port 8080. We’ve also created an Angular application running on port 4200.
But we still haven’t achieve our goal of running an Angular application on Spring Boot’s Tomcat Server.
Running an Angular Application on Spring Boot’s Tomcat Server
As you already know, when use ng serve or ng build, Angular CLI generates all the HTML, CSS, andJS files in the dist folder.
Now we need to move that dist folder to AppName-Service’s resources directory.
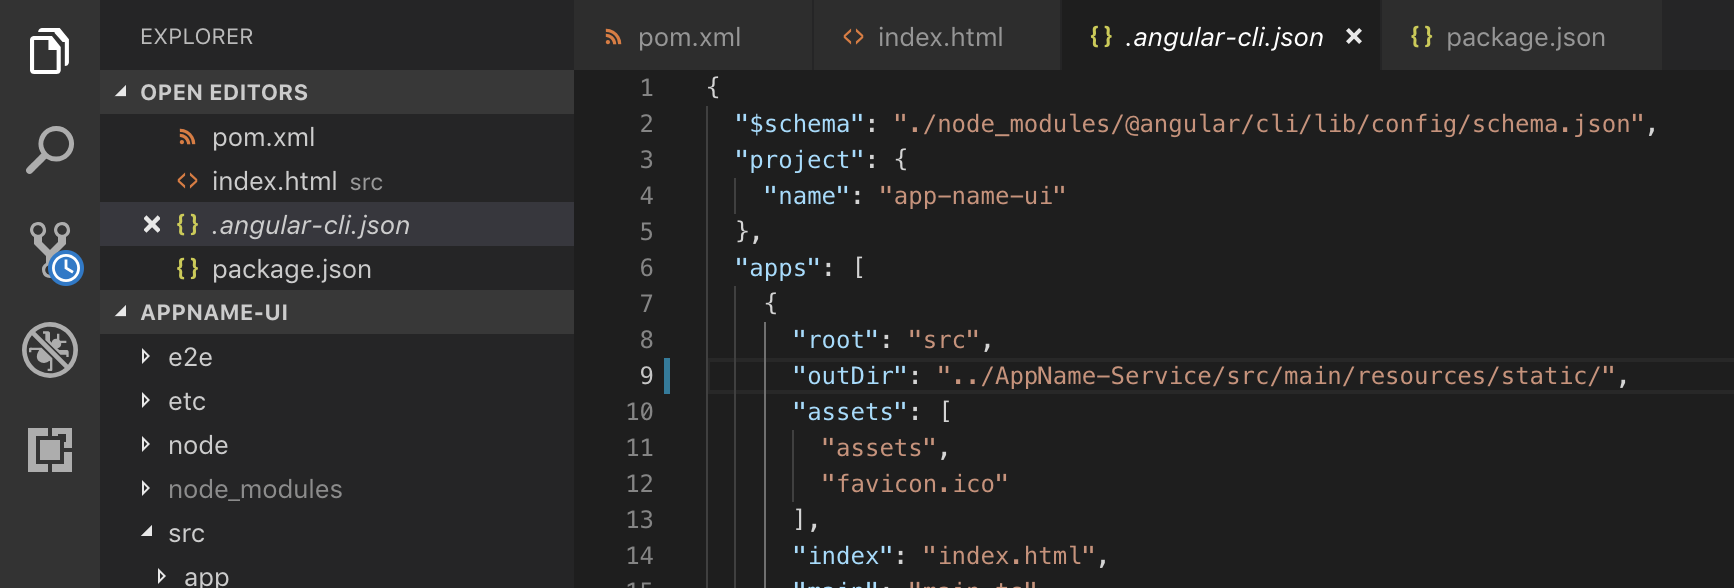
The easiest way to do that is to open the angular-cli.json file of our Angular application and modify the outDir property as shown below
So, basically, what we are saying is to put all the generated files into the resources of service folder.
Run the Application
Now it’s all yours.
Run mvn clean installfrom the project root directory. This will generate a jar file in the AppName-Service/target directory. It can be deployed to the Tomcat Server and the application can be viewed.
To run the Spring Boot application using Maven, run the following command from the AppName-Servicedirectory.
mvn spring-boot:run
Once the application has started, we should be able to see the index.html in the logs, and open the browser navigate to http://localhost:8080/index.html to see the welcome page.

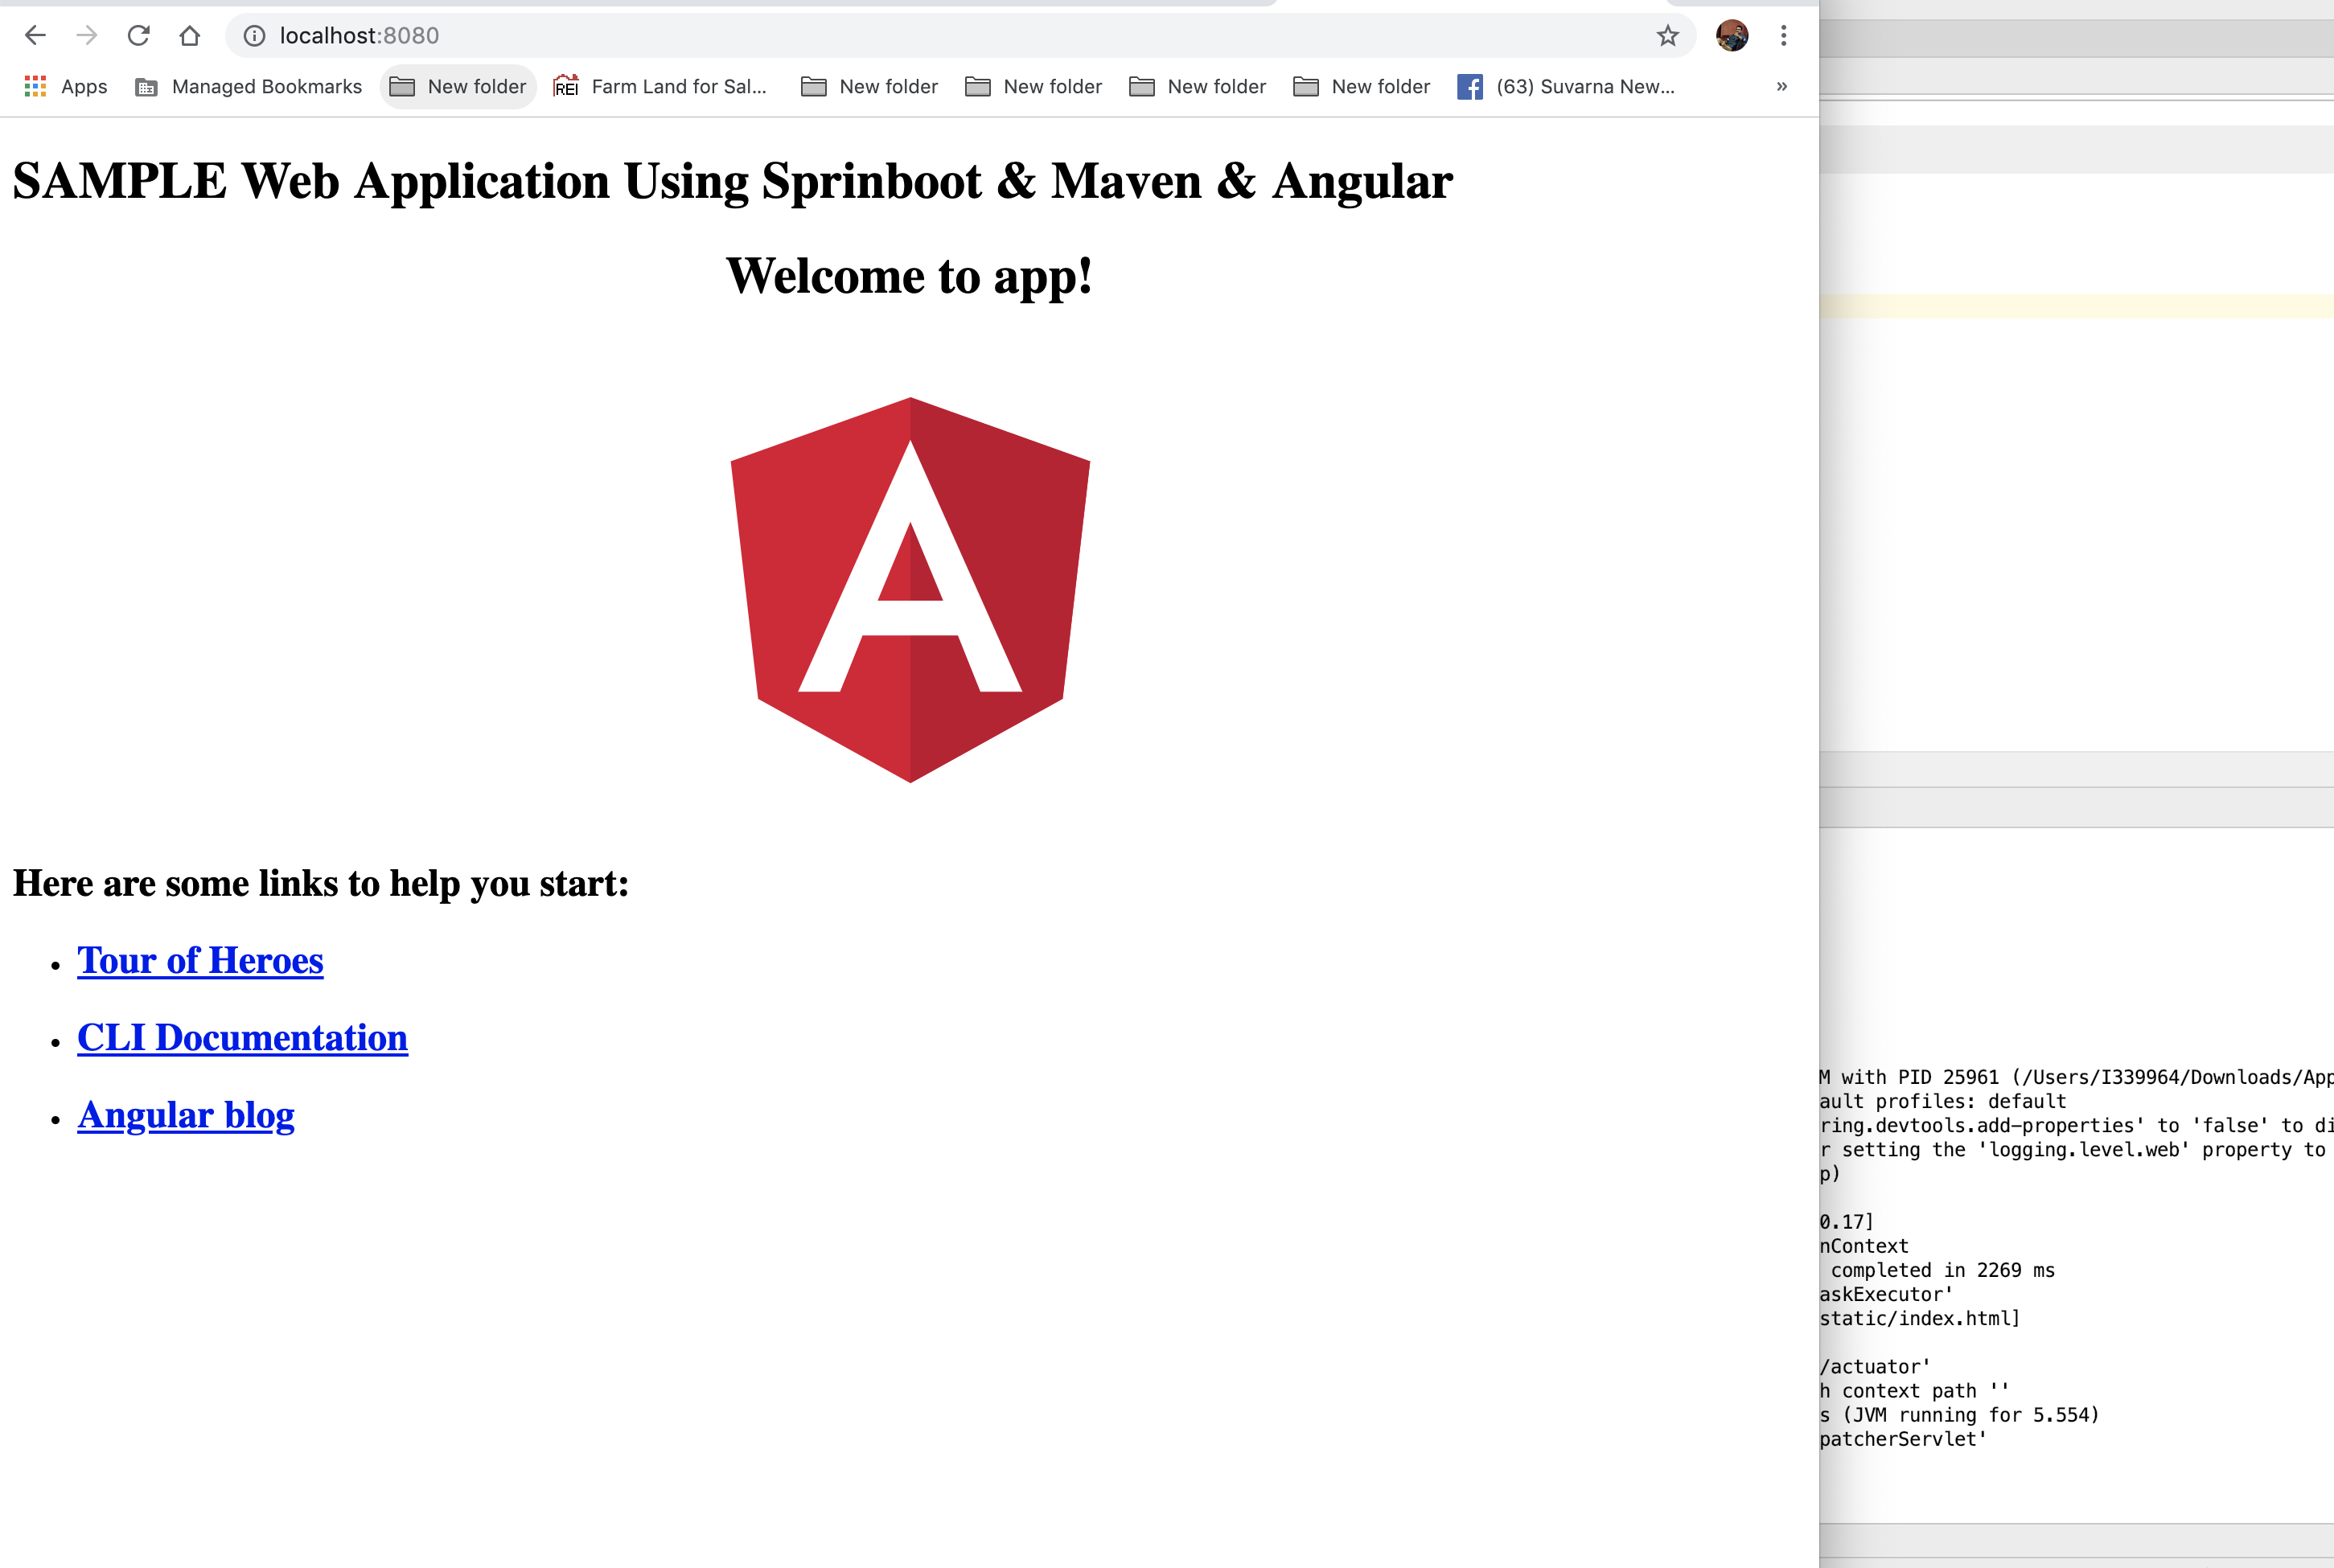
Angular HTML page accessed via a Tomcat Server.
Complete source code is available on GitHub: https://github.com/ihappyk/AppName
Thanks for reading ❤
If you liked this post, share it with all of your programming buddies!
#web-development #angular #spring-boot #maven #java