In this article we will explore two ways of tracking state using a simple registration form.
The user enters their name, email address and a password and we keep track of state in two different ways.
- The first way will be to use the useState hook for each input field.
- The second way will be to use a user object and a single useState hook with the user object.
Both are valid ways but the second may be preferred for larger forms.
Let’s Get Started
You can use an existing React project (I often keep a “SandBox” application for experimenting) or bootstrap a new project.
Creating a New Project
- Create a directory in which to place your application.
- Start VS Code (or desired editor) and open the folder you just created.
- Open a Terminal window and enter this code to bootstrap our React app.
npx create-react-app usestate-forms
Next we need to change in to this directory and run npm start to start the development server to verify it is running our React app. By default this will be on localhost port 3000.
4. After your application has been bootstrapped type the following in the Terminal.
cd usestate-forms
npm start
You should see something similar to the image below.
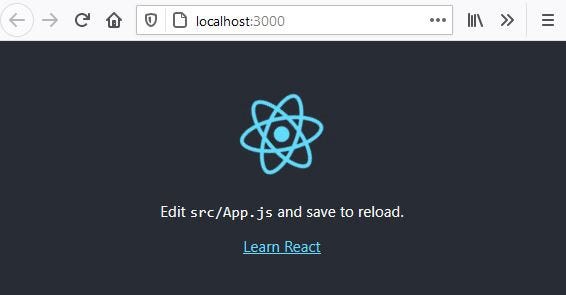
Basic React Application
Use CTRL +C to stop the development server and close the browser tab.
We will also install bootstrap to afford us some simple styling.
1. Type the following in the Terminal window to install bootstrap.
npm install bootstrap
2. Open App.js and replace the default code with the streamlined code below.
import React,{useState} from 'react'
import './App.css'

const App=()=> {
return (
    <div className="App">
     <h1>User Registration</h1>
    </div>
  );
}
export default App;
2. Save and restart the development server.
npm start
You should just see only the words “User Registration” in the browser.
#javascript #web-development #react-hook #react #state-management