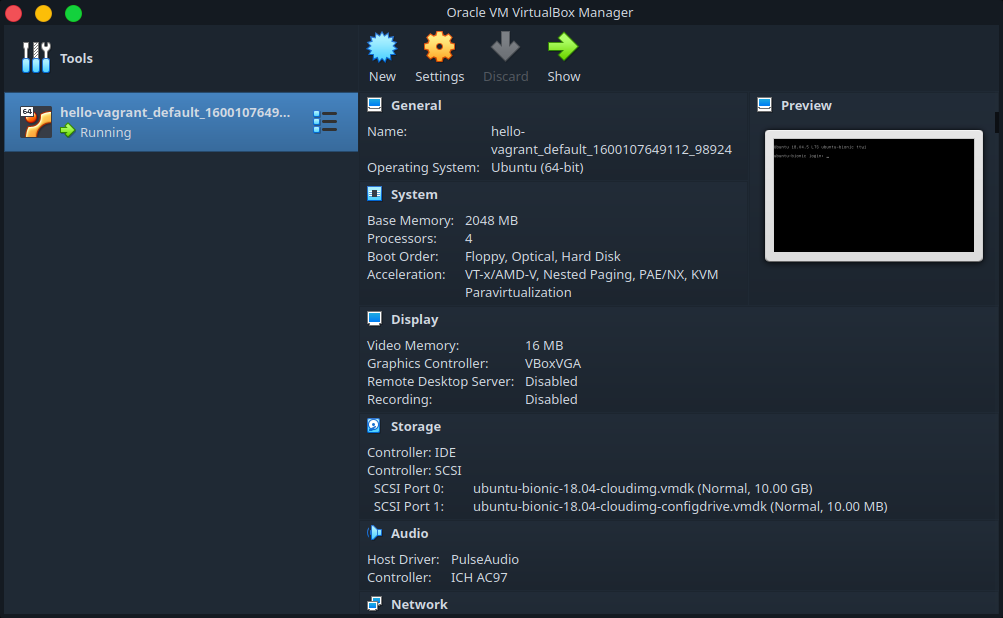
Virtual Machines, or VMs for short, are fairly popular in the Software industry and among developers. And for good reason — who would mind a disposable OS, within an OS! Right? They are fairly easy to use, allow you to run multiple OS’s on a single host OS, completely independent of each other (okay, there are some limitations in performance compared to bare metal performance, but let’s leave that aside for now).
One of the bigger problems with using VMs that I felt prevented them from being as convenient as, say, an actual local environment, was the initial setup. Setting up a VM and getting it ready to use for development inside a VM manager like VirtualBox wasn’t exactly a click-click-done process. You needed to:
- Find and download an installation image file for your OS of choice.
- Create your VM.
- Boot up your VM, and install each development software and package you needed.
Yeah, that takes quite some time. But when you’re someone who wants a consistent development environment without having to install an infinite amount of software, from programming language runtimes to database servers on your local machine, VMs are definitely a very attractive solution. If you’re someone like this, and you’ve been unaware, allow me to introduce you to the extreme convenience that is Vagrant.
Using Vagrant requires you to install a single installable package, which you can get from here for your OS. The installation process is trivial really, but do remember to ensure that virtualization support is enabled in your BIOS settings. Vagrant also requires a VM “provider”, such as VirtualBox or VMWare Fusion to be installed on your system. We’ll be using the free and open-source VirtualBox.
First and foremost, what is Vagrant? The official documentation briefly calls it “ the command line utility for managing the lifecycle of virtual machines”. That’s all you really need to know. Let’s work with it to gain an idea of what it can do for you.
A Vagrant box, which is nothing but a Vagrant-controlled VM, is brought up based on a configuration file, which is called, by convention, a **Vagrantfile **(Yes, like a Dockerfile!). A Vagrantfile has 5 main config blocks:
- **box: **The “box” to start with. A box is like a template that forms the base for your Vagrant box. Essentially, what “images” are to a Dockerfile, a “box” is to a Vagrantfile. They contain a base OS and, optionally, additional configurations and installed software/packages. To see openly available Vagrant boxes, you can go here.
- provider:As mentioned earlier, Vagrant supports a number of VM managers or “providers”, including but not limited to VirtualBox, VMWare Fusion, and Docker. Not all providers support all base boxes, but you do not need to worry about that yet. The documentation can help you understand more about the supported providers.
- **network: **This is the network configuration, such as forwarding ports to the host machine, binding the VM to particular private IP, etc.
- **synced_folder: **Synced folders parallel volume bind mounts from docker. What they allow, essentially, is to sync directories between your host and the VM. This could allow you to have setups where you may, for example, edit code on your local code editor but see changes reflected in real-time inside the VM.
- **provision: **A vanilla base box is rarely of any use without necessary packages installed and the environment configured. The provision block is where you “provision” your VM with necessary changes, and installations through, say, shell scripts.
#software-development #coding #software-engineering #virtualization #devops
