Introduction
In this tutorial, you will create CSS ID selectors and learn how and why to use them when building a website with CSS and HTML.
CSS ID selectors function similarly to CSS class selectors. They allow you to create CSS rules that you can apply to HTML elements that have a unique ID attribute. Like classes, ID names are chosen by the developer when they create a CSS rule using the ID selector. However, IDs are different from classes in that you can only use an individual ID once in an HTML document. Thus, you would only define IDs for items that appear on a page once like a top logo, a site title, or a navigation bar. In general, CSS IDs are used sparingly.
Prerequisites
To follow this tutorial, make sure you have set up the necessary files and folders as instructed in a previous tutorial in this series How To Set Up You CSS and HTML Practice Project.
Creating a CSS ID Selector
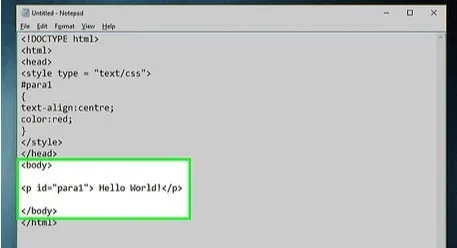
When creating a rule for an ID, a # is prepended to the ID’s name:
#my-first-id {
  color: blue;
}
Copy
This CSS rule creates an ID named “my-first-id" and declares that any HTML text element assigned this ID will be blue.
Let’s now explore how IDs work in practice. First, make sure you have set up the necessary files and folders as instructed in a previous tutorial in this series How To Set Up You CSS and HTML Practice Project.
Erase everything in your styles.css file (if you have been following along with this series) and add the CSS rule above for “#my-first-id” to your styles.css file and save the file.
Next, return to your index.html file and erase everything (except for the first line of code: <link rel="stylesheet" href="css/styles.css">). Then add the following code snippet:
index.html
<p id="my-first-id">This text is styled using a CSS ID.</p>
#css