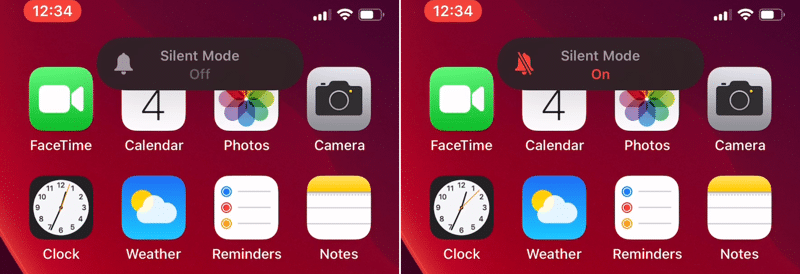
With iOS 13 Apple changed from a big, disruptive UI for silent mode and volume to smaller and more focused UIs, that don’t take up the whole screen. There are buttons in your app, where a feedback is more intuitive for the user, but not so important to disrupt the whole screen with an ActionSheet . Examples are “Added to favorites” or “Saved image”. For that, a simple info sheet at the top is great.
Building your quick info sheet
The HUD will be displayed in a layer above the main app interface. To do so, wrap the view elements in your ContentView in a ZStack . Than we can add the HUD in the ZStack . First, we create an simple HUD with only a Text as content. The modifiers create the iOS-HUD style. As background we use a blur UIViewRepresentable , but you can also use Color(.systemBackground)or any other color.
struct HUD: View {
	    @ViewBuilder var body: some View {
	        Text("Saved image")
	            .foregroundColor(.gray)
	            .padding(.horizontal, 10)
	            .padding(14)
	            .background(
	                Blur(style: .systemMaterial)
	                    .clipShape(Capsule())
	                    .shadow(color: Color(.black).opacity(0.22), radius: 12, x: 0, y: 5)
	            )
	    }
	}

	struct Blur: UIViewRepresentable {
	    var style: UIBlurEffect.Style

	    func makeUIView(context: Context) -> UIVisualEffectView {
	        return UIVisualEffectView(effect: UIBlurEffect(style: style))
	    }

	    func updateUIView(_ uiView: UIVisualEffectView, context: Context) {
	        uiView.effect = UIBlurEffect(style: style)
	    }
	}
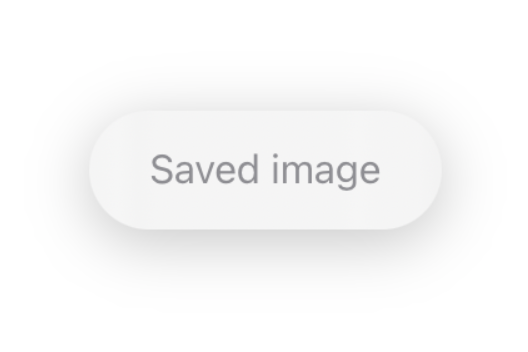
This looks great! When we put the HUD() in our ContentView , the HUD is in the middle of the view, instead of the top. Simply set the alignment of the ZStackto .top , and the OS does the rest. Via the safe margins, the HUD is always placed right.
struct ContentView: View {
	    @ViewBuilder var body: some View {
	        ZStack {
	            NavigationView {
	                Button("Save image") {

	                }
	                .navigationTitle("Content View")
	            }
	            HUD()
	        }
	    }
	}
#programming #ios #ui #swiftui #swift