_In a [previous post] we set out to explore the dataset provided by the [Trump Twitter Archive]. This is part two of the Exploring Trump series.On this post, we’ll continue our journey but this time we’ll be using spaCy.
For this project, we’ll be using pandas for data manipulation, spaCy for natural language processing, and joblib to speed things up.Let’s get started by firing up a Jupyter notebook!
Housekeeping
Let’s import pandas and also set the display options so Jupyter won’t truncate our columns and rows. Let’s also set a random seed for reproducibility.
# for manipulating data
import pandas as pd

# setting the random seed for reproducibility
import random
random.seed(493)
# to print out all the outputs
from IPython.core.interactiveshell import InteractiveShell
InteractiveShell.ast_node_interactivity = "all"
# set display options
pd.set_option('display.max_columns', None)
pd.set_option('display.max_rows', None)
pd.set_option('display.max_colwidth', -1)
Getting the Data
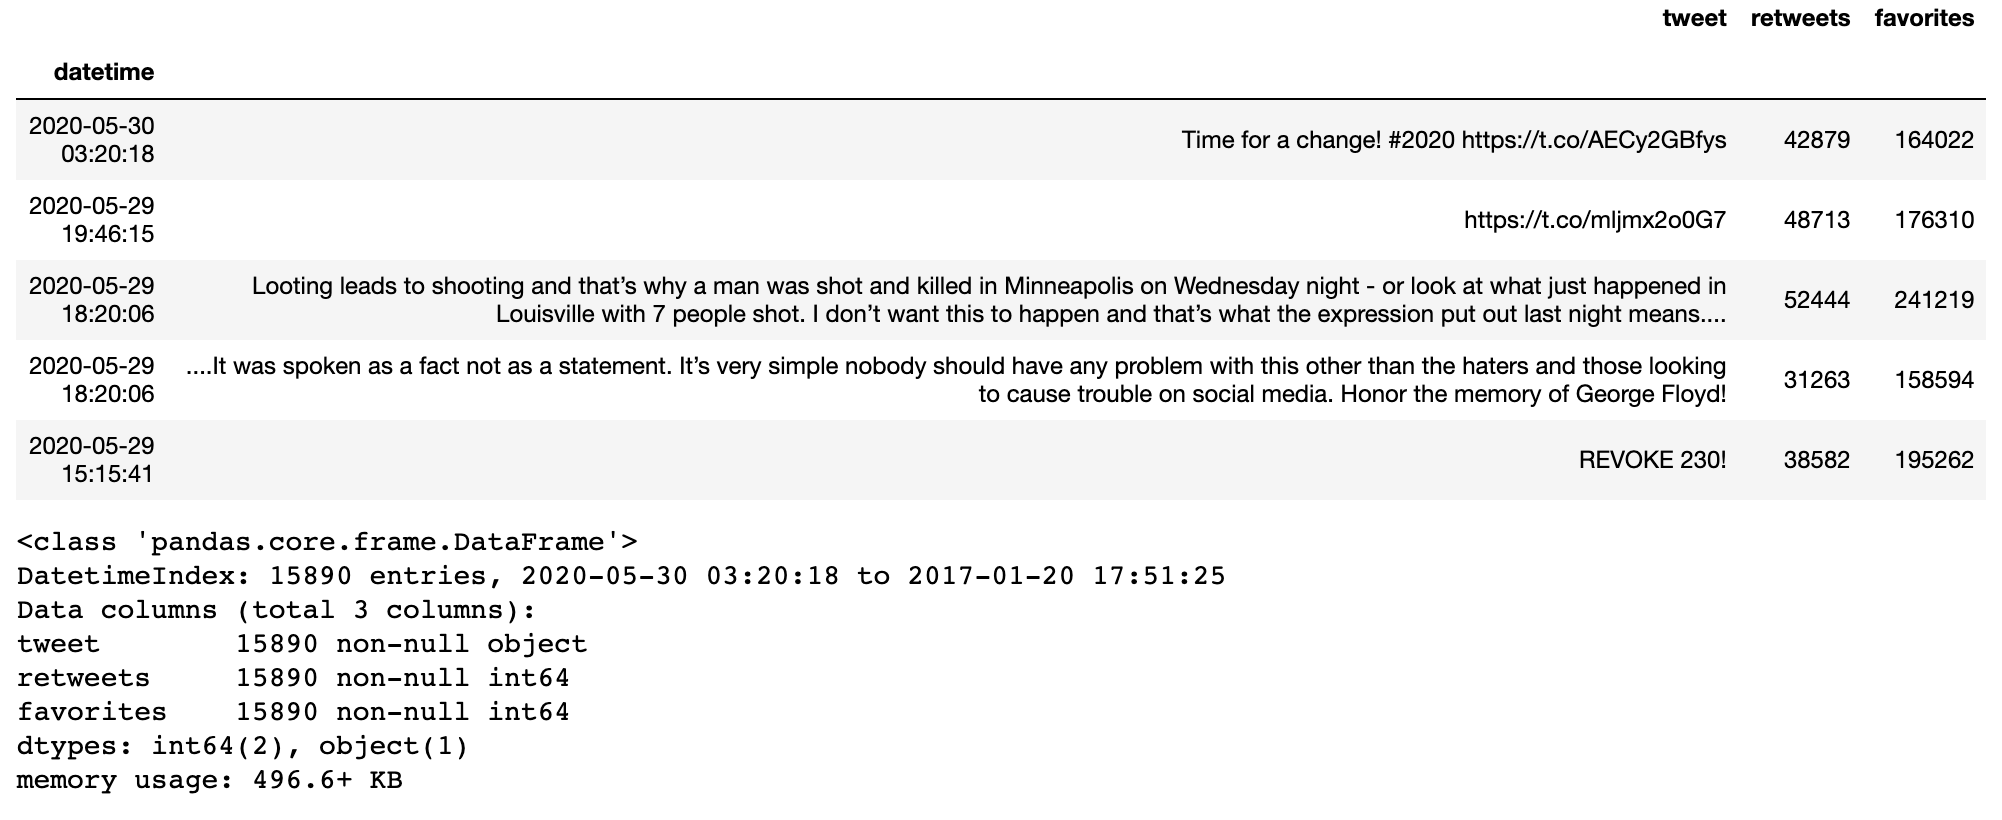
Let’s read the data into a dataframe. If you want to follow along, you can download the cleaned dataset here along with the file for stop words¹. This dataset contains Trump’s tweets from the moment he took office on January 20, 2017 to May 30, 2020.
df = pd.read_csv('trump_20200530_clean.csv', parse_dates=True, index_col='datetime')
Let’s take a quick look at the data.
df.head()
df.info()
Using spaCy
Now let’s import spaCy and begin natural language processing.
# for natural language processing: named entity recognition
import spacy
import en_core_web_sm
We’re only going to use spaCy’s ner functionality or named-entity recognition so we’ll disable the rest of the functionalities. This will save us a lot of loading time later.
#nlp #spacy #exploring-trump #data-science #data analysis #data analysis