Kubernetes Tutorial: How to deploy Gitea using the Google Kubernetes Engine
Originally published by Daniel Sanche at https://medium.com
If you’ve read "An Introduction to Kubernetes", you should have a good foundational understanding of the basic pieces that make up Kubernetes. If you’re anything like me, however, you won’t fully understand a concept until you get hands on with it.
There’s nothing too special about Gitea specifically, but going through the process of deploying an arbitrary open source application to the cloud will give us some practical hands-on experience with using Kubernetes. Plus, at the end you will be left with a great self-hosted service you can use to host your future projects!
Setting Up a Cluster
kubectl and gcloud
The most important tool you use when setting up a Kubernetes environment is the kubectl command. This command allows you to interact with the Kubernetes API. It is used to create, update, and delete Kubernetes resources like pods, deployments, and load balancers.
There is a catch, however: kubectl can’t be used to directly provision the nodes or clusters your pods are run on. This is because Kubernetes was designed to be platform agnostic. Kubernetes doesn’t know or care where it is running, so there is no built in way for it to communicate with your chosen cloud provider to rent nodes on your behalf. Because we are using Google Kubernetes Engine for this tutorial, we will need to use the gcloud command for these tasks.
In brief, gcloud is used to provision the resources listed under “Hardware”, and kubectl is used to manage the resources listed under “Software”
This tutorial assumes you already have kubectl and gcloud installed on your system. If you’re starting completely fresh, you will first want to check out the first part of the Google Kubernetes Engine Quickstart to sign up for a GCP account, set up a project, enable billing, and install the command line tools.
Once you have your environment ready to go, you can create a cluster by running the following commands:
# create the clusterby default, 3 standard nodes are created for our cluster
gcloud container clusters create my-cluster --zone us-west1-a# get the credentials so we can manage it locally through kubectl
creating a cluster can take a few minutes to complete
gcloud container clusters get-credentials my-cluster \
--zone us-west1-a

We now have a provisioned cluster made up of three n1-standard1 nodes
Along with the gcloud command, you can manage your resources through the Google Cloud Console page. After running the previous commands, you should see your cluster appear under the GKE section. You should also see a list of the VMs provisioned as your nodes under the GCE section. Note that although the GCE UI allows you to delete the VMs from this page, they are being managed by your cluster, which will re-create them when it notices they are missing. When you are finished with this tutorial and want to permanently remove the VMs, you can remove everything at once by deleting the cluster itself.

Deploying An App
YAML: Declarative Infrastructure
Now that our cluster is live, it’s time to put it to work. There are two ways to add resources to Kubernetes: interactively through the command line using kubectl add, and declaratively, by defining resources in YAML files
While interactive deployment with kubectl add is great for experimenting, YAML is the way to go when you want to build something maintainable. By writing all of your Kubernetes resources into YAML files, you can record the entire state of your cluster in a set of easily maintainable files, which can be version-controlled and managed like any other part of your system. In this way, all the instructions needed to host your service can be saved right alongside the code itself.
Adding a Pod
To show a basic example of what a Kubernetes YAML file looks like, let’s add a pod to our cluster. Create a new file called gitea.yaml and fill it with the following text:
apiVersion: v1

kind: Pod

metadata:

name: gitea-pod

spec:

containers:
- name: gitea-container
image: gitea/gitea:1.4
This pod is fairly basic. Line 2 declares that the type of resource we are creating is a pod; line 1 says that this resource is defined in v1 of the Kubernetes API. Lines 3–8 describe the properties of our pod. In this case, the pod is unoriginally named “gitea-pod”, and it contains a single container we’re calling “gitea-container”.
Line 8 is the most interesting part. This line defines which container image we want to run; in this case, the image tagged 1.4 in the gitea/gitea repository. Kubernetes will tell the built-in container runtime to find the requested container image, and pull it down into the pod. Because the default container runtime is Docker, it will find the gitea repository hosted on Dockerhub, and pull down the requested image.
Now that we have the YAML written out, we apply it to our cluster:kubectl apply -f gitea.yaml
This command will cause Kubernetes to read our YAML file, and update any resources in our cluster accordingly. To see the newly created pod in action, you can run kubectl get pods. You should see the pod running.
$ kubectl get podsNAME READY STATUS RESTARTS AGEgitea-pod 1/1 Running 0 9m
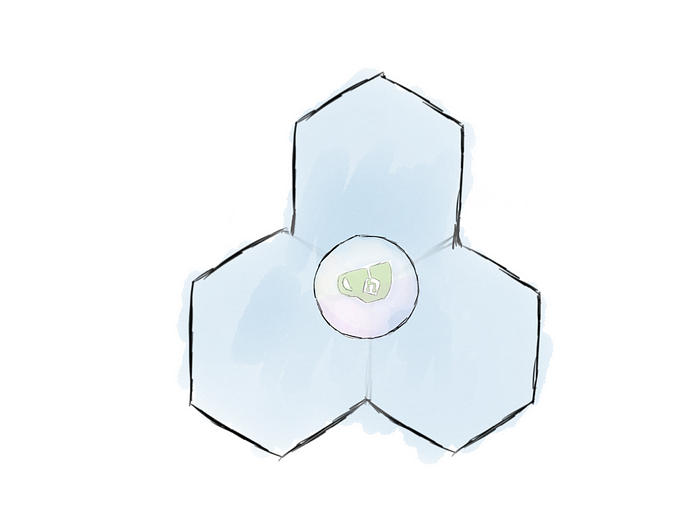
Gitea is now running in a pod the cluster
If you want even more information, you can view the standard output of the container with the following command:
$ kubectl logs -f gitea-podGenerating /data/ssh/ssh_host_ed25519_key…Feb 13 21:22:00 syslogd started: BusyBox v1.27.2
Generating /data/ssh/ssh_host_rsa_key…
Generating /data/ssh/ssh_host_dsa_key…
Generating /data/ssh/ssh_host_ecdsa_key…
/etc/ssh/sshd_config line 32: Deprecated option UsePrivilegeSeparation
Feb 13 21:22:01 sshd[12]: Server listening on :: port 22.
Feb 13 21:22:01 sshd[12]: Server listening on 0.0.0.0 port 22.
2018/02/13 21:22:01 [T] AppPath: /app/gitea/gitea
2018/02/13 21:22:01 [T] AppWorkPath: /app/gitea
2018/02/13 21:22:01 [T] Custom path: /data/gitea
2018/02/13 21:22:01 [T] Log path: /data/gitea/log
2018/02/13 21:22:01 [I] Gitea v1.4.0+rc1-1-gf61ef28 built with: bindata, sqlite
2018/02/13 21:22:01 [I] Log Mode: Console(Info)
2018/02/13 21:22:01 [I] XORM Log Mode: Console(Info)
2018/02/13 21:22:01 [I] Cache Service Enabled
2018/02/13 21:22:01 [I] Session Service Enabled
2018/02/13 21:22:01 [I] SQLite3 Supported
2018/02/13 21:22:01 [I] Run Mode: Development
2018/02/13 21:22:01 Serving [::]:3000 with pid 14
2018/02/13 21:22:01 [I] Listen: http://0.0.0.0:3000
As you can see, there is now a server running inside the container on our cluster! Unfortunately, we won’t be able to access it until we start opening up ingress channels (coming in a future post).
Deployment
As explained in Kubernetes Tutorial, pods aren’t typically run directly in Kubernetes. Instead, we should define a deployment to manage our pods.
First, let’s delete the pod we already have running:
kubectl delete -f gitea.yaml
This command removes all resources defined in the YAML file from the cluster. We can now modify our YAML file to look like this:
apiVersion: extensions/v1beta1

kind: Deployment

metadata:

name: gitea-deployment

spec:

replicas: 1

selector:

matchLabels:

app: gitea

template:

metadata:

labels:

app: gitea

spec:

containers:

- name: gitea-container

image: gitea/gitea:1.4
This one looks a bit more complicated than the pod we made earlier. That’s because we are really defining two different objects here: the deployment itself (lines 1–9), and the template of the pod it is managing (lines 10–17).
Line 6 is the most important part of our deployment. It defines the number of copies of the pods we want running. In this example, we are only requesting one copy, because Gitea wasn’t designed with multiple pods in mind.²
There is one other new concept introduced here: labels and selectors. Labels are simply user-defined key-value stores associated with Kubernetes resources. Selectors are used retrieve the resources that match a given label query. In this example, line 13 assigns the label “app=gitea” to all pods created by this deployment. Now, if the deployment ever needs to retrieve the list of all pods that it created (to make sure they are all healthy, for example) it will use the selector defined on lines 8–9. In this way, the deployment can always keep track of which pods it manages by searching for which ones have been assigned the “app=gitea” label.
For the most part, labels are user-defined. In the example above, “app” doesn’t mean anything special to Kubernetes, it is just a way that we may find useful to organize our system. Having said that, there are certain labels that are automatically applied by Kubernetes, containing information about the system.
Now that we have created our new YAML file, we can re-apply it to our cluster:
kubectl apply -f gitea.yaml
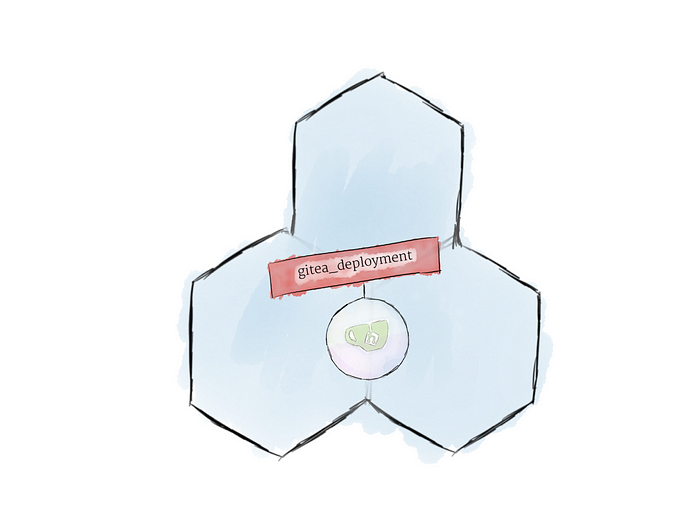
Now, our pod is managed by a deployment
Now, if we run kubectl get pods we can now our new pods running, as specified in our deployment:
$ kubectl get podsNAME                              READY    STATUS    RESTARTS

gitea-deployment-8944989b8-5kmn2  0/1      Running   0
We can see information about the deployment itself:
$ kubectl get deploymentsNAME              DESIRED  CURRENT  UP-TO-DATE  AVAILABLE  AGE

gitea-deployment  1        1        1           1          4m
To test to make sure everything’s working, try deleting the pod with kubectl delete pod <pod_name>. You should quickly see a new one pop back in it’s place. That’s the magic of deployments!
You may have noticed that the new pod has weird, partially randomly generated name. That’s because pods are now created in bulk by the deployment, and are meant to be ephemeral. When wrapped in a deployment, pods should be thought of as cattle rather than pets.
Thanks for reading ❤
If you liked this post, share it with all of your programming buddies!
Follow me on Facebook | Twitter
Further reading about Kubernetes
☞ Docker and Kubernetes: The Complete Guide
☞ Learn DevOps: The Complete Kubernetes Course
☞ Docker and Kubernetes: The Complete Guide
☞ Kubernetes Certification Course with Practice Tests
☞ An illustrated guide to Kubernetes Networking
☞ An Introduction to Kubernetes: Pods, Nodes, Containers, and Clusters
☞ An Introduction to the Kubernetes DNS Service
☞ Kubernetes Deployment Tutorial For Beginners
☞ Kubernetes Tutorial - Step by Step Introduction to Basic Concepts
#kubernetes #devops #docker #git
