As you already know, TestNG or Test Next Generation is one of the most frequently used automation testing frameworks in Java. Inspired by JUnit and NUnit, Cedric Beust created TestNG with the idea of covering almost all types of testing models, be it functional or end-to-end. The annotations, functionalities, usability, features, and ease-of-use make TestNG a very popular choice of framework. Listed below are some of the major benefits of using TestNG-
- The reporting feature provides a detailed XML report of every successful, failed, or skipped test.
- Parallel testing assists testers in running multiple test cases with the added benefit of CI/CD integration.
- The annotations feature allows developers to handle exceptions and understand the code easily.
- Test cases can be grouped together or prioritized easily.
- Flexible runtime configuration.
In this article, you will learn how to install TestNG in Eclipse and set it up in your system to start building a framework for your test project. Starting off with the installation of the TestNG plugin for Eclipse.
TestNG is based on Java and you need to install it in case you haven’t already. Now to begin with the installation of TestNG plugin for Eclipse, you need to launch Eclipse IDE and then follow these steps.
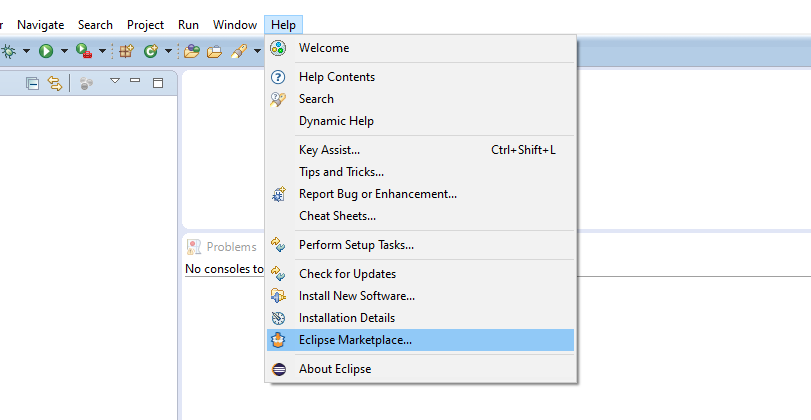
Step #1: Once Eclipse is launched, click on Help and then Eclipse Marketplace.
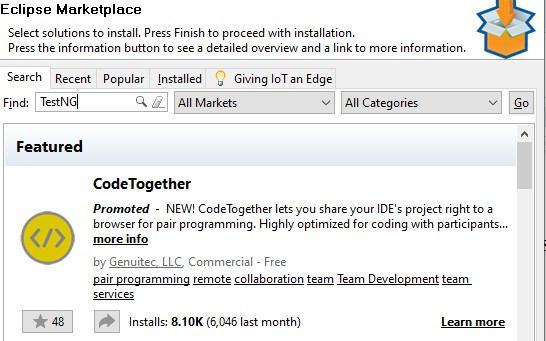
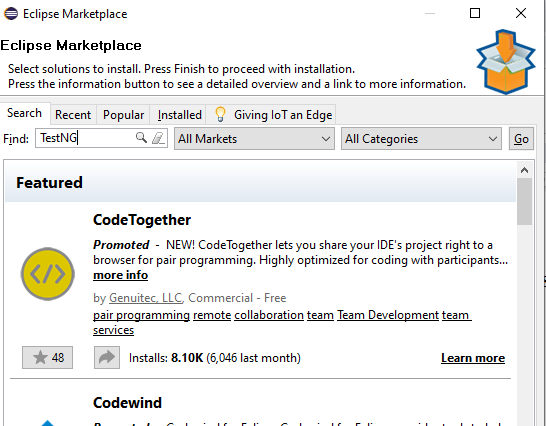
Step #2: A new window would open up, wherein you need to type “TestNG” in the Find text box and click on the Go button.
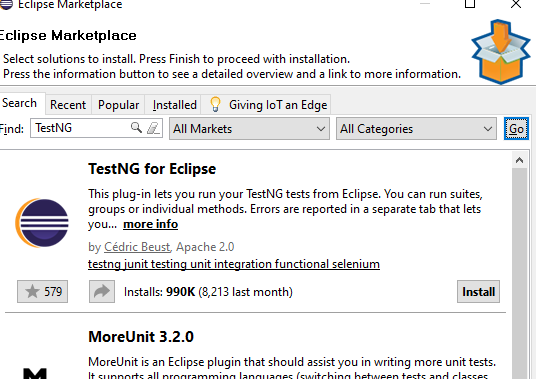
**Step #3: **You will now see the search results with TestNG for Eclipse at the top. All you need to do now is click on the Install button next to it.
Step #4: Resolving of features might take up a few minutes after which you need to verify that the checkbox for TestNG is checked and click on the Confirm button.

Step #5: Select “Keep my installation the same” option and again click on the Confirm button.

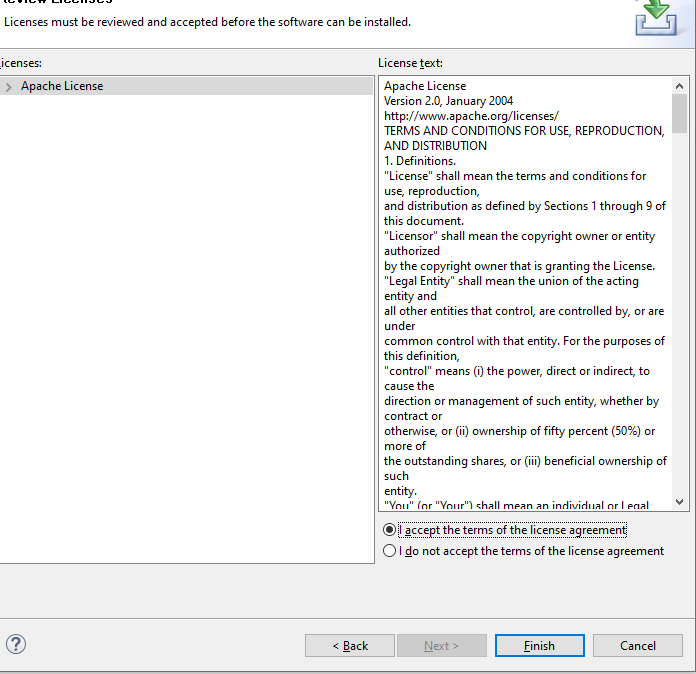
**Step #6: **Accept the license and click on the Finish button.
Note: For the change to be effective, you will have to restart Eclipse and you will now be able to see TestNG installed by right-clicking on any project and seeing TestNG in the menu options.
#tutorial #performance #java tutorial #selenium automated testing #testng tutorial #testng automation framework #testng framework in selenium