If you are a developer or engineer you have probably touched the terminal or a command line of some sort before. There is a reason why so many think the command line is so much more powerful than using a graphical user interface. If you are comfortable with it you can navigate around your operating system and computer much faster and get much more done in less time. Especially if you work with software development, using the terminal can greatly improve your productivity and workflow. Getting comfortable with the terminal can take quite some time. But it is certainly worth it. _Rome was not built overnight _after all — or however, it goes.
Investing time into your tools as a software developer is something that will gradually improve your workflow and enjoyment of doing work you previously may not have prioritized. Setting up a perfect development environment is a long process. Here are some tips and tricks to get your boring old terminal interesting and more enjoyable to work with every day. Some of these tips you may already know of— but hopefully, you will find some of it useful.
1. Terminal & shell
The shell is the engine of your terminal. The default shell on most machines is called Bash (The Born Again Shell). Although Bash works perfectly fine, many are switching to other UNIX shells like Zsh, Fish, and Rc, since these are much more customizable. This article will be aimed at terminals running with Zsh, but the majority of the tips will also work for other shells. The default terminal on your computer is most likely not very customizable and therefore I, as well as many other developers, recommend a terminal like iTerm if you are on Mac. iTerm comes with many amazing features and is extremely configurable.
Installing iTerm2 & ZSH
If you want to read the full documentation on installing ZSH I highly recommend visiting the official Github repository:
iTerm2
ZSH
$ brew install zsh zsh-completions
Set ZSH as your default terminal shell by entering the following command inside of a terminal window:
$ chsh -s /bin/zsh
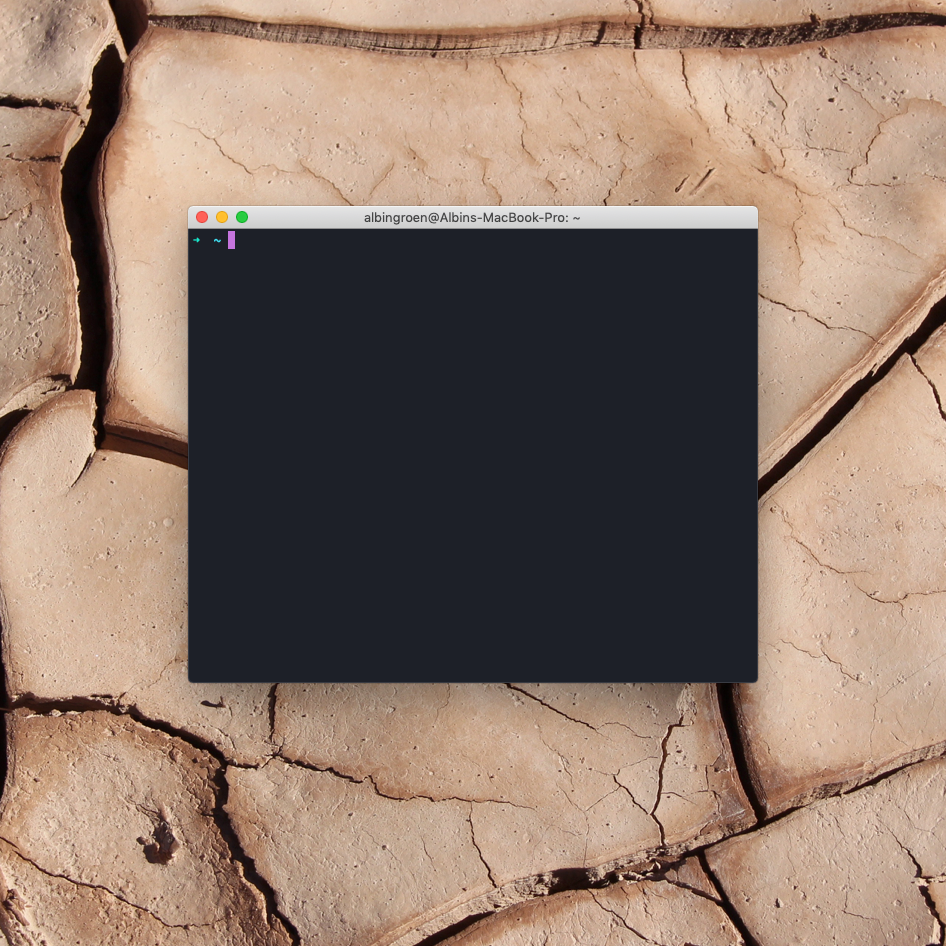
Now, after installing and opening iTerm2 you should be greeted with something like this.

2. Sessions, windows, and pane-management
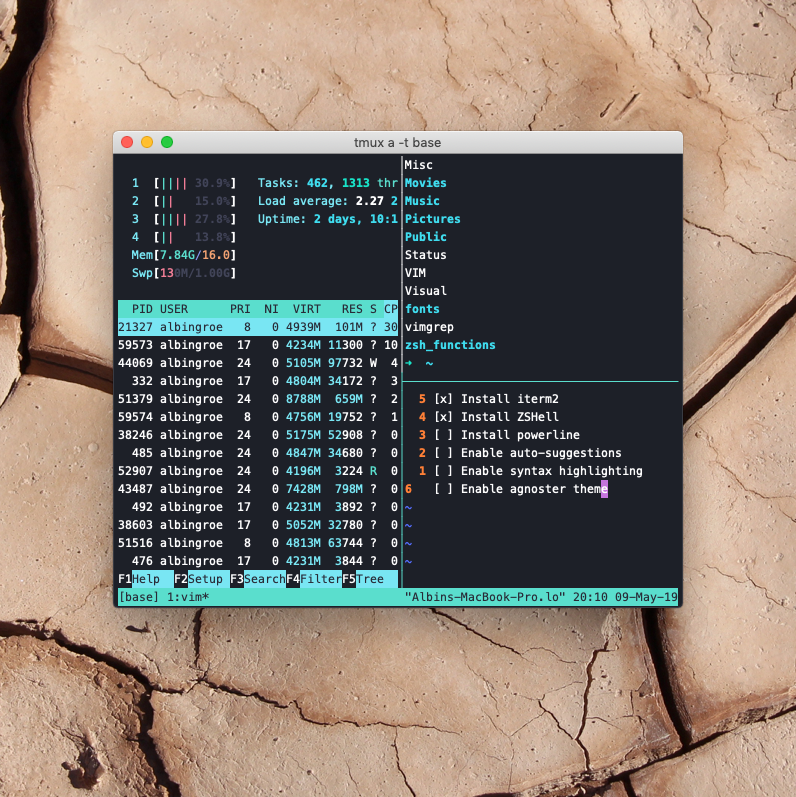
After getting set up with a new terminal and terminal shell engine we want to install a tool called **Tmux. **Tmux is a great terminal multiplexer tool for managing multiple sessions and activities at once, using multiple windows, and splitting your window into multiple panes however you want. Tmux event lets you shut down your terminal and still let processes and activities run in the background while you work on something else.
Installing Tmux
Assuming you have Homebrew installed on your machine, installing Tmux is as easy as running the following command
$ brew install tmux
Now, to start a new Tmux session just type the following:
$ tmux
Now with Tmux up and running we can easily split panes as we want, create multiple sessions, switch between tabs, add windows and much more.
Read more about Tmux here:
Tmux Cheat Sheet & Quick Reference

3. Themes & Fonts
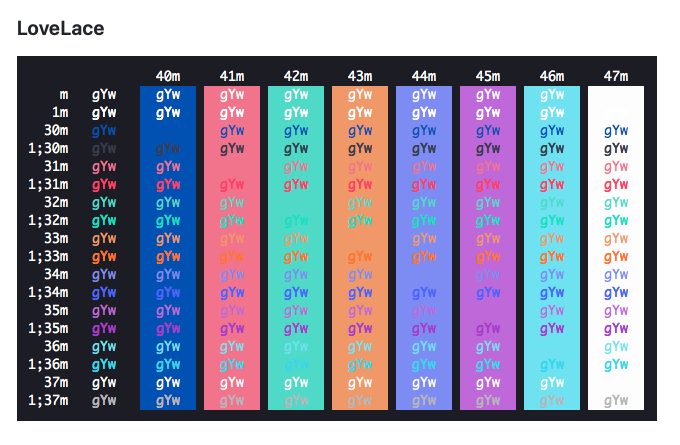
The most fun part with setting up your computers’ terminal and terminal-shell include styling it the way you want to. Luckily iTerm2 and Zsh are very customizable and easy to theme and configure as you want to. For this article, we will install a theme for iTerm2 called Lovlace and also enable a popular Zsh theme called Agnoster .
iTerm2 lovelace theme

#programming #zsh #coding #terminal #web-development
