Working with forms in React is notoriously difficult, particularly when there are dynamic fields involved. There exist a number of libraries that make the whole process easier. One of such libraries is React Hook Form. Instead of having a bunch of form components, React Hook Form, as the name suggests, exposes various hooks that help in controlling the form’s behavior, leaving the individual component implementation details to the user. This approach presents a few advantages, mainly that users aren’t tied to any particular UI framework or predefined form components.
In this post we’re gonna build a simple recipe form, which allows entering the basic details along with a dynamic list of ingredients. The final result will look like this:
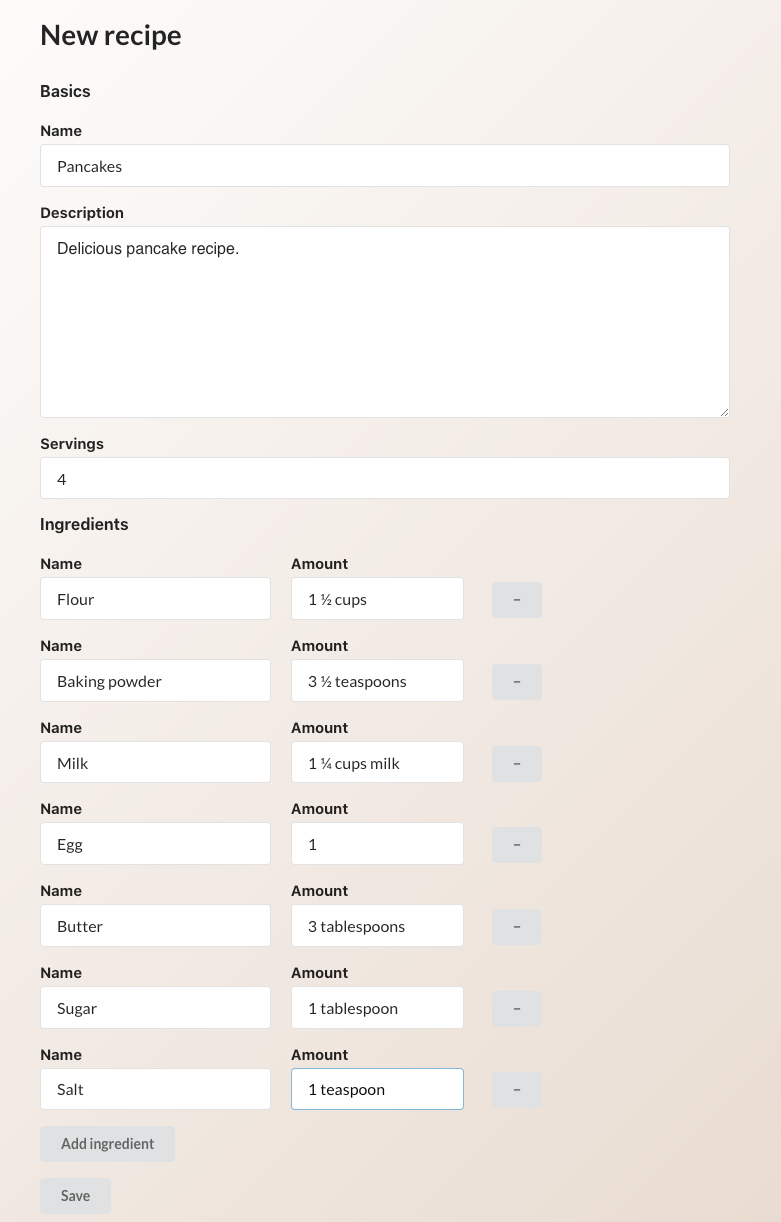
UI-wise it doesn’t look too fancy, since the main focus is on using React Hook Form. Apart from it, we’ll be using Semantic UI React, a library of UI components and Emotion/styled, to be able to adjust the styles of those components.
As the first step, let’s install all the required dependencies:
npm i @emotion/core @emotion/styled semantic-ui-react semantic-ui-css react-hook-form
Now we can setup our form component in a new file, called Form.js.
Additionally, remember to add import "semantic-ui-css/semantic.min.css"; in the index.js, above the custom index.css styles.
Form Base
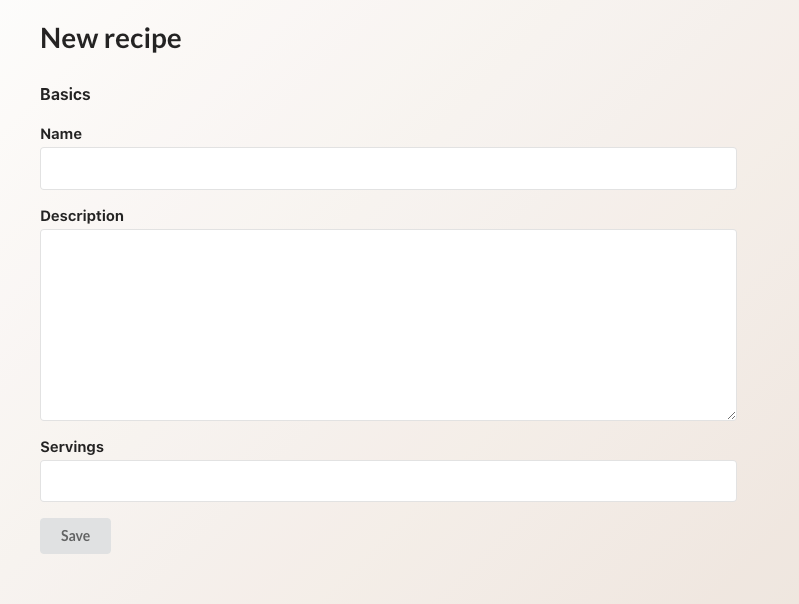
With all this setup out of the way, we can finally start working on the form itself. We’ll begin with the Basics section, which will have the general information about the recipe. To help with grouping form fields into sections, let’s add a custom component, called FieldSet, which is a small abstraction on top of the native HTML fieldset.
For the form itself, we’ll use the Form component from Semantic UI React, which also comes with a few handy subcomponents, such as Form.Field. For this simple recipe form we’ll only have a few basic fields, such as recipe name, description, and number of servings. Let’s add them to the form.
Here we add the recipe fields with their labels, which results in a simple form below. Note the use of name attributes on the form elements, as they will become handy in a bit. Also we use a combination of htmlFor and id attributes to improve fields’ accessibility.
Now it’s time to use React Hook Form for managing our form’s state. One of the selling points of the library is that it makes state managing easier, without the need to add a bunch of setState hooks. All we need to do is use a combination of name and ref attributes to register fields on the form’s state.
We start with importing and calling useForm hook, which returns several useful helpers. In this case we use register to assign a form field via its name to the corresponding property on the state. This is why adding names to the fields is important here. We also need to wrap our submit function in handleSubmit callback. Now if we enter a recipe details in the form fields and press Save, we should see a following object in the console:
{
  name: "Pancakes",
  description: "Super delicious pancake recipe",
  amount: "10"
}
That’s all the setup needed to start using React Hook Form. However, its functionality doesn’t end here and next we’ll see a few enhancements we can add to our form.
#react #javascript #web-development #programming #developer
