We could write all types of log into ElasticSearch by configuring our application.
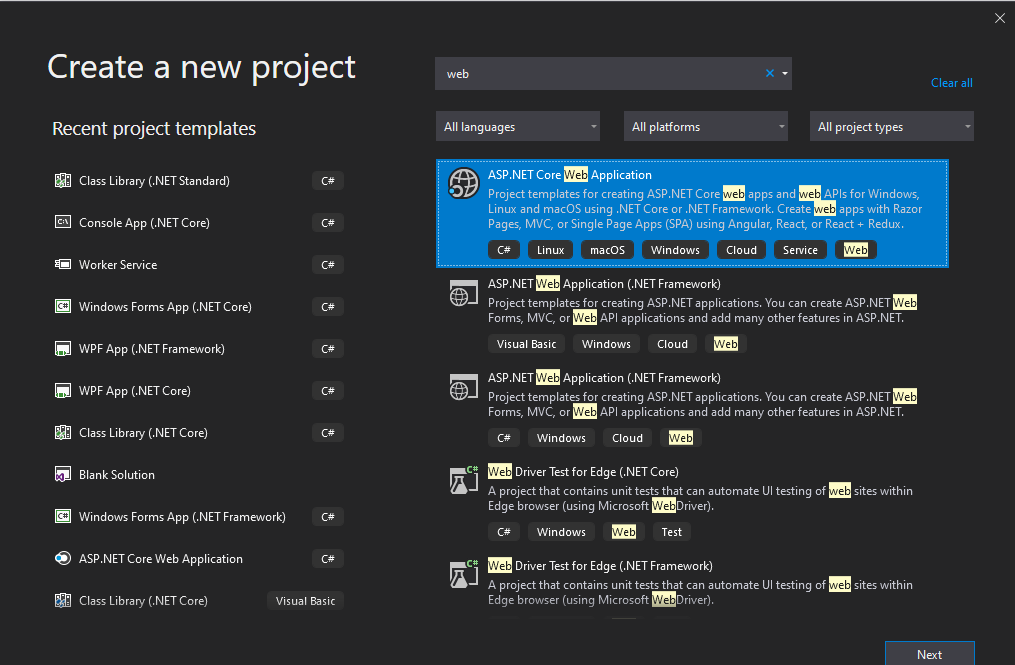
As the first step, you need to create an empty web application(.net core) in Visual studio.
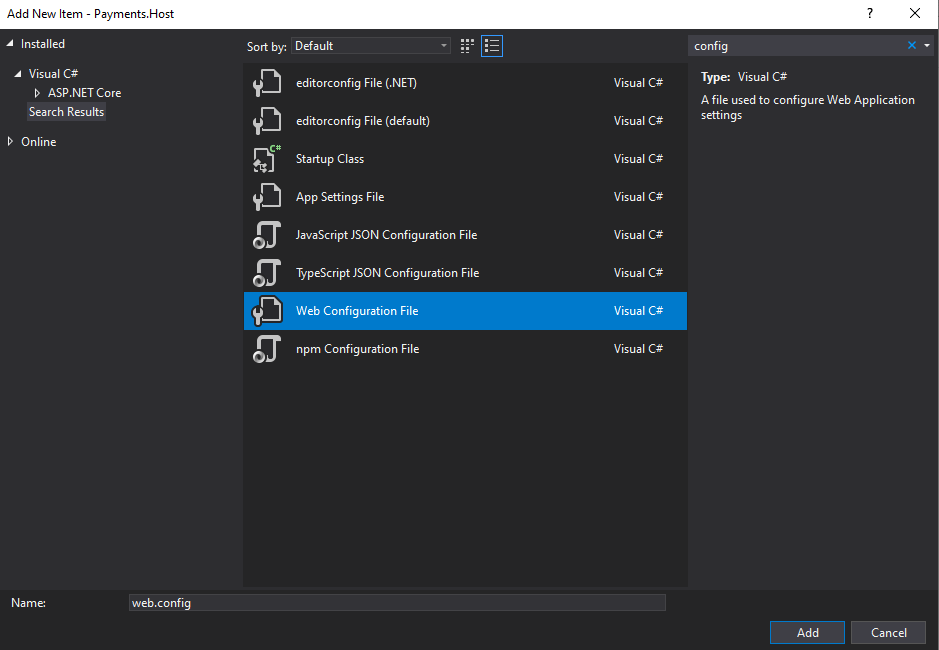
Now right click on the project and select** Add new Item** and search config to find Web Configuration File option. Set nlog.config as the file name.
Write the below code into the newly added config file.
1
<?xml version="1.0" encoding="utf-8" ?>
2
<nlog xmlns="http://www.nlog-project.org/schemas/NLog.xsd"
3
xmlns:xsi="http://www.w3.org/2001/XMLSchema-instance"
4
autoReload="true">
5
<extensions>
6
<add assembly="NLog.Targets.ElasticSearch"/>
7
</extensions>
8
9
10
<targets async="true">
11
<target name="elastic"
12
xsi:type="ElasticSearch"
13
index="YourAppName" uri="http://192.168.50.60:9200"
14
layout ="API:SpecificName |${longdate}|${event-properties:item=EventId_Id}|${uppercase:${level}}|${logger}|${message} ${exception:format=tostring}|url: ${aspnet-request-url}|action: ${aspnet-mvc-action}" >
15
</target>
16
</targets>
17
18
<rules>
19
<!--All logs, including from Microsoft-->
20
<!--<logger name="*" minlevel="Trace" writeTo="allfile" />
21
22
<logger name="*" minlevel="Trace" writeTo="ownFile-web" />
23
24
<logger name="*" minlevel="Trace" writeTo="database" />-->
25
26
<logger name="*" minlevel="Trace" writeTo="elastic" />
27
28
</rules>
29
</nlog>
Before set the logging config, we should install some related packages, For this purpose, select NugetPackageManager from Tools menu and after that select PackageManagerConsole. We could write all types of log into ElasticSearch by configuring our application.
As the first step, you need to create an empty web application(.net core) in Visual studio.
Now right click on the project and select Add new Item and search config to find Web Configuration File option. Set nlog.config as the file name.
Write the below code into the newly added config file.
XML
1
2
<nlog xmlns=“http://www.nlog-project.org/schemas/NLog.xsd”
3
xmlns:xsi=“http://www.w3.org/2001/XMLSchema-instance”
4
autoReload=“true”>
5
6
7
8
9
10
11
<target name=“elastic”
12
xsi:type=“ElasticSearch”
13
index=“YourAppName” uri=“http://192.168.50.60:9200”
14
layout =“API:SpecificName |${longdate}|${event-properties:item=EventId_Id}|${uppercase:${level}}|${logger}|${message} ${exception:format=tostring}|url: ${aspnet-request-url}|action: ${aspnet-mvc-action}” >
15
16
17
18
19
20
<!–
21
22
23
24
–>
25
26
27
28
29
Before set the logging config, we should install some related packages, For this purpose, select NugetPackageManager from Tools menu and after that select PackageManagerConsole.#programming #elasticsearch #nlog #.net core #.net #elasticsearch