In this tutorial, we are demonstrating how we can use MuleSoft itself as an OAuth Provider. By saying OAuth, we are referring to OAuth2.0.
Just for a recap, there are many OAuth Providers available nowadays such as Facebook, Google, AWS Cognito, OKTA etc. MuleSoft also provides this feature to act as an OAuth Provider so that it is easier to implement OAuth using MuleSoft itself without using any third party providers.
There are three parts in implementing the OAuth on MuleSoft API using MuleSoft itselt as an OAuth Provider.
Part 1. Creating a Mule OAuth Project (It is the project/application on which we will apply the OAuth Policy)
Part 2. Creating a Mule OAuth Implementation Project (It is the project which will validate the OAuth requests, or take it as a OAuth Implementation Provider project/application)
Part 3. Applying OAuth Policy on the Project we created in Part 1 while having the OAuth Validation URL enforced through the Project we created in Part 2
Description of all parts are given below:
**Creating a Mule OAuth Project **
In this part, there are three subparts:
- Designing API Specifications using Design Center
- Application implementation using Anypoint Studio
- Creating an API using API Manager
Designing API Specifications using Design Center
Create RAML in Design Center with a single Get resource.
Application Implementation Using Anypoint Studio
Create a project/application in Anypoint Studio by importing the RAML from Exchange.
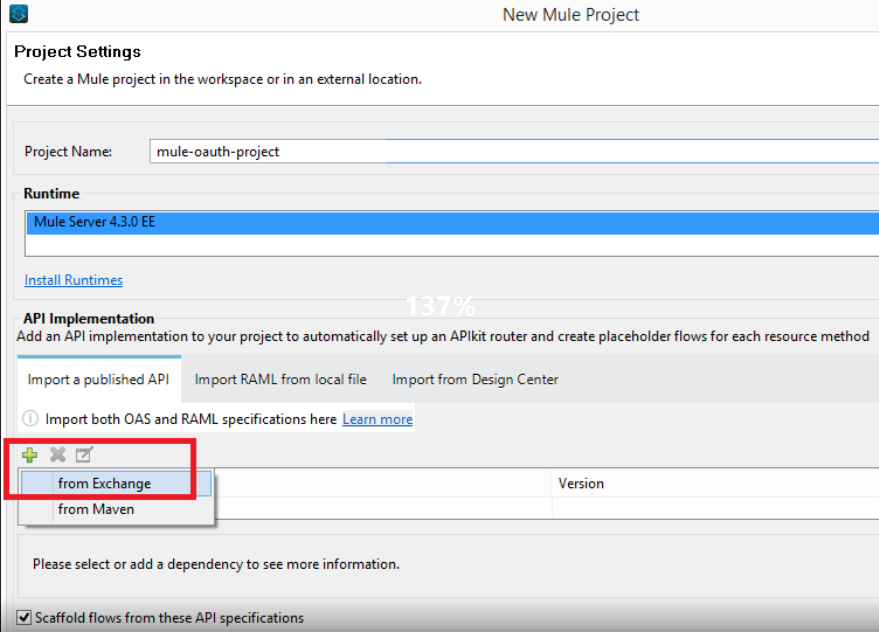
As you have imported the RAML from Exchange, you will see that after creating the project, the API specifications will be added as a zip file in project libraries rather than the API folder in project resources.
If you have imported the RAML from Design Center, you will see that after creating the project, the API specifications will be added inside the api folder in project resources.
It’s a best design practice to import the RAML from Exchange rather than Design Center. In this manner, we are enforcing the user to only edit the RAML through Design Center… so that it will not make any discrepancy in RAML versions on Studio and Design Center.
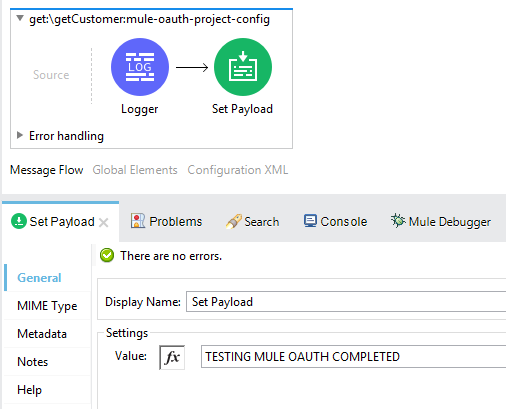
After creating the project via importing the RAML from Anypoint Exchange successfully. Now, it’s time to override the default flow implementation. Therefore, we need to implement the flow so that it will return something on postman. To do so, we are just putting a Logger and a Set Payload to return some static payload back on Postman.
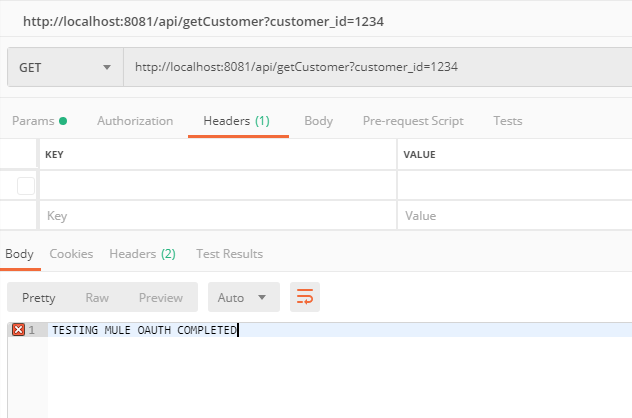
Execute it on localhost to confirm that we are getting expected outcome on postman. Please keep this is mind that having securityScheme stated in RAML doesn’t mean that you will get any error if you don’t provide the Authorization in header while running in localhost.
Testing the application on localhost:
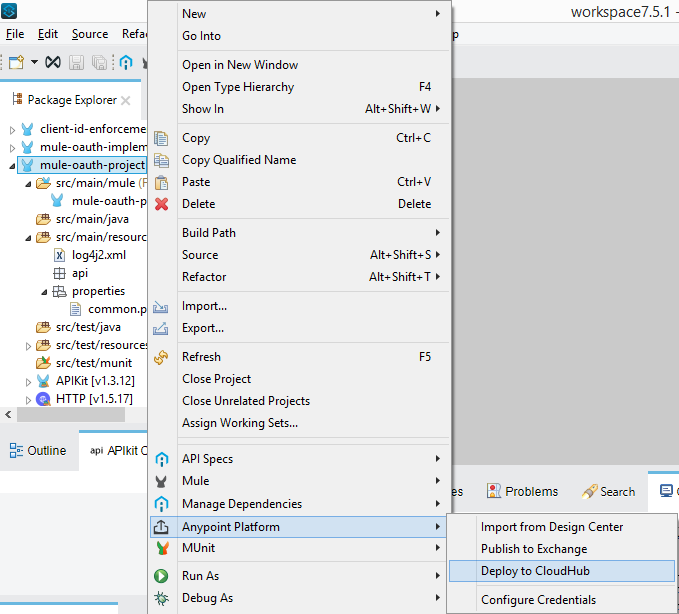
Deploy the project/application in CloudHub by either uploading the exported jar file, or by deploying the project directly from Anypoint Studio.
After deploying the project with default settings, confirm that the application is now listed under Runtime Manager. Click on it and copy the Domain link as highlighted below.

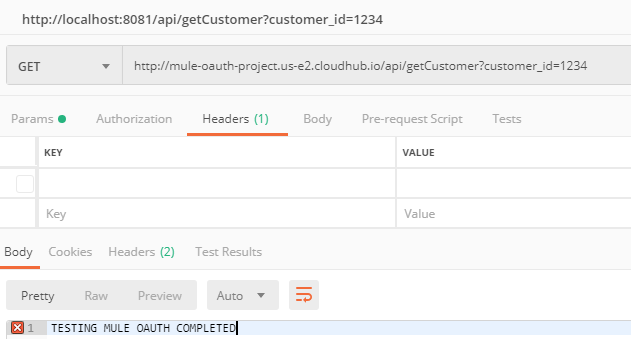
Testing the application on CloudHub:
#mulesoft #mule esb #oauth #api security #mule 4 #raml #oauth 2 #oauth 2 access token #securing apis