This is the third article of my series on AWS Amplify with Angular full-stack serverless guide. In the previous articles, I explained how to set up an Amplify with Angular project and how to make continuous deployment of that app.
- AWS Amplify + Angular full-stack serverless guide: Part 1: Setting up ⚙️ 🔧 an Amplify with Angular app
- AWS Amplify + Angular fullstack serverless guide: Part 2 Continuous Deployment 🔄 ✅ of an Amplify app
In this article, I will describe how to add authentication to the app. Amplify framework uses Amazon Cognito as the principal authentication provider. I will be discussing how to add username/password login as well as social login. Let’s do this 👊
As the article is being drafted, I thought that it’s getting a bit lengthy. So I decided to bring a conventional sign-in/sign-up tutorial in another article. In this article, I will be explaining how to configure Social-Sign-In with Amplify and Angular.
If you are adding social login to an Amplify app, you have to configure it first. Then you can add conventional sign-in/sign-up flow.
Social Sign-In
Before start configuring our app, we need to set up the Auth provider.
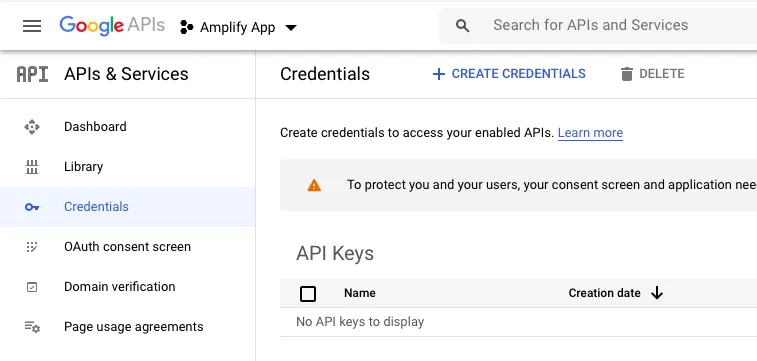
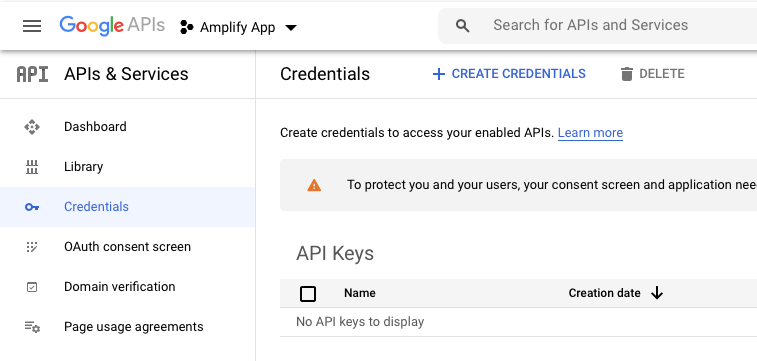
— Google Sign-In
First go to Google developer console.
#oauth2 #angular #aws #serverless #authentication