Being such a popular language for new developers, many of those using Flutter don’t know how or where to even begin when it comes to setting up a backend for their applications. There are a few solutions available such as Firebase, which most Flutter developers use, however, we are going to cover a more widely used backend, AWS. More specifically we are going to cover setting up a database, with NoSQL through AWS (known as DynamoDb), creating APIs using API Gateway & Serverless with Node (you can also use python), and Handling API calls in your Flutter application to perform CRUD operations to your newly created database.
The hope is that by the end of this article you will be able to quickly spin up your own database, APIs for connecting to that database and the integration of those APIs into your app, so that you can quickly put together a backend for future, or current, projects in Flutter. The same process can be followed for hooking up to a SQL database through AWS, simply changing the manner in which our API methods call the DB. I will try to introduce different options in terms of languages and databases that can be used as best as I can, and show you how to locate the necessary resources to expand functionality beyond what is in this tutorial.
AWS Account Setup:
If you don’t already have an account, navigate to AWS and click “Create an Account”.

Fill out the required information as asked. You will need to input payment information. Although you won’t be charged anything if you follow this tutorial, depending on how much data you want to store and how frequently you’re reading/writing to AWS, you’ll start to incur charges accordingly. For pricing information for AWS, you can use this pricing calculator to see how much you will end up paying.
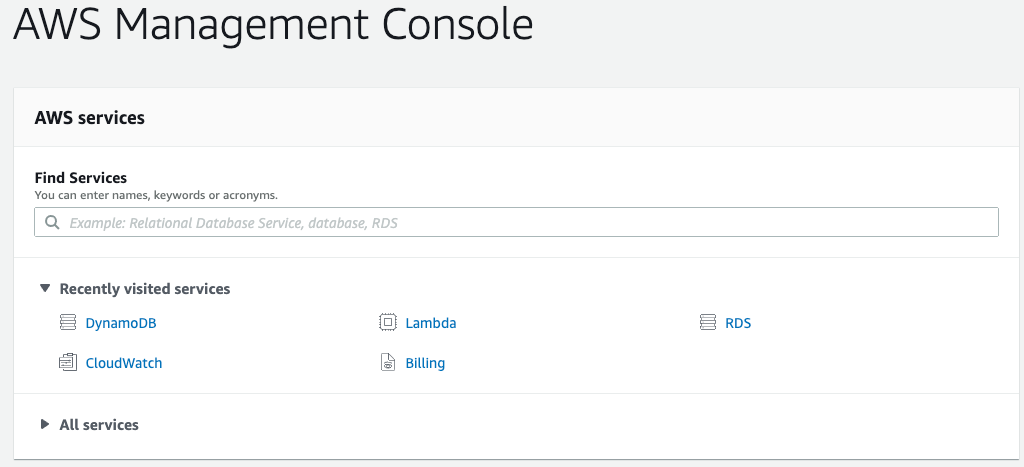
Once you’ve set up your account and logged in, you should be redirected to a dashboard screen as seen below.
Database setup:
To start, we are going to set up a NoSQL database through DynamoDB. In the “Find Services” search bar go ahead an type “DynamoDB”. Once you’ve gone there, click on “Create Table”. you should see a screen similar to the following:

For the name of my table, I’m going to call it “Products” and have a Primary Key called “ID”. Click “Create”.
Congratulations! You’ve finished setting up your database! Let’s briefly go over the DynamoDB layout and what exactly you’ll need to finish the setup.

The “Items” page is going to be the most important tab for you. This will contain all of the contents of your database. If you’d like to manually add data you can click on “Create Item”. However, we are going to set up CRUD operations for this database, so it’s not necessary at this time.
The “Overview” tab contains all relevant DB information, most important of which is your “ARN” identifier. We will need to use this for our APIs to connect to our database.
Configure your computer:
If you don’t already have it setup, make sure you install the AWS Cli to your computer: https://docs.aws.amazon.com/cli/latest/userguide/install-cliv2.html.
We are going to need to configure our machine to point to our new AWS account. To do this, first, go to your AWS console. Click on your username -> “My Security Credentials”.

Next, you want to create a Security Key and download it. We are going to use this file to log in via the terminal/command prompt. The excel file titled rootkey.csv should have two values: AWSAccessKeyId and AWSSecretKey.
Open up your terminal/command prompt and enter the command
aws configure
Enter in the Id and SecretKey as found in your rootkey.csv file. When prompted to insert a region and output format, just click enter and leave blank. It will set to the default settings for you.
Serverless:
Next, we want to set up our APIs for our database. We are going to do this through Serverless. To save us a lot of time, we are going to build off of an existing template repo using NodeJs.
Note: you’ll probably have to download the entire repo, and then simply extract the specific folder you want to work with. In our case, we want to use the **aws-node-rest-api-with-dynamodb **code base.
#nodejs #flutter #aws #api #serverless