Key Tasks
In this blog post, we will be performing three main tasks:-
- To create a binary classifier to classify the chest x-ray images as normal/abnormal.To compare three deep neural network architectures.To create a multi-label classifier to generate 14 disease labels and the respective confidence scores.
Three deep neural network architectures used by me are Vgg16, Resnet50, and MobileNet.
Table of Contents
1. Installing Monk
2. Downloading dataset
3. Importing Framework and libraries
4. Visualizing and Exploring the Samples Provided from Dataset
5. Visualizing and Exploring the Samples Provided from Dataset
6. Comparing
7. Infer
Installing Monk
We will start by setting up the Monk AI toolkit and its dependencies on the platform you are working with and I am using Google Colab as my environment.
!git clone https://github.com/Tessellate-Imaging/monk_v1.git
!cd monk_v1/installation/Misc && pip install -r requirements_colab.txt
Downloading the Dataset
After setting up the Monk toolkit the next step is to install Kaggle and download the NIH Chest X-Ray Dataset from Kaggle on our Colab notebook.
! pip install -q kaggle
To download any dataset from Kaggle we need to first download the kaggle.json file by going to MyAccount on Kaggle and download a new API. Then we will upload the JSON file on our Colab notebook.
from google.colab import files

files.upload()
Now we can download the zip file of the dataset from Kaggle and unzip it.
! mkdir ~/.kaggle
! cp kaggle.json ~/.kaggle/
! chmod 600 ~/.kaggle/kaggle.json
! kaggle datasets download -d 'nih-chest-xrays/sample'
! unzip -qq sample.zip
The dataset has a total of 15 classes (14 disease classes and 1 “no findings” class).
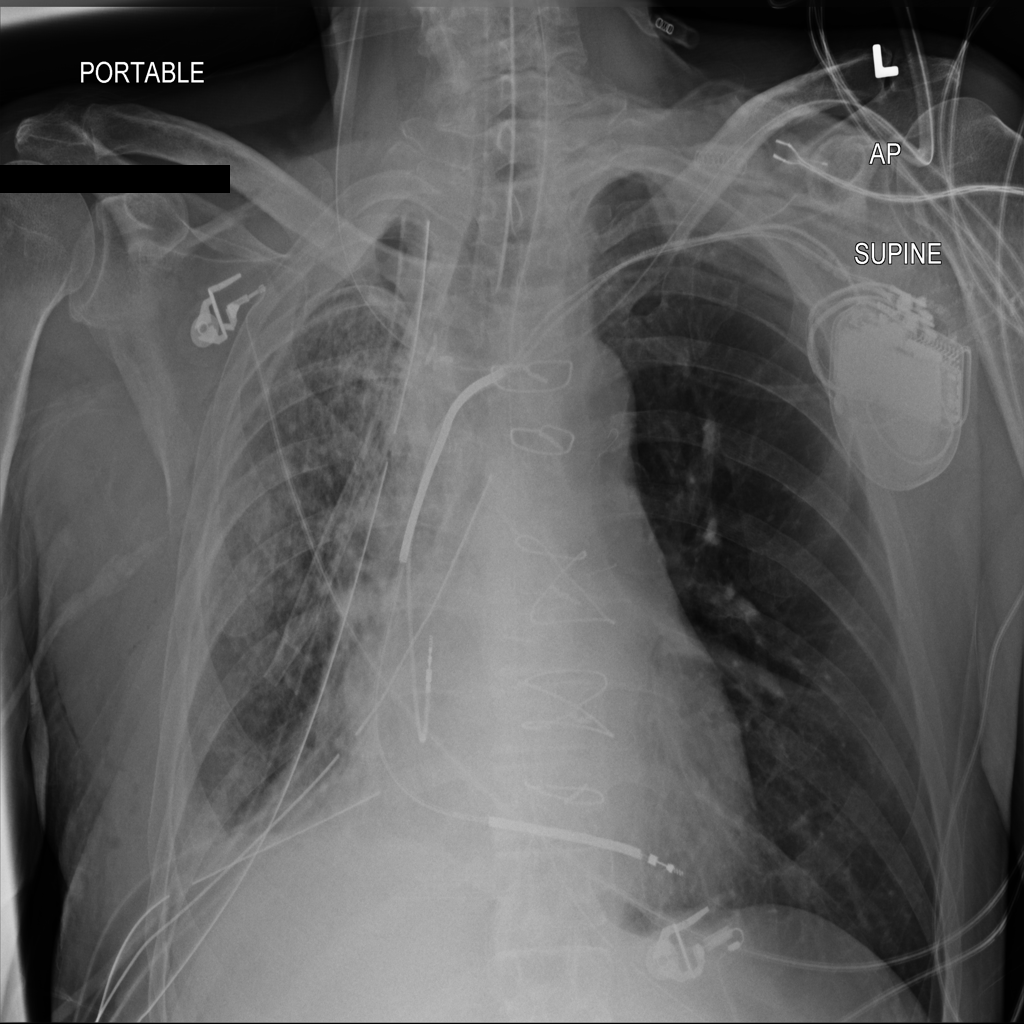
A Chest X-Ray Image from NIH Chest X-Ray Dataset in Kaggle
Importing Frameworks and libraries
Monk provides us three major frameworks to work with i.e., Keras, Pytorch, and Mxnet. We are using Keras framework for this project and the Pandas library is used for visualizing and exploring the dataset. To set up a working directory of a project we initialize a prototype for the framework being used.
from keras_prototype import prototype
import pandas as pd
Visualizing and Exploring the Samples provided from Dataset
Two DataFrames were made, one had multi-labeled target values which comprised of 14 disease classes and 1 “no finding” class, for binary classification of images another DataFrame was formed by replacing the disease classes and the “no finding” class by **abnormal **and **normal **respectively
$ df=pd.read_csv('sample/sample_labels.csv')

$ for i in range(len(df)):
          df["Finding Labels"][i] = df["Finding Labels"][i].replace("|", ",");
$ df.to_csv("sample/kush1.csv", index=False)
$ for i in range(len(df)):
if df["Finding Labels"][i] == "No Finding":
df["Finding Labels"][i] = "Normal";
else:
               df["Finding Labels"][i] = "Abnormal";
$ df.to_csv("sample/kush2.csv",index=False)
#image-classification #monk #chest-x-ray #deep-learning #computer-vision #deep learning