Learn how to create a custom contact form using Netlify Forms and Next.js. We’ll walk through creating a basic HTML form from scratch and making it available to use with Netlify. We’ll then create the same form in a new Next.js React app.
If you want someone to be able to contact you or submit information on a website, an HTML form is a pretty standard way to achieve that.
But accepting form submissions usually requires an additional service or complex server-side code. How can we take advantage of Netlify to easily create new forms?
- What is Netlify?
- What are we going to build?
- How much does this cost?
- Part 1: Creating a contact form with HTML
- Part 2: Adding a custom Netlify form to a Next.js React app
What is Netlify?
Netlify is a web platform that lets you easily deploy new web projects with easy to configure workflows. This includes deploying a static website, lambda functions, and like we’ll talk about here, custom forms.
Their form service works as part of the build and deployment pipeline. When we include a form with a specific attribute to our page, Netlify will recognize that form and configure it to work.
What are we going to build?
We’re going to build a contact form that will allow people to send you a note through your website.
The form itself will be pretty simple. Like a standard contact form, we’ll ask for someone’s name, email address, and a message.
We’re going to build this out using plain HTML to demonstrate how it works and then build it with Next.js for creating a form in a React app.
How much does this cost?
Netlify forms are free to get started. This free tier is limited to 100 form submissions per website per month, so if you stay under that, it will always be free.
That said, if you exceed 100 form submission on any particular site, the first tier is going to be $19+ at the time of writing this. You can check out the latest pricing plans on Netlify’s website.
Part 1: Creating a contact form with HTML
To get started, we’re going to create a basic form with pure HTML. It’s a quick win to demonstrate how this works.
Step 1: Creating an HTML form
For our form, we can really use whatever we want. Contact forms can be as simple as an email address and a message field or it include a variety of options to help a business answer specific questions.
We’re going to start with something simple. We’ll create a form that asks for someone’s name, email address, and a message.
To get started, create a new HTML file in the root of your project. This HTML file should include the basic structure of an HTML document. Inside of the body, let’s add our new form:
<form name="contact" method="POST" data-netlify="true">
    <p>
      <label for="name">Name</label>
      <input type="text" id="name" name="name" />
    </p>
    <p>
      <label for="email">Email</label>
      <input type="text" id="email" name="email" />
    </p>
    <p>
      <label for="message">Message</label>
      <textarea id="message" name="message"></textarea>
    </p>
    <p>
      <button type="submit">Send</button>
    </p>
  </form>
In the snippet above, we’re:
- Creating a new form
- The form has a name attribute, a method, and a
data-netlifyattribute set totrue - Creating 3 form fields with labels, each identified with a name attribute
- Creating a button to submit the form
The thing we want to take most notice of is the data-netlify attribute and the form name. When Netlify reads the site, it will see those fields and use those to turn your form into an actively working form.
I’m also going to add a little bit of CSS to make the labels look a little more consistent. You can optionally add this to the <head> of the document:
<style>
  body {
    font-family: sans-serif;
  }
  label {
    display: block;
    margin-bottom: .2em;
  }
</style>
And at this point, we should have a basic form!
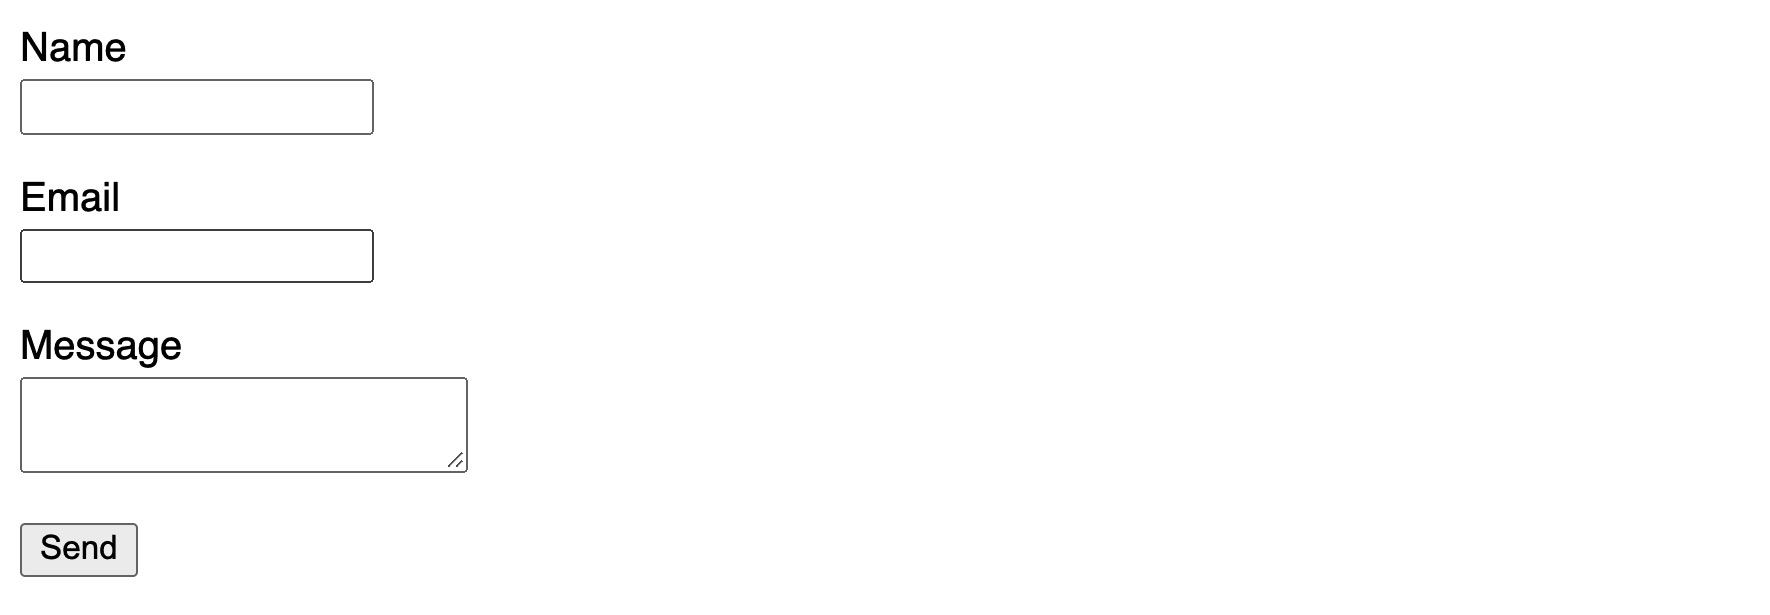 Basic HTML form
You’ll now want to put this form on GitHub or your favorite Netlify-supported Git provider and we’ll be ready for the next step.
Step 2: Configuring a new form with Netlify
Once our form is pushed to our Git provider, we can now sync it up with Netlify.
First create an account or use an existing account with Netlify and click the New site from Git button.
Here, select whichever Git provider you used. I’m using GitHub in my example.
 Connecting a Git provider in Netlify
Once selecting your Git provider, it will ask you to authorize access so that Netlify can find your Git repository.
After you successfully connect your account, you should now see a list of the repositories you provided access to. Find the repository you added your form to and select it.
 Connecting a Git repository to Netlify
If you’re following along with me, our form is pure HTML, meaning, there should be no build steps or no special directory it gets published to. But feel free to tweak these settings if you did something different.
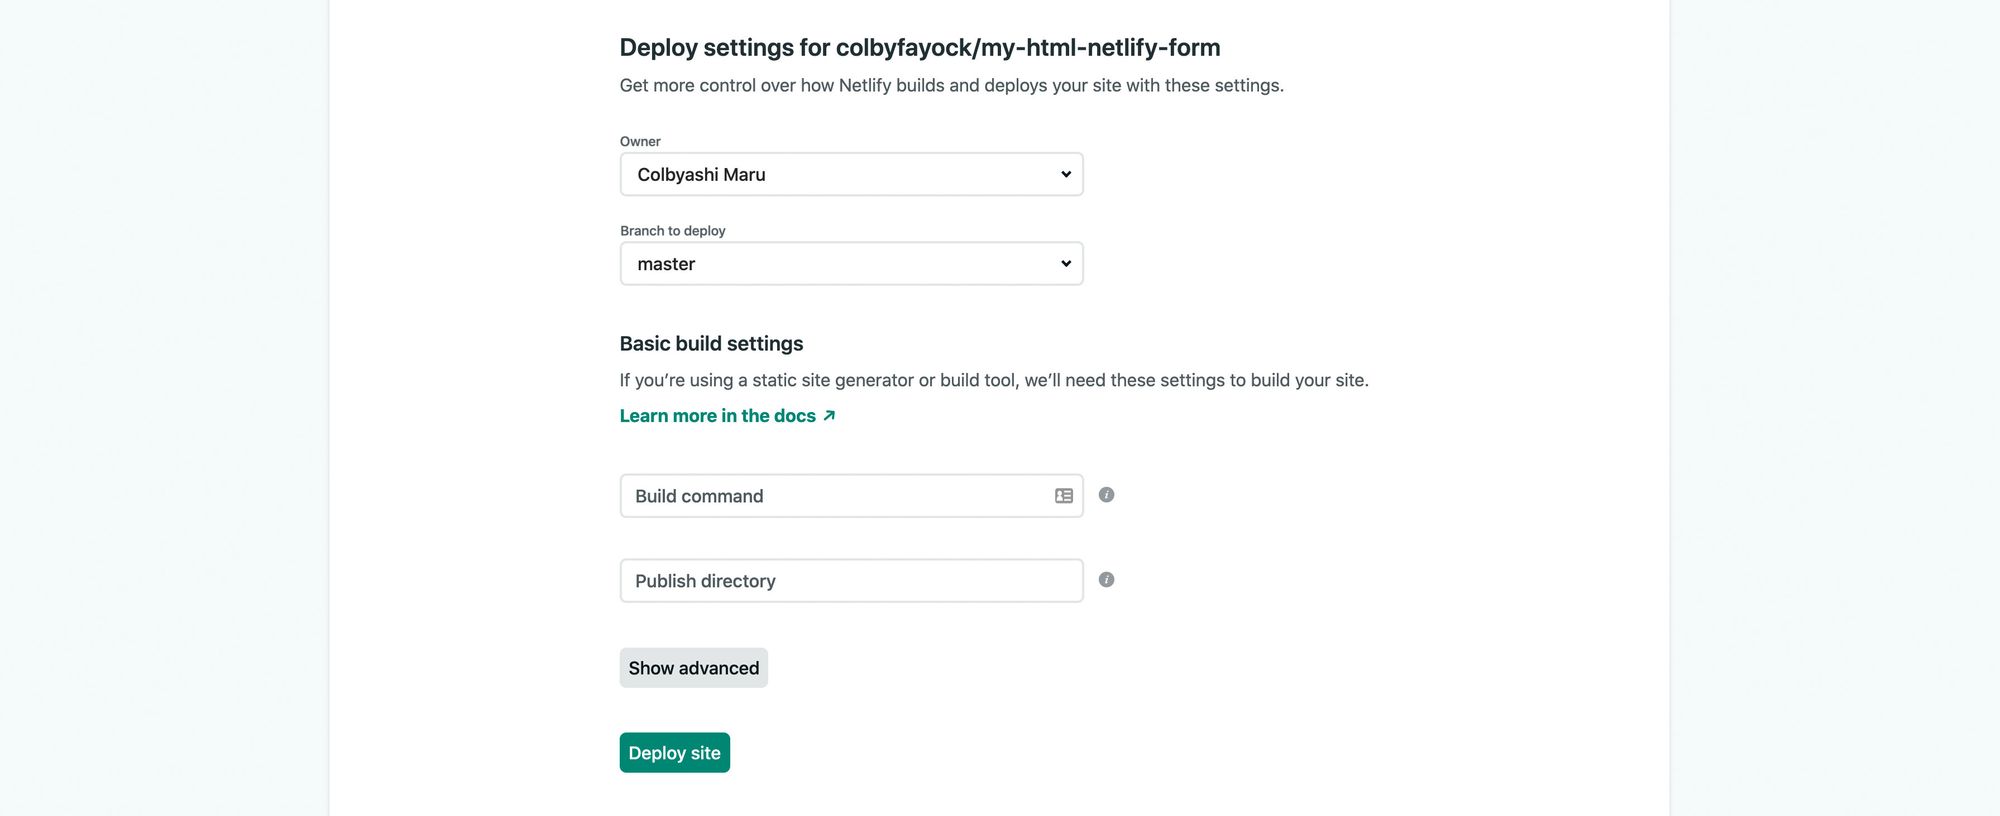 Configuring the build steps in Netlify
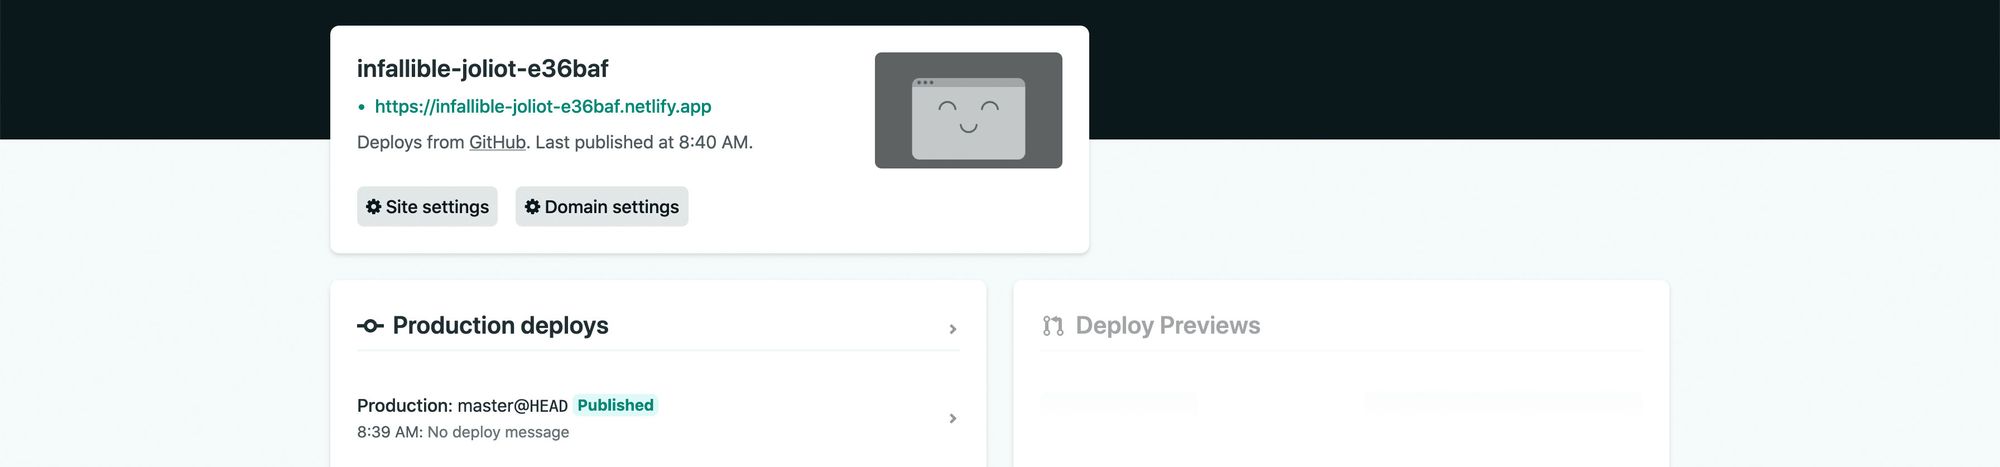
Now, click Deploy site which will open up a new page in Netlify and in no time your site will be successfully deployed.
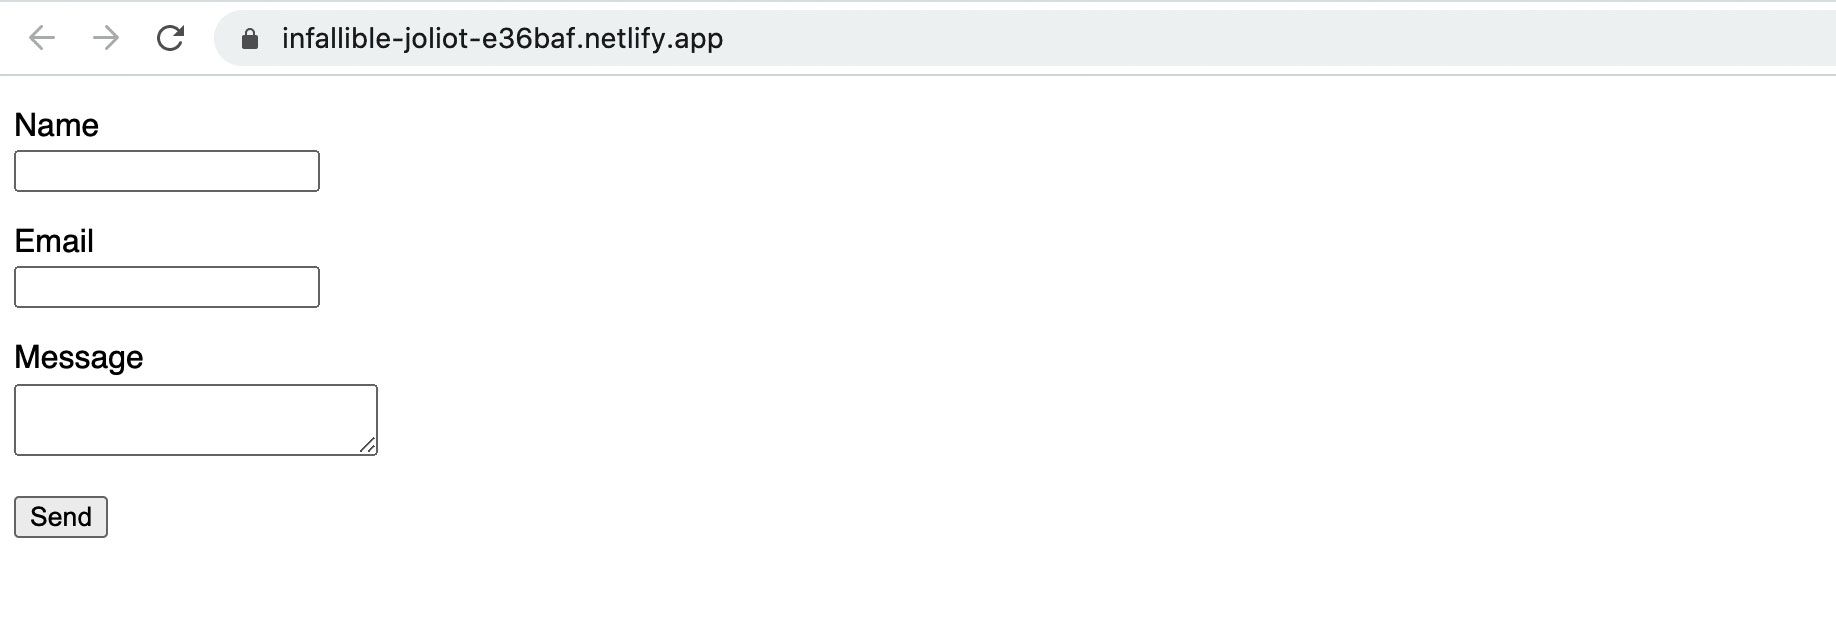
Finally, click the URL at the top of the Netlify project dashboard that ends in netlify.app. Once it’s loaded, you’ll see your form!
Read more: https://www.freecodecamp.org/news/how-to-create-a-contact-form-with-netlify-forms-and-nextjs/
#next #react #netlify #web-development #developer
