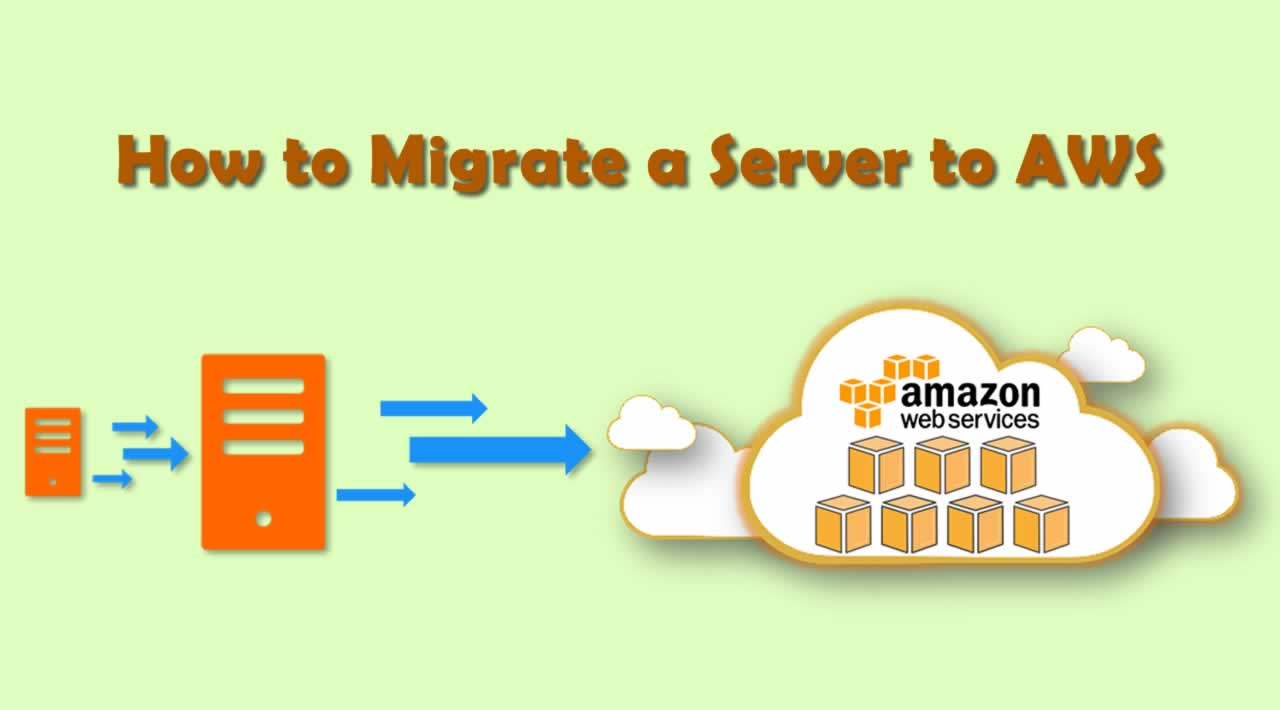
Migrating a server to the cloud always sounds great. But we know it’s a hassle. Especially for servers in production. We want a new server, but keeping current data. And we need to migrate it fast with minimum service disruption.
It takes some time to understand how to do it. Therefore I wrote a step-by-step guide to make migration simple and repeatable. Here is how I did it.
1. Creating a CloudEndure Account
The tool I used is CloudEndure. This is a free tool that orchestrates migration tasks. To get started, I created a CloudEndure account. I received a confirmation email. And afterward, I was able to log in to CloudEndure console.
2. Granting Access to AWS Account
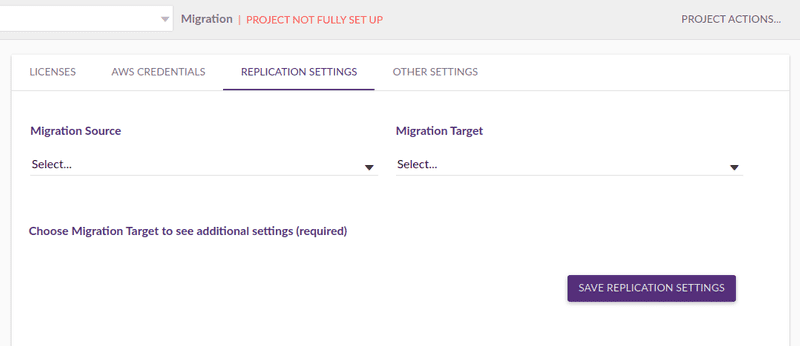
The first step in the console was creating a new project.
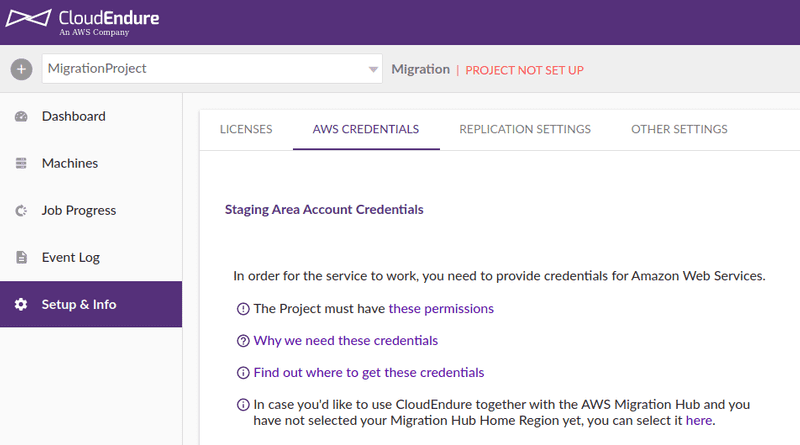
Note that the CloudEndure account is different from the AWS account. So I needed to create a user that gives CloudEndure access to my AWS account. I followed the steps described in Generating the Required AWS Credentials. The result was an access key ID and a secret access key.
Then I added these credentials in CloudEndure console and click Save. This verified that CloudEndure got access to my AWS account. And the project changed from Project not setup to Project not fully setup status.
#aws #ubuntu #migration #amazon aws #cloud (add topic) #aws migration services