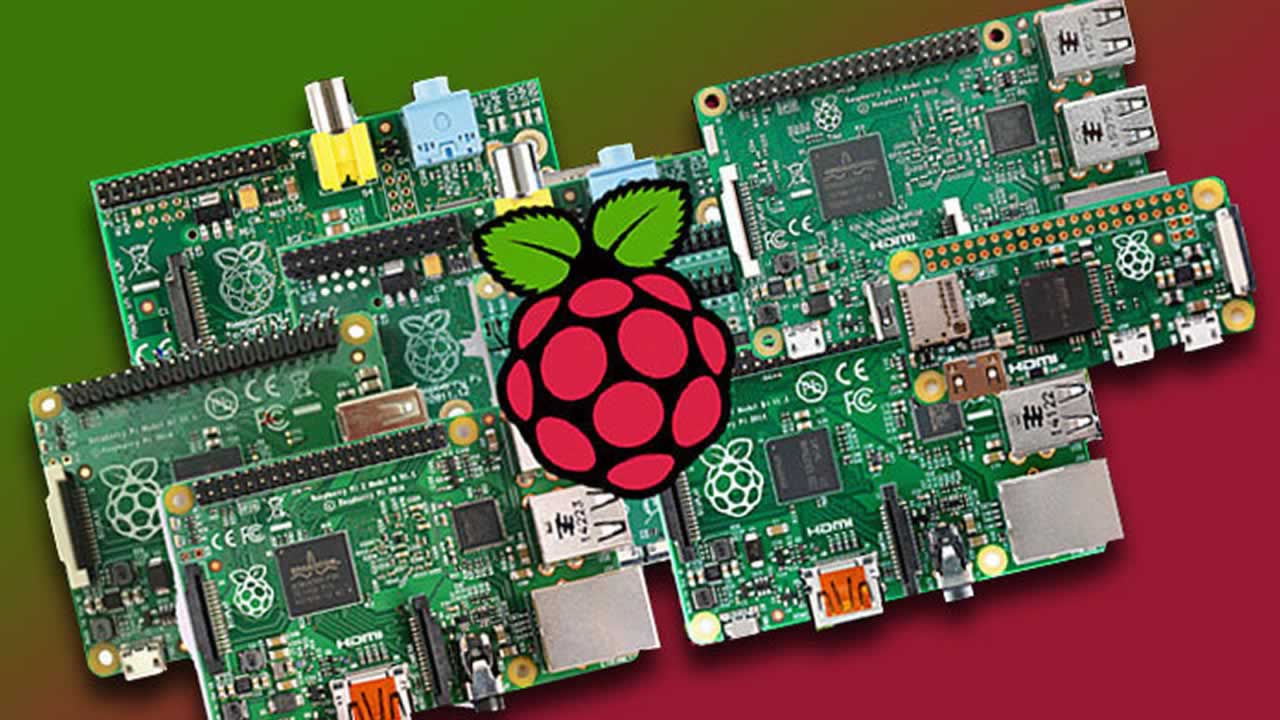
Using Raspberry-Pi To Solve a Networking Issue
Using an AT&T-Uverse modem-router is very simple, but for some strange reason, this particular model does not do port redirection(not to be confused with port forwarding). Normally with port-redirection (like most Dlink routers have), you can easily “redirect” a port in the event of a port-number conflict. For instance, if you have a two printer-servers and both use the same port (example port 10000), you can redirect one of them to, for example, port 10001).
So, if your modem-router does allow for port-redirection, a Raspberry-Pi can do the redirecting for you!
In my specific situation, I currently have a half-dozen network devices, all using port 80.
The Raspberry-Pi is unbelievably easy to set up. I just used the default operating system Raspbian, a Debian-based OS.
Linux raspberrypi 4.14.71-v7+ #1145 SMP Fri Sep 21 15:38:35 BST 2018 armv7l GNU/Linux
Then, it was a simple matter of setting up a series of iptables commands to do the redirection for me. Here is my bash script that runs at startup:
#! /bin/bash

sudo echo "1" > /proc/sys/net/ipv4/ip_forward   ;

sudo iptables  --flush  ;               ## there is probably a better way....

sudo iptables -I INPUT 1 -i eth0 -p tcp --dport 8080 -j ACCEPT  ;       ## for rasberry pi apache2 server.....

IPTBL=/sbin/iptables    ;
IF_IN=eth0              ;
INSECURE_PORT=80        ;
SECURE_PORT=443         ;

function iptablesCommands       {

        PORT_IN=$1      ;
        IP_OUT=$2       ;
        PORT_OUT=$3     ;

        echo "redirecting $IP_OUT from $PORT_IN to $PORT_OUT."  ;

        $IPTBL -A PREROUTING -t nat -i $IF_IN -p tcp --dport $PORT_IN -j DNAT --to-destination ${IP_OUT}:${PORT_OUT}    ;
        $IPTBL -A FORWARD -p tcp -d $IP_OUT --dport $PORT_OUT -j ACCEPT                                                 ;
        $IPTBL -A POSTROUTING -t nat -j MASQUERADE                                                                      ;
}

iptablesCommands        '10020' '192.168.1.20'  ${SECURE_PORT}  ;       ## main radio #123
iptablesCommands        '10021' '192.168.1.21'  ${SECURE_PORT}  ;       ## unit #118
iptablesCommands        '10025' '192.168.1.25'  ${SECURE_PORT}  ;       ## #143
iptablesCommands        '10029' '192.168.1.29'  ${SECURE_PORT}  ;       ## spare unit

iptablesCommands        '10030' '192.168.1.30'  ${SECURE_PORT}  ;       ## NEW base #123
iptablesCommands        '10031' '192.168.1.31'  ${SECURE_PORT}  ;       ## 143 NEW STATION
This script simply establishes a function, then passes it a series of parameters.
To get the script to run at bootup, this line was entered into crontab:
@reboot ( sleep 15 ; bash -vx /home/pi/iptablesSetup.bsh ) > /home/pi/iptablesSetup.bsh.log 2>&1
Why the need to pause during startup? Good question, and I have no answer. But otherwise, the iptables would all be reset. Perhaps its a timing issue, but I decided not to investigate and further.
Next, I wanted the Apache web server running so I could put all these port references somewhere as a convenient link. The /etc/apache2/ports.conf file had to be modified. The line:
Listen 80
was changed to
Listen 8080
Then it was just a matter of editing /var/www/html/index.html and adding the necessary links.
This Raspberry-Pi unit needs to have its own a static IP:
sudo ifconfig eth0 192.168.1.86 netmask 255.255.255.0 up ;
Finally, all the referenced ports must be entered into the modem-router using the “port-forward”. This was simply a matter of redirecting all incoming traffic from ports 8080, 10020-10050 to the Raspberry-Pi device at 192.168.1.86.

Then I selected a domain name through https://namecheap.com, and created a sub-domain, and referenced the modem-router IP number. Note that this IP number is not permanently assigned to me, but my DSL service has not changed it in two years.
Now all the devices are all accessible remotely. Please feel free to leave comments with suggestions and improvements.
Further reading:
☞ Raspberry Pi 4 Kit - Unboxing and Building
☞ Raspberry Pi 4 on the Raspberry Pi 4 - Computerphile
☞ I created a home IoT setup with AWS, Raspberry Pi
☞ Benchmarking the Raspberry Pi 4
☞ Creating a Rogue Wi-Fi Access Point using a Raspberry Pi
☞ Building a Smart Garden With Raspberry Pi 3B+
☞ How To Serve Node.js Applications with Nginx on a Raspberry
#raspberry-pi
