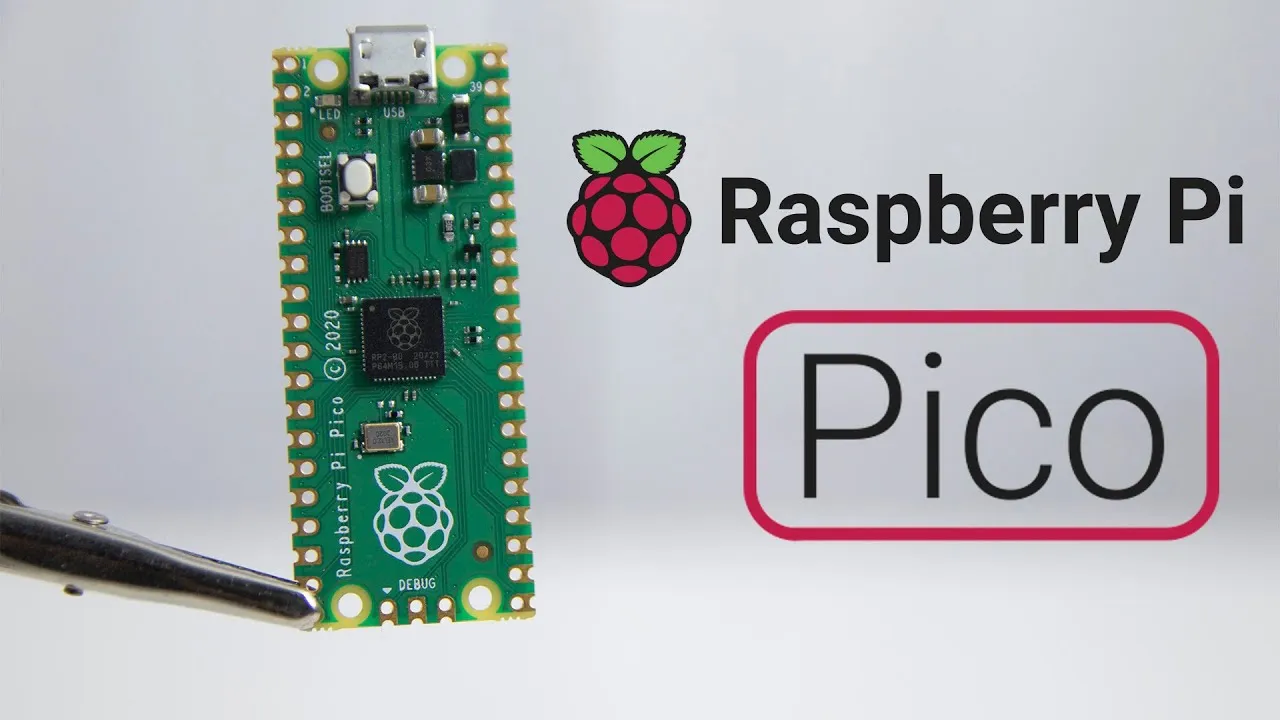
The Raspberry Pico, or shorthand Pico, is a new microcontroller from the Raspberry Pi foundation. When released early 2021, two frameworks were offered: native C/C++ SDK, and a MicroPython port. About half a year later, two additions became stable: The Arduino framework, a wrapper of the C-SDK in which you work with Arduino commands, and CircuitPython, another embedded version of Python. This article is a comprehensive summary of all available frameworks. You will learn about installation, features, supporting editors and see a blinking LED example for each framework.
_This article originally appeared at _my blog.
C/C+±SDK
The native C/C++ SDK is the original release developed and maintained by the Raspberry Pi foundation.
Installation and usage is covered in the official documentation (PDF). Proper setup can be difficult: You can apply the steps mentioned in the guide, or when you use a Linux OS, use the official one-liner that completely setups the complex toolchain.
There is no standard editor, but the official documentation explain how to customize Visual Studio Code with extensions that support CMake and debugging. For a concrete project setup, I shamelessly self-promote my own getting started kit: pico-project-bootstrap.
Your IDE might look as follows.
The latest release v1.20 has exiting features: Better support for Free RTOS, the real-time Linux system, several update for working with DMA, clocks and mutexes, and even new hardware boards, like the new Pimoroni Pico LiPo, is supported.
The classical blinking LED example looks as follows:
/*
* ---------------------------------------
* Copyright (c) Sebastian Günther 2021  |
*                                       |
* devcon@admantium.com                  |
*                                       |
* SPDX-License-Identifier: BSD-3-Clause |
* ---------------------------------------
*/
#include <stdio.h>
#include <stdbool.h>
#include "pico/stdlib.h"
int LED_BUILTIN = 25;
void blink() {
  gpio_put(LED_BUILTIN, 1);
  sleep_ms(750);
  gpio_put(LED_BUILTIN, 0);
  sleep_ms(1050);
}
int main() {
  stdio_init_all();
  gpio_init(LED_BUILTIN);
  gpio_set_dir(LED_BUILTIN, GPIO_OUT);
  puts("Hello World\n");
  while (true) {
    puts(".");
    blink();
  }
}
Arduino Framework
Arduino, a name that identifies a family of microcontrollers as well as an IDE, is widely used and known in IOT and robotics project. Arduino boards are typically programmed with C, where the default framework has abstractions for pins, serial input/output, servos etc. Since the release v1.20, you can program your Rasperry Pico with the Arduino framework. This means that the C-SDK functions are wrapped, you use the typical Arduino commands instead.
There are two options to get this working. First, if you are coming from the Arduino world, you can add the Rasperry Pico as a board to your Arduino IDE. Add the Pico Arduino repository to your board manager according to the installation manual. Then, select the appropriate board and you are ready to program.
#c #python #raspberry-pico #raspberry-pi
