In this tutorial you’ll see how you can add two-factor authentication (2FA) to your web app using the Nexmo Verify API and Node.js.
Two-factor authentication (2FA) gets its name from the fact that you require two things to verify your identity. Something you know, like a password, and something you have, like the verification code from your mobile device or physical token.
Adding 2FA to your application does not have to be a difficult chore. This tutorial will cover how to implement 2FA for your web applications and services for an additional layer of security with the help of the Nexmo Verify API. We will be building a simple Koa.js application to understand how the underlying mechanism works. This will make it easier to see how this will fit into your own existing projects, even if you are not using Koa.js.
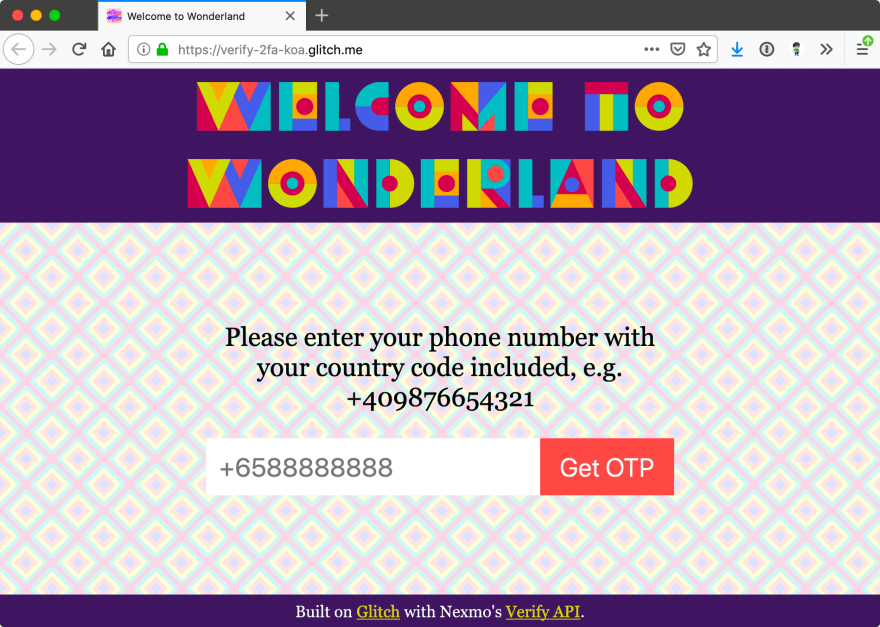
You would start off with a login page that asks your user for a mobile phone number. Upon submission, they would be asked to input a verification code that gets sent to their mobile phone number via SMS. Once that’s sorted, they can access the application.
Prerequisites
- A basic understanding of Javascript
- Node.js installed on your machine
- A Nexmo account (for your API credentials)
This tutorial will take you through the process from scratch. If you’d like to see the finished code, you can clone the git repository for this project. We also have a Glitch version, which has a more over-the-top design, and you can remix it as well. Note that they are slight differences for the Glitch implementation to cater for how projects are hosted on the platform.
Starting a Koa.js project from scratch
Create a project folder on your local machine, then run the following command to set up a new Node.js project.
npm init
This will trigger a series of prompts that will generate your package.jsonfile. You can choose to leave the answers blank to use the default values if you wish.
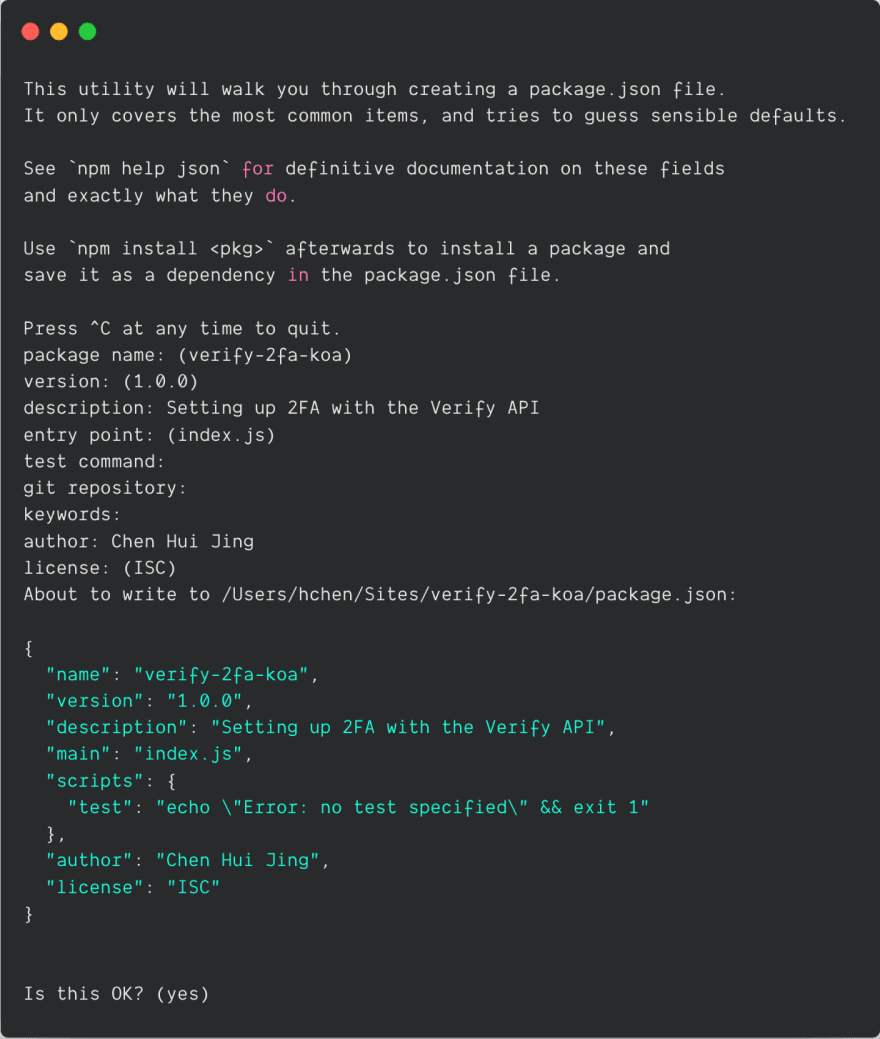
Next, install Koa.js. Do note that Koa requires node v7.6.0 or higher for ES2015 and async function support.
npm init
Create a package.json file in your project folder.
npm init
Paste the following code into your newly created file.
npm init
Run the package.json file.
npm init
If you navigate to package.json from your browser, you should see an empty page with the text, “Hello Unicorn 🦄”.

You should also install dotenv, which allows you to load environment variables stored in a package.json file into package.json.
npm init
And now you can create the package.json file and it should contain at least the following variables:
npm init
To access environment variables, you’ll have to require it, ideally at the top of your package.json file.
npm init
If you haven’t signed up for a Nexmo account yet, now is a pretty good time to do it. Once you’ve logged into the dashboard, your API credentials should be the first thing you see. Be sure to enclose both your key and secret with quotes.
Project structure
Right now, your project would probably only have a package.json, a package.json file and a package.json file. Let’s set up the project structure so you can have a basic frontend for users to interact with.
npm init
With that, you’ll have to make some tweaks to the package.json file to serve the package.json file and related assets, instead of simply a line of text. Koa.js is a fairly barebones framework, so any additional functionalities for routing or serving static assets need to be installed separately. Here is the list of additional modules and their uses:
package.jsonfor serving static assetspackage.jsonfor handling data sent over via POST requestspackage.jsonfor routingpackage.jsonto render templates
This example also makes use of Nunjucks to render template files. The Nexmo Verify API will be used to trigger the verification code via SMS, so you will need to install Nexmo’s Node.js client library as well.
npm init
Serving static assets and HTML files
To allow the application to serve static assets. like stylesheets and client-side Javascript, out of the /public folder, you can add the following to the package.json file:
npm init
To serve HTML files out of the /views folder, you can make use of package.json, which provides a package.json function. The templating engine used in this example is Nunjucks, but you are free to choose whichever templating engine works best for you.
npm init
The next thing to set up would be some basic routes for serving your application pages.
npm init
For this example, you will need 3 pages, the package.json as the main landing page, package.json for users to input their verification code and package.jsonto show if the verification was successful or not.
The structure of the web form is fairly straightforward, and you are free to spruce it up with CSS however you wish.
npm init
This form will post the user inputs to the package.json route and you can use the phone number in the input to trigger the verification code request. A similar form can be used for the other 2 routes for package.json and package.json as well.
npm init
Handling user inputs
Then, for handling user inputs via web forms, you will need some routes to handle package.json requests as well. Do make sure to declare package.json before any of the routes.
npm init
Now that you’re able to receive your user’s phone number, you will need to use the Verify API to send a PIN code to it. Initialise a new Nexmo instance with your credentials.
npm init
There are 3 functions we need to take care of. The first one is to trigger the verification code with the package.json function. It involves the user’s phone number, and a string for the brand name which will be displayed to the user as the sender.
npm init
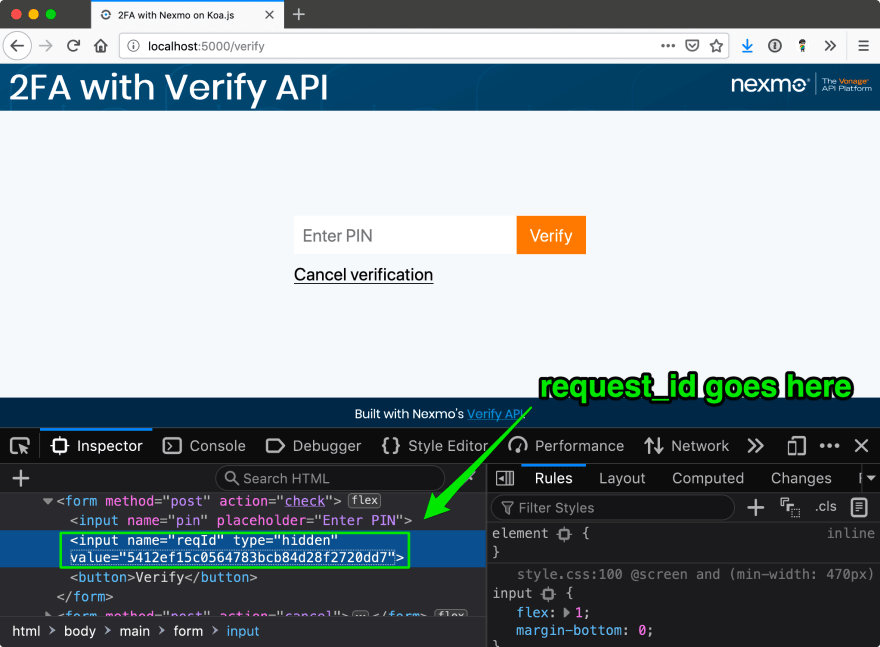
Once your user received the PIN code via SMS, they will have to submit it to the package.json function, so it can be verified. You will notice a package.json parameter. This value is obtained when the PIN code was successfully triggered. There are a number of ways to pass the request ID into the package.json function, and this example makes use of a hidden field in the check form.
npm init
The last function gives your user the option to cancel the verification if they changed their mind. It uses the package.json function, and again, requires the request ID generated from triggering the PIN code and a string value of package.json.
npm init

Now you need to make use of these 3 functions in the routes we specified earlier, starting with the one for triggering the verification code first.
npm init
The package.json will look something like this:
npm init
You can grab that phone number and pass it to the package.json function. As long as it is a valid phone number, the verification code will be fired off and you will receive a response containing a package.json and package.json.
npm init
From there, you can send the request ID over to the frontend for use when the user enters the verification code.
When your user submits the correct PIN, you will need to plug both the PIN and the request ID into the package.json function.
npm init
Again, both those values can be obtained from the package.json and if the PIN is validated to be correct, you will receive a response that looks like this:
npm init
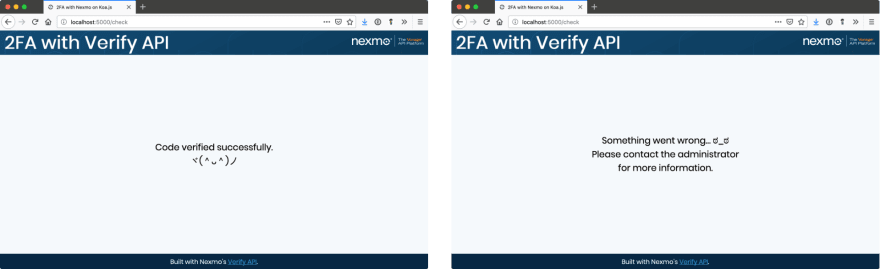
You can then make use of the status code to determine what message you would like to display to your user. This example uses Nunjucks, so the markup on the results page could look something like this:
npm init
This was a thorough break-down of each part of the code but for a look at how the application looks like in its entirety, do check out the source code on GitHub.
Additional things to take care of
This tutorial is a stripped down version, highlighting only the bits necessary for implementing two-factor authentication. But there are numerous things that have to be taken care of in an actual application. One of the most important is error handling. The Verify API returns a status value of package.json for successful queries, but any other value indicates an error.
These errors should be handled and the user interface on the frontend should reflect any potential errors preventing sucessful verification. It might also be a good idea to implement some sort of frontend validation, or even utilise Nexmo’s Number Insight API to ensure only valid phone numbers are passed to the Verify API.
==================================
Thanks for reading :heart: If you liked this post, share it with all of your programming buddies! Follow me on Facebook | Twitter
Learn More
☞ The Complete Node.js Developer Course (3rd Edition)
☞ Angular & NodeJS - The MEAN Stack Guide
☞ NodeJS - The Complete Guide (incl. MVC, REST APIs, GraphQL)
☞ Node.js: The Complete Guide to Build RESTful APIs (2018)
☞ MERN Stack Front To Back: Full Stack React, Redux & Node.js
☞ Learn Node.js - Node.js API Development for Beginners
☞ How to Perform Web-Scraping using Node.js
☞ Node.js, ExpressJs, MongoDB and Vue.js (MEVN Stack) Application Tutorial
#node-js
