React Native Debugger is a powerful tool that helps developers debug React Native applications more quickly. It provides a suite of impressive features, such as UI inspector, redux inspector, breakpoints and networking inspector. In this article, we are going to learn how to install and use the React Native Debugger, which will boost your development productivity by an order of magnitude.
In layman’s terms, a Debugger is a tool used for debugging. If you are a developer of any programming background, you must have already come across a debugger in your life. React Native Debugger is a standalone debugger tool built using the Electron framework. You can easily integrate this debugger tool along with the Chrome Dev tool. This debugger tool is based on the remote debugger which is included in React Native out of the box. However, the React Native debugger packs a lot more features than the remote one.
Installing React Native Debugger
The installation process is quite easy. We can simply download the latest installation file from the release page. For macOS, we can use Homebrew Cask to install. We can run the following command in the terminal:
$ brew update && brew cask install react-native-debugger
After installation, simply open the React Native Debugger.app file in your Applications folder (or use Spotlight search to locate it).
Using The React Native Debugger
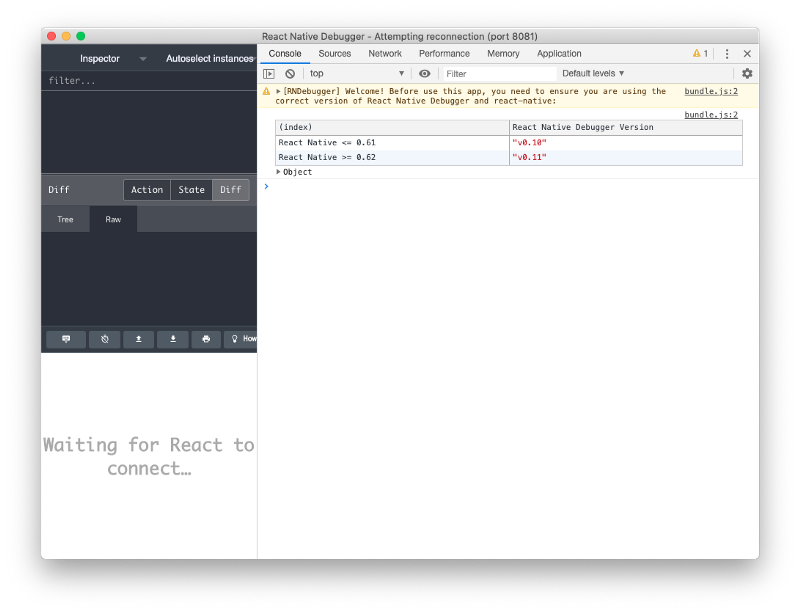
After a successful installation, we can simply open the React Native Debugger launch file. Hence, we will see the re-connection status on the title bar of the debugger app window. The debugging process will be executed on port 8081 as shown in the screenshot below:
Now when we run the React Native App on debug mode, we no longer need to open the browser. To have your React Native app enter debug mode, simply shake your device and choose “Debug” in the menu that pops up. If you are on a simulator, simply press Command + Shift + Z to open the menu.
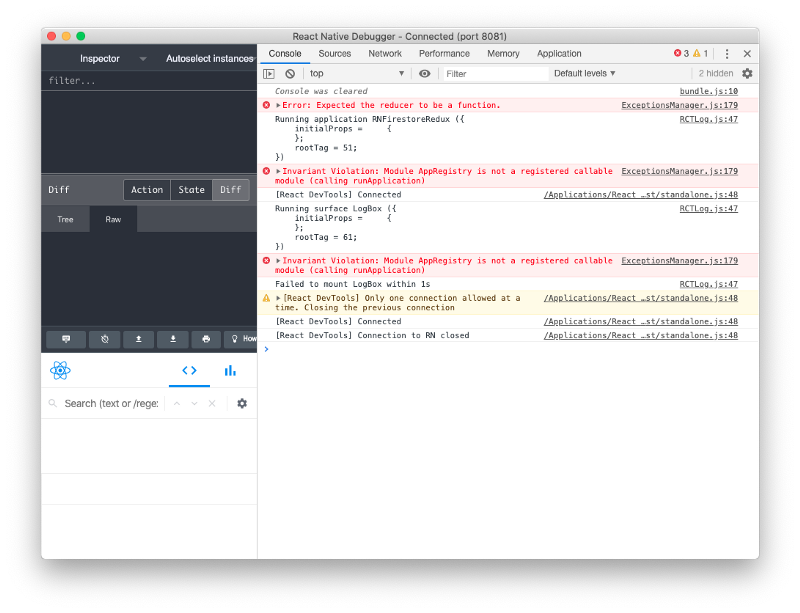
Once the app is in the debug mode, with the React Native Debugger already opened, you will notice that the app connects to the React Native Debugger instead of the Chrome Dev Tools. All the console logs and debugging options will appear in the debugger app as shown in the screenshot below:
Now, as we have learned about the installation and use cases, we are ready to use this Debugger app.
#programming #javascript #reactjs #coding #react-native #react