Writing Your First GitHub Actions with Typescript
GitHub Actions is a CI/CD platform
GitHub Actions (as for other CI/CD services/platforms):
- Triggers on events
- Prepare environment(s)
- Runs workflow(s)
- Report results
A GitHub Action can either be a Dockerfile or Javascript
In a Dockerfile action:
- The environment is defined by container layers
- The workflow is defined by entry point bash script
In a JavaScript action:
- The environment is defined in the
[package.json](https://docs.npmjs.com/files/package.json), as NPM modules - The workflow is defined by the JavaScript/TypeScript code
JavaScript actions are faster and more stable
The strength of JavaScript actions, compared with Dockerfile actions, are:
- The familiar syntax for most web/mobile/back end developers
- Runs everywhere (JavaScript is less restrictive than Docker)
- Runs faster by skipping container building and VM warm-ups.
Note: Let’s treat ourselves better and use TypeScript instead of JavaScript!
Step 1: Configure the Action
The configuration will let GitHub know how to run the action and how to list it on the GitHub marketplace.
The configuration is defined with a yaml file, action.yml, that contains:
- The name of the action
- The arguments to the action
- The entry point to run the action

credit: example GitHub Actions configuration from readable-readme
Step 2: Implement the Microservices
- write source code for your magical action:

- Compile into JavaScript code and add them to source control.
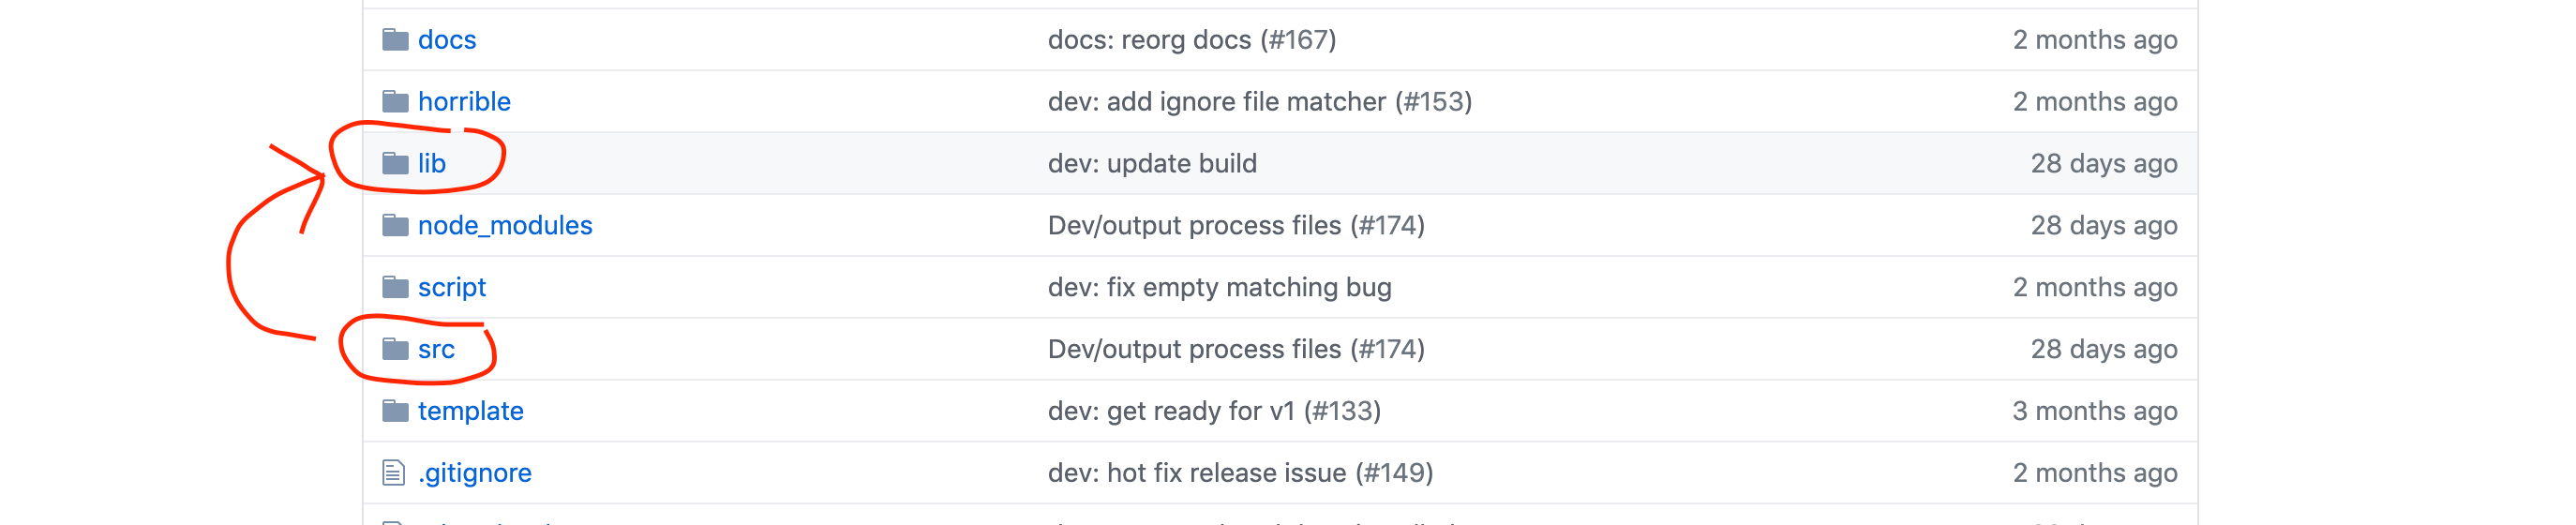
- Point action entry point to the compiled JavaScript code.

Step 3: Publish the Action
Publishing your action means making a release in your repository!
-
Give it a version number (semantic versioning preferred.)
-
Leave a short release description.

- Release and get a cup of coffee.

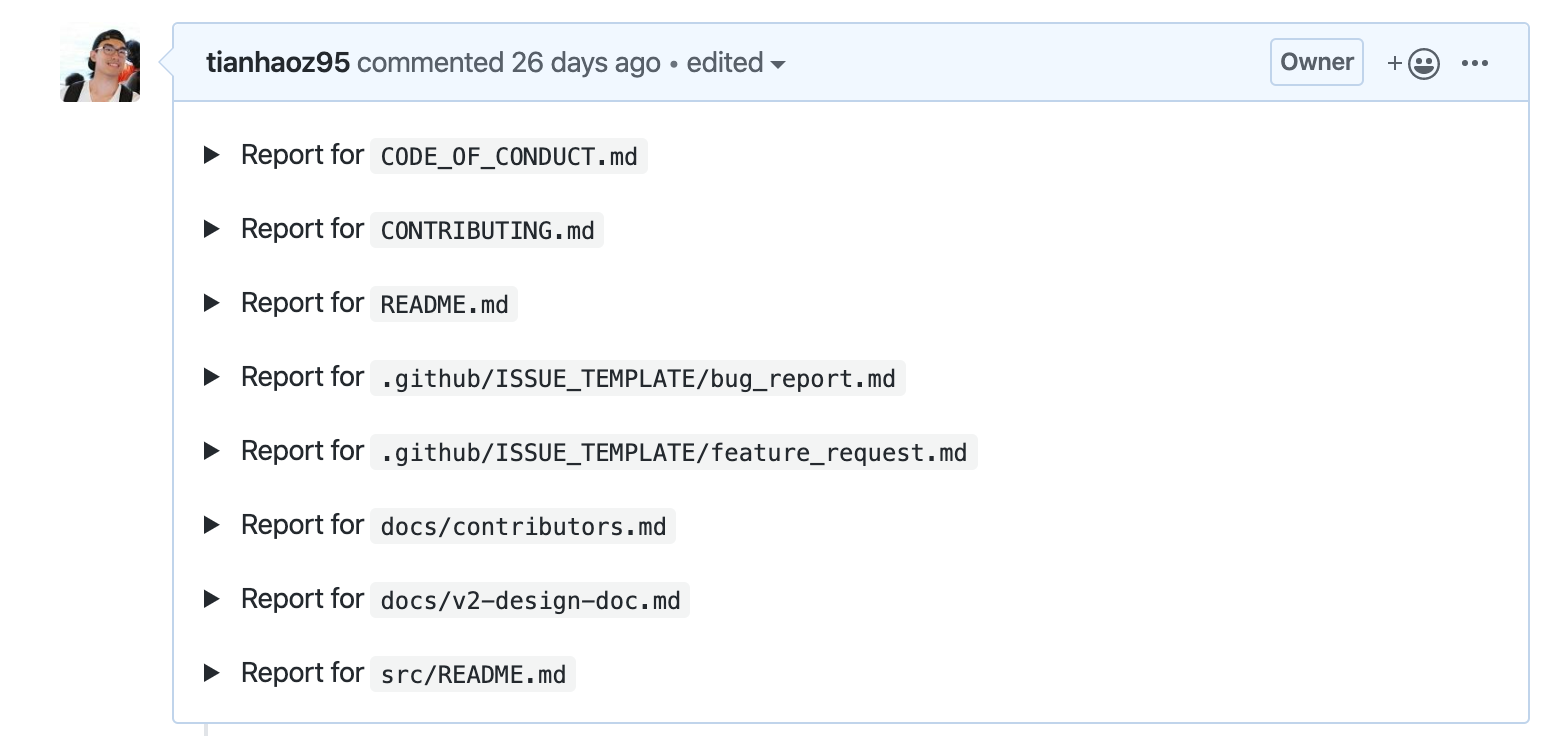
Step 4: Start Using the Action
- Add the released action to the workflow.

- watch the result and get another cup of coffee!

- This action lints documentation and generate reports:
Thank you for reading!
#Typescript #Github Actions #JavaScript #Programming
1 Likes19.70 GEEK