React Programming Through Typing Games
Ah, those good old days! Typing games bring back memories, and memories bring back memories. If you are one of the 90s kids like me who started using a computer in the 90s, you might have played Mario Teaches Typing.
All of us who use computers must have played at least one typing game. Have you thought of building one of your own?
This article will teach you how to create a simple typing game using React Hooks and Faker in less than 10 minutes.
What Are React Hooks?
React Hooks were introduced in React 16.8.0. Hooks give state to your stateless component (a.k.a. functional components).
Basic hooks are useState, useEffect, useContext. You can create different hooks for different purposes. Only your imagination is the limit.
Here is the React Hooks API reference. To avoid lengthy details of how React and React Hooks work, I assume you already have basic knowledge of React and React Hooks.
What Is Faker?
Faker is an npm package that generates random, realistic, fake inputs. It’s used commonly in unit testing to run tests with different inputs every time. Your tests may pass with foo bar baz, but it could fail in other cases.
For example, if your function under test needs name parameters, you can use faker.name.findName(), which gives you Myra Mills, Alexandrea Steuber, Magdalena Braun, etc. You can play with it on the Faker demo page.
In your typing game, you can use it as a word data source. Later, you’ll build a word generator that constantly emits words for users to type.
Create Typing Frenzy React App
Now that you understand the dependencies, it’s time to get your hands dirty with coding. Without further ado, create your project in the terminal:
create-react-app typing-frenzy
Let’s call your app typing-frenzy. Wait until all packages are installed, run the following command:
cd typing-frenzy
npm start
Your browser should pop up a new tab and load http://localhost:3000. If you see this screen, you’re 20% done.
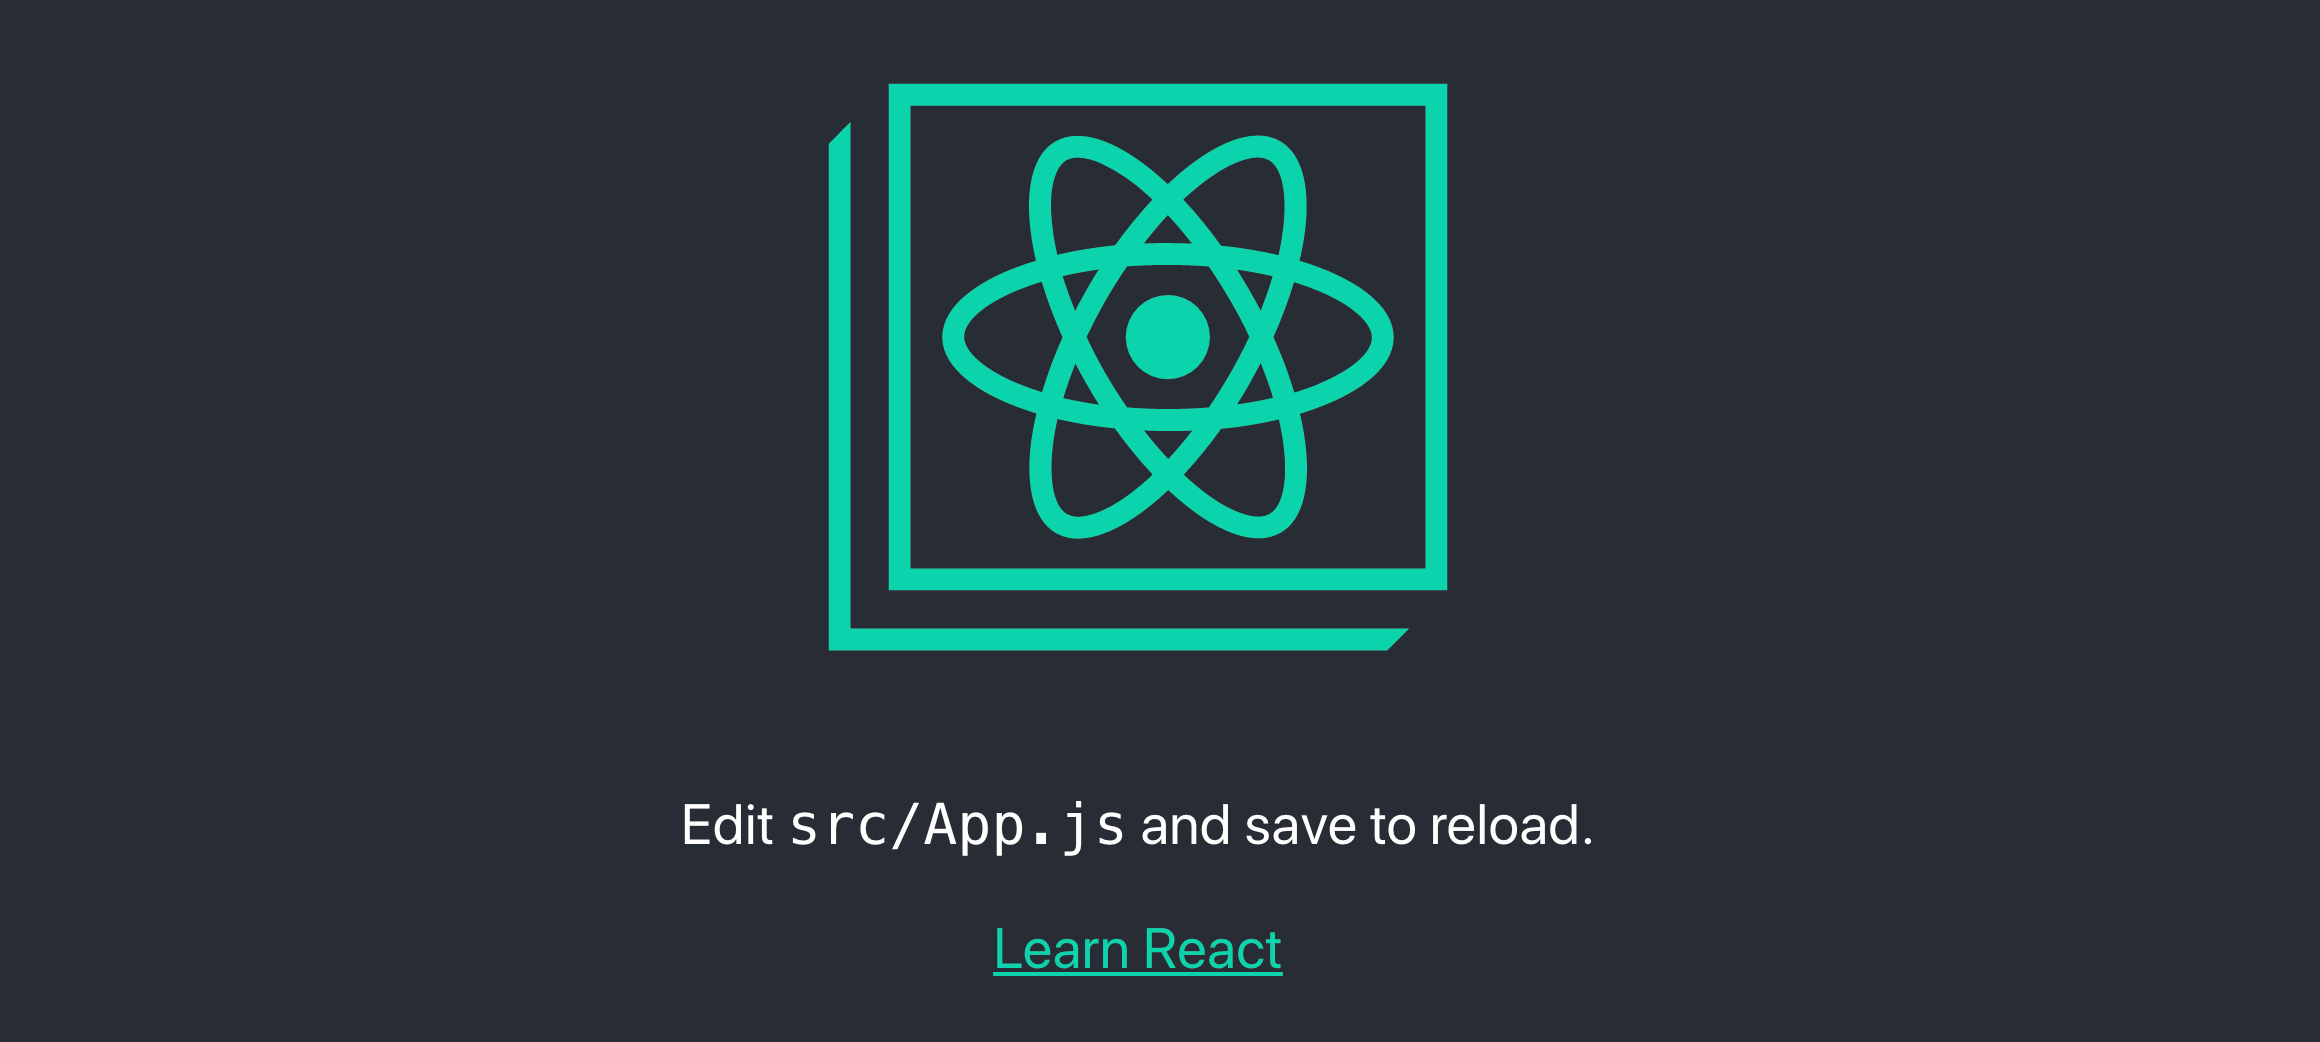
You may see a different screenshot, depending on which create-react-app version you’ve installed. The version of create-react-app is 3.1.1.
Build Word Generator
Open the project in VS Code or any IDE you prefer. Your project structure should look like this:
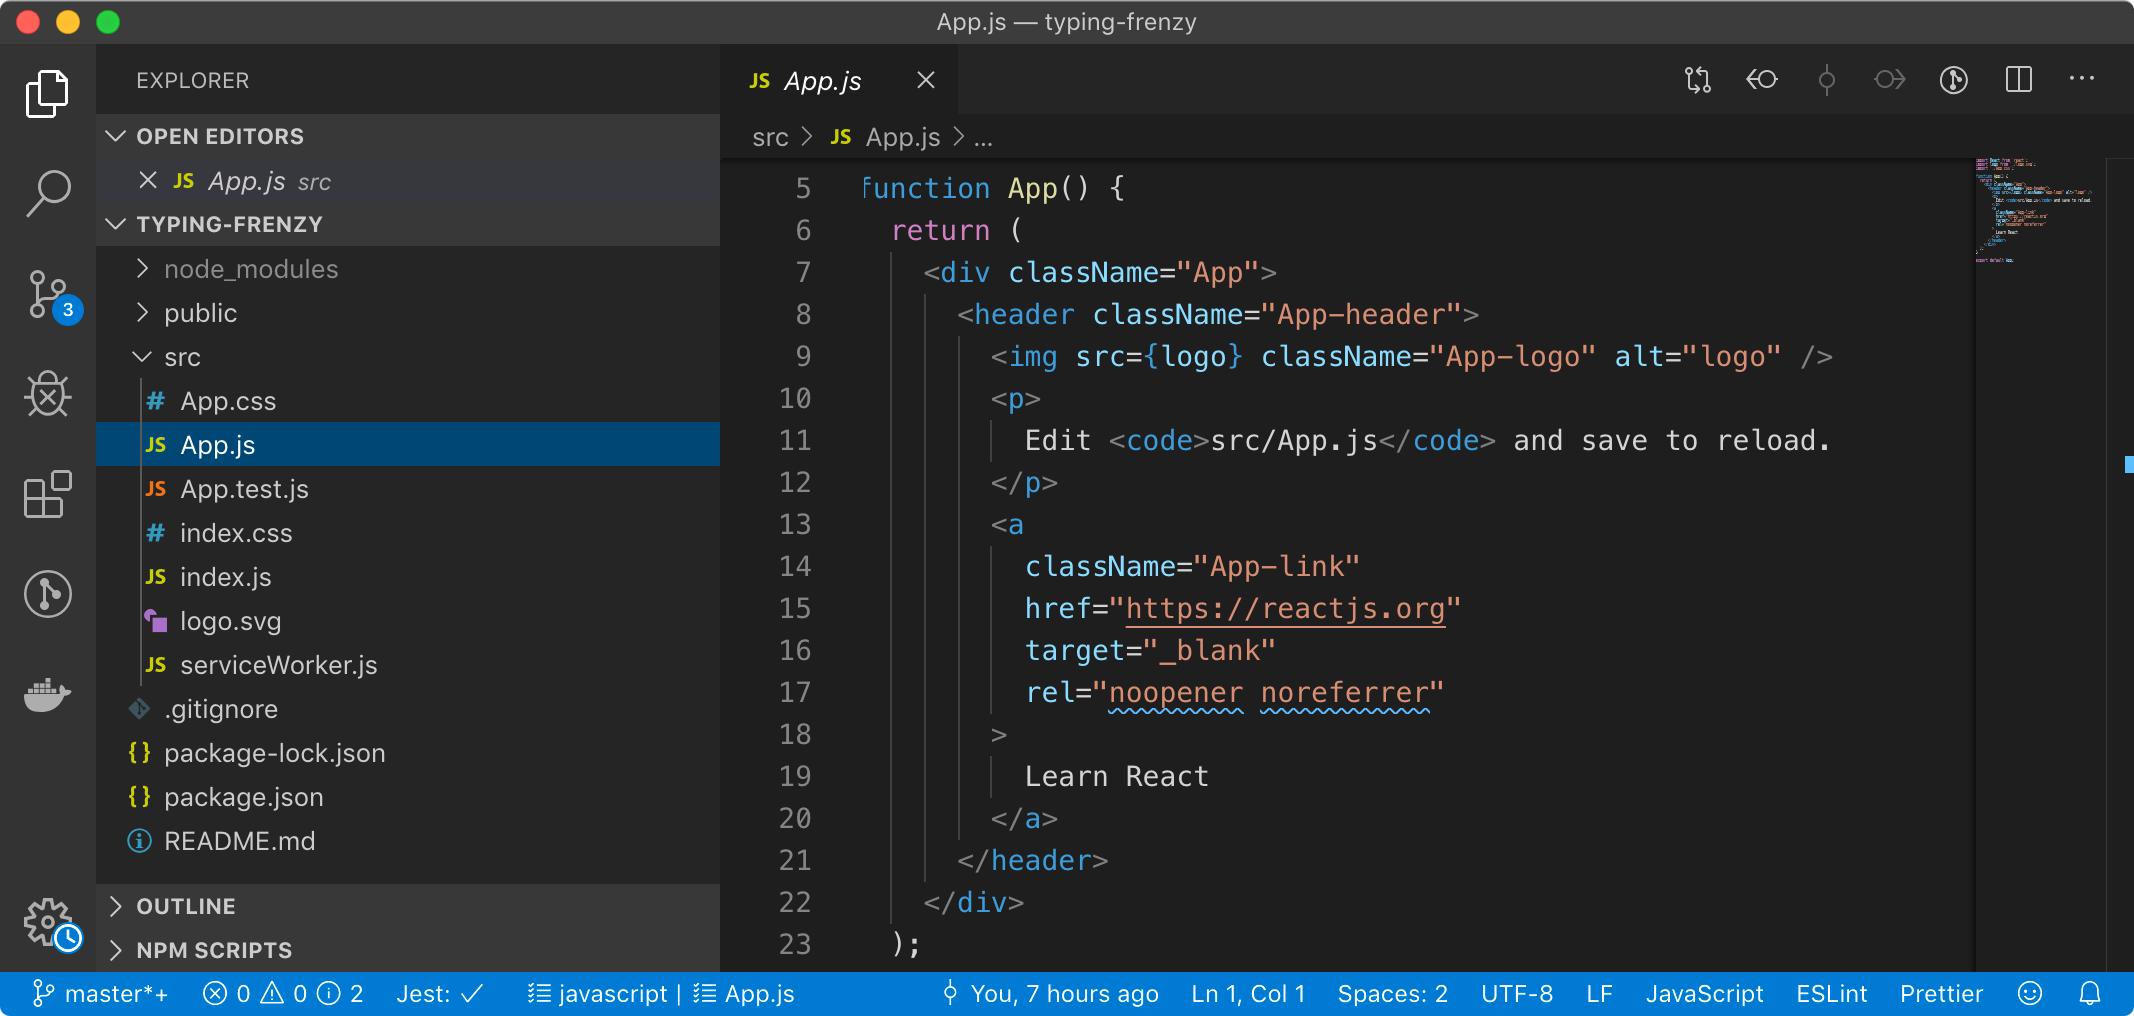
Keep the default code here. You’ll make full use of this default code later.
Install Faker by running:
npm i faker
Create a new folder and a new file at this location: /src/utils/words.js. Open the file and paste in the following code:
words.js
import faker from 'faker';

export const generate = (count = 10) => {
  return new Array(count)
    .fill()
    .map(_ => faker.random.word())
    .join(' ');
};
- Set the default number of words to 10.
- Create a new empty array of 10 and fill
undefined. This is a quick way to create an array with a defined size. - Call
faker.random.word()to emit one word or compound words. - Join all words with space.
To see the output, go to App.js, import your freshly baked generate function, and log the output:
App.js
...
import { generate } from './utils/words';

const initialWords = generate();
console.log(initialWords);

function App() {
  ...
}
Save your files and wait for hot reload. Switch to browser, open the Chrome inspector (F12), and click the Console tab. If you don’t see any output, refresh the page.
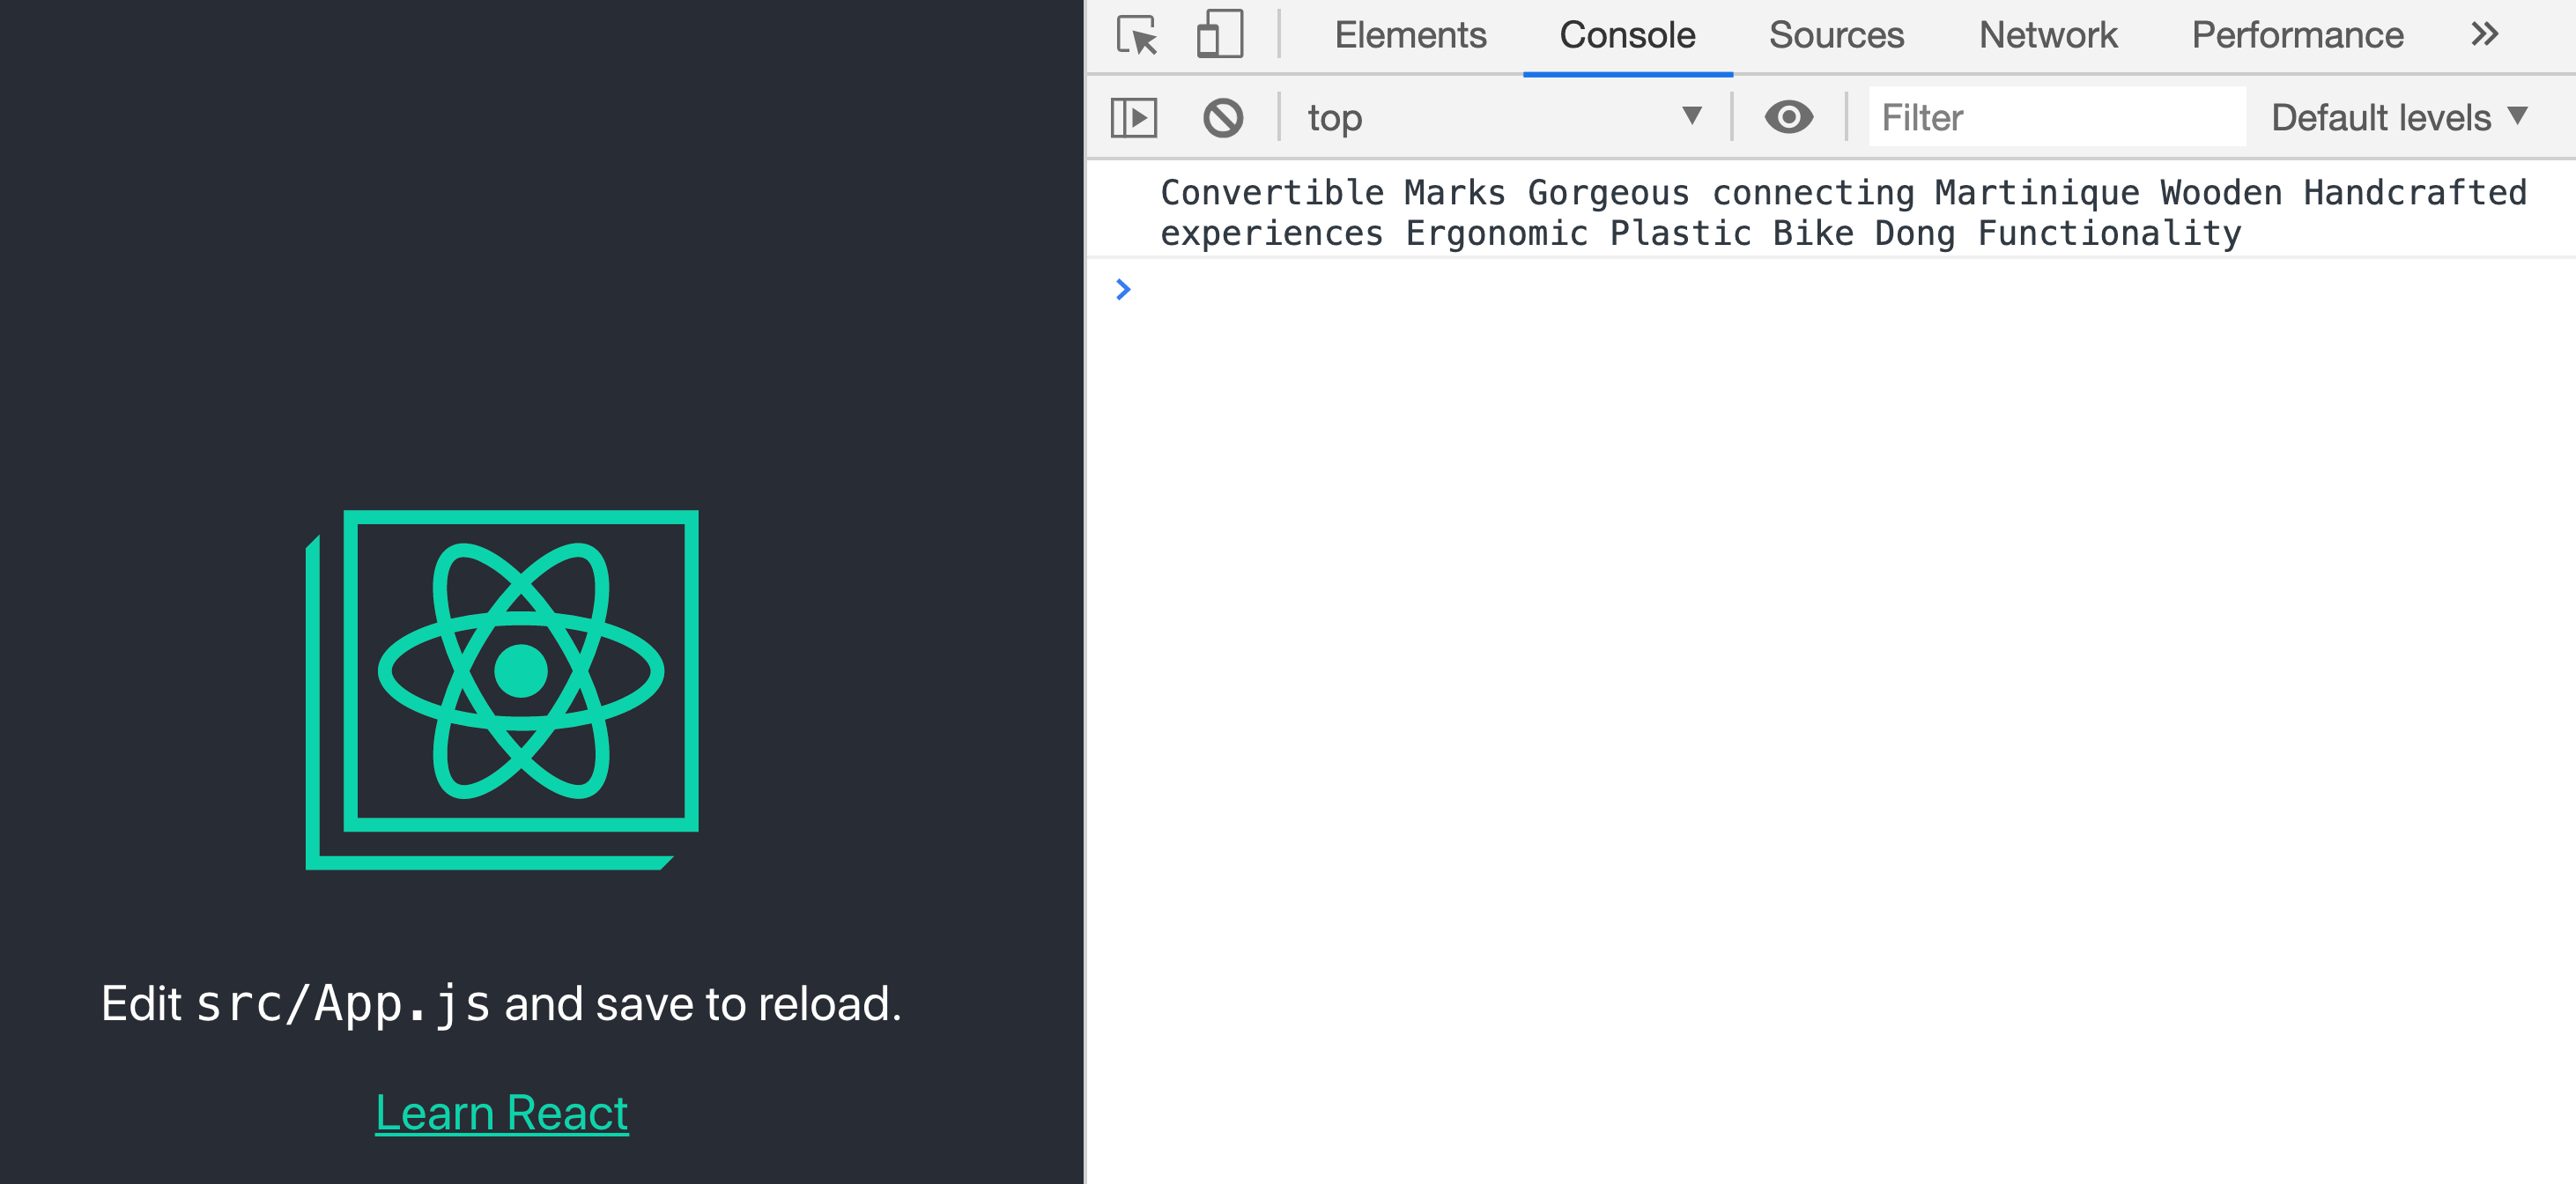
Console log shows the output of word generator
If you see random words like this, it means your Faker and word generator work as expected.
You can refresh the page a few more times to see a different batch of words. You should notice your word generator has the following characteristics:
- No complicated symbols. (There could be dash, apostrophe, round brackets.)
- The first letter of some words is capitalized.
- There are more than 10 words because
faker.random.word()will emit one word or compound words each time.
When you’re done with testing, remove the console.log statement.
Build Key Press Hook
Create a new folder and a new file at /src/hooks/useKeyPress.js.
Copy-paste the following gist, which is the modified version of https://usehooks.com/useKeyPress/:
useKeyPress.js
import { useState, useEffect } from 'react';

//1
const useKeyPress = callback => {
  //2
  const [keyPressed, setKeyPressed] = useState();
  //3
  useEffect(() => {
    //4
    const downHandler = ({ key }) => {
      if (keyPressed !== key && key.length === 1) {
        setKeyPressed(key);
        callback && callback(key);
      }
    };
    //5
    const upHandler = () => {
      setKeyPressed(null);
    };

    //6
    window.addEventListener('keydown', downHandler);
    window.addEventListener('keyup', upHandler);

    return () => {
      //7
      window.removeEventListener('keydown', downHandler);
      window.removeEventListener('keyup', upHandler);
    };
  });
  //8
  return keyPressed;
};

export default useKeyPress;
- Pass in a
callbackas a parameter. You’ll do most of your logic inside this callback. - Call the
useStatehook to create a state for the pressed key. Every time a key is pressed, you’ll callsetKeyPressedto update the current key. - Do your key update operations inside
useEffect. You can consideruseEffectsimilar tocomponentDidMountorcomponentDidUpdate. More details here. - Inside
downHandler, which is the handler when a key is down, you only update the key pressed based on two conditions. First, check whether it is a different key to prevent registering the same key stoke when the user holds the key for too long. Second, check whether it is a single character key, i.e. not CTRL, Shift, Esc, Delete, Return, Arrow, etc. - Inside
upHandler, which is the handler when a key is up (released), set the current key state tonull. This is to make it work nicely with step 4. - Register the handlers with the browser’s window.
- At the end of
useEffect, return a function that does the cleanup. In this case, deregister the handlers with the browser’s window. - Return the
keyPressedstate to the caller. In this tutorial, you don’t have to use this return value.
Let’s see how it works. Switch to App.js, import useKeyPress, and use it like this:
App.js
...
import useKeyPress from './hooks/useKeyPress';

function App() {
  useKeyPress(key => {
    console.log(key)
  });
  ...
}
Save and wait for hot reload. Press any key on your keyboard to see which key your app receives.
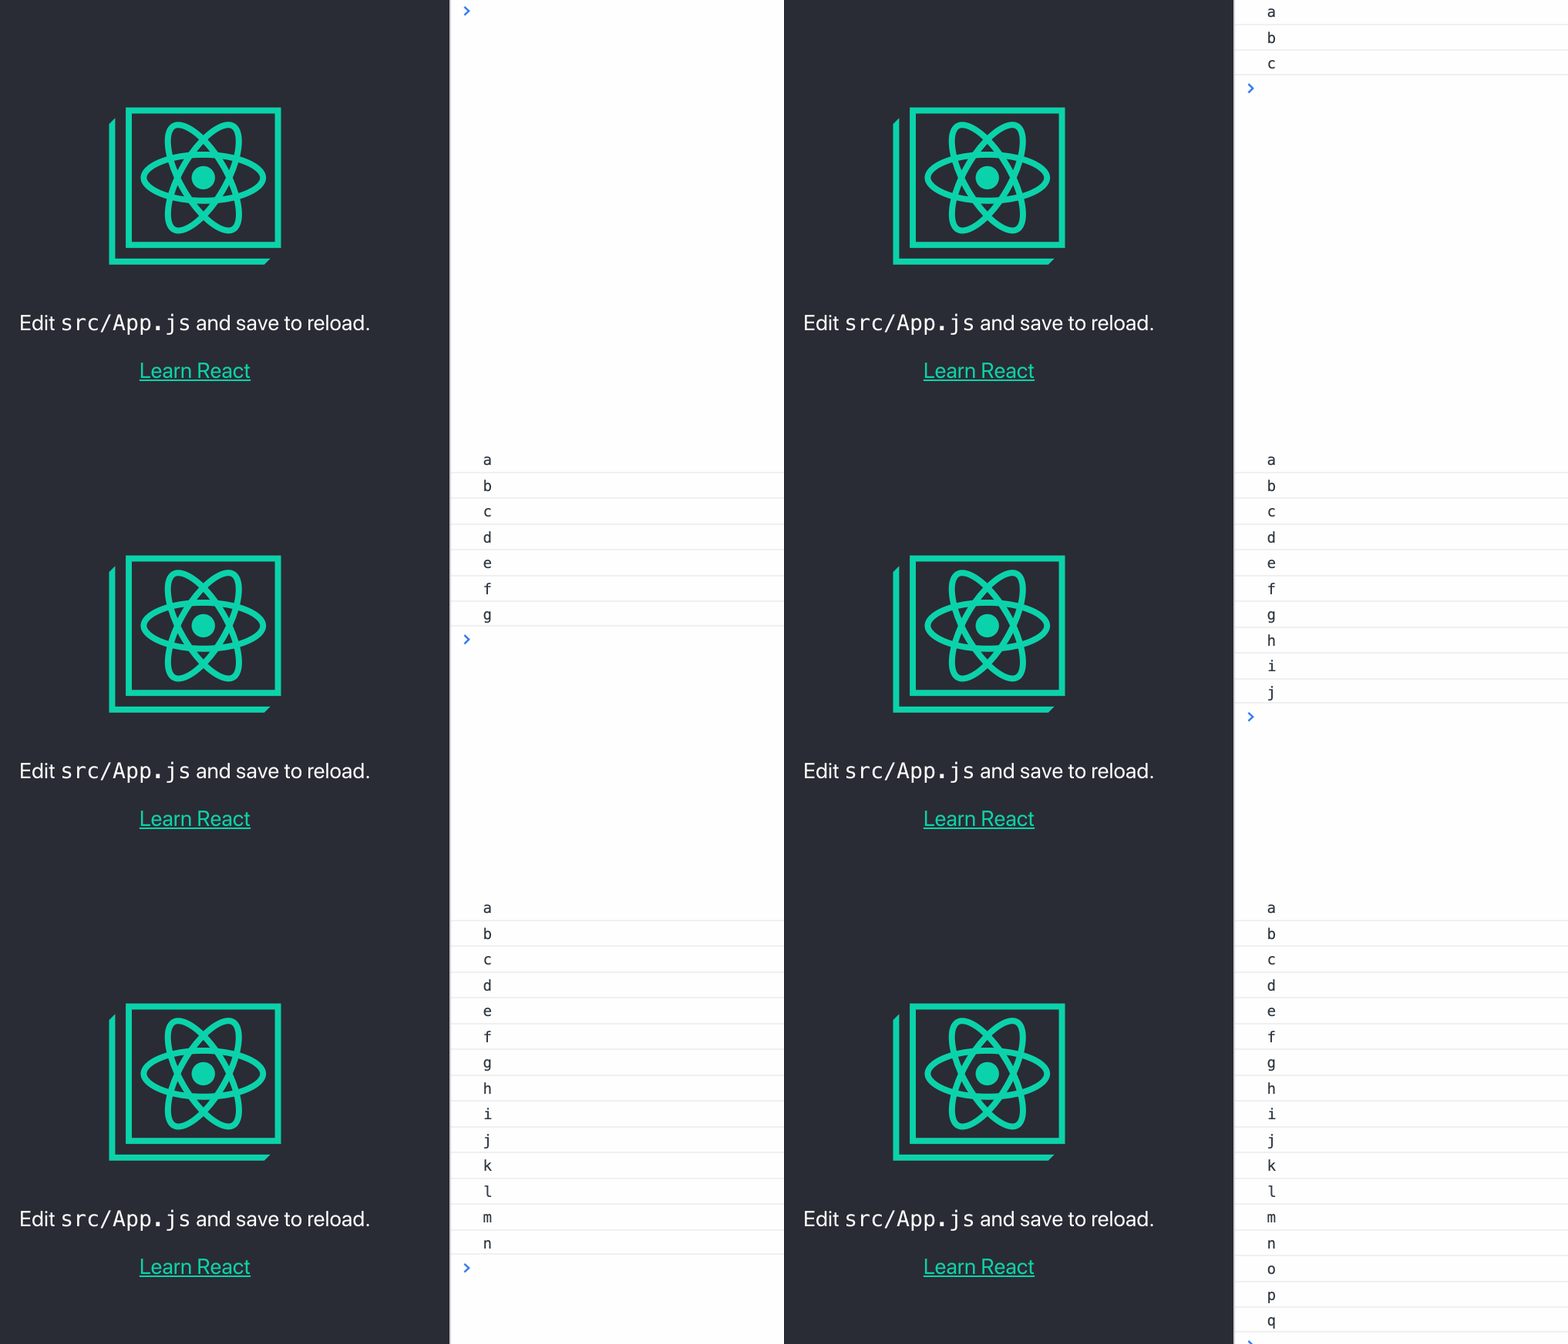
The useKeyPress Hook works great. You can use it in other projects in the future. Once again, remove the console.log statement.
Design the State of Typing Lines
States depend on what you want your typing game to look like. You want the user to see some incoming characters (what the user will have to type) and some outgoing characters (what the user has already typed).
The current character should be highlighted and always stay at the center of the screen.

Go back to your App.js and add the following code:
App.js
import React, { useState } from 'react';
...
const initialWords = generate();

function App() {
  const [leftPadding, setLeftPadding] = useState(
    new Array(20).fill(' ').join(''),
  );
  const [outgoingChars, setOutgoingChars] = useState('');
  const [currentChar, setCurrentChar] = useState(initialWords.charAt(0));
  const [incomingChars, setIncomingChars] = useState(initialWords.substr(1));
  ...
}
- Make sure you import
{ useState }fromreact. When you create a state withuseState, you can set its initial value. leftPadding: Initial extra 20 spaces to keepcurrentCharat the center of the typing line.outgoingChars: Empty.currentChar: The excluded first character of the string of words from your word-generate function.incomingChars: The string of words from your word generator except for the first character.
You’ll store all the characters in outgoingChars and incomingChars, but you’ll display only the last 20 characters of outgoingChars and the first 20 characters of incomingChars in the UI.
Update the State of Typing Lines
Update the four states above inside the callback of useKeyPress. While you’re still in App.js, update the callback of useKeyPress as follows:
App.js
function App() {
  ...
  useKeyPress(key => {
    //1
    let updatedOutgoingChars = outgoingChars;
    let updatedIncomingChars = incomingChars;

    //2
    if (key === currentChar) {
      //3
      if (leftPadding.length > 0) {
        setLeftPadding(leftPadding.substring(1));
      }
      //4
      updatedOutgoingChars += currentChar;
      setOutgoingChars(updatedOutgoingChars);

      //5
      setCurrentChar(incomingChars.charAt(0));

      //6
      updatedIncomingChars = incomingChars.substring(1);
      if (updatedIncomingChars.split(' ').length < 10) {
        updatedIncomingChars +=' ' + generate();
      }
      setIncomingChars(updatedIncomingChars);
    }
  });
  ...
}
- Assign the
outgoingCharsandincomingCharsstate to temporary variables because you need to use them multiple times. - Check if the user hits the correct keystroke. Otherwise, no change to the state of the typing lines.
- Reduce the
leftPaddingby one character. This condition will be true for the first 20 correct keystrokes. - Append the
currentChartooutgoingChars. - Update the
currentCharwith the first character ofincomingChars. - Remove the first character from
incomingChars. Check if theincomingCharsstill has enough words. If not, replenish 10 or more new words withgeneratefunction.
Build UI for Typing Lines
You will replace Edit src/App.js and save to reload. with your typing line. Move your focus to the return statement of your App function. Replace the <p></p> tag with the following code:
App.js
<p className="Character">
  <span className="Character-out">
    {(leftPadding + outgoingChars).slice(-20)}
  </span>
  <span className="Character-current">{currentChar}</span>
  <span>{incomingChars.substr(0, 20)}</span>
</p>
The code is pretty much self-explanatory. You create three span for three parts of the typing line:
- Left: The last 20 characters of
leftPaddingandoutgoingChars. - Center: The
currentChar. - Right: The first 20 characters of
incomingChars.
The styles are missing. It is important to make sure the font family is monospace so that each character has the same width, which guarantees that the position of currentChar always stays in the center.
Add the following styling to App.css:
App.css
.App {
  text-align: center;
  font-family: monospace;
}

...

.Character {
  white-space: pre;
}

.Character-current {
  background-color: #09d3ac;
}

.Character-out {
  color: silver;
}
font-family: monospace;: Set every text in the application to have monospace.white-space: pre;: Make trailing white spaces to occupy the same character width as other visible characters. If you don’t set this style, the trailing white spaces are considered as empty.
It’s been quite a lot of coding. Let’s test your app and start typing!

It looks satisfying, but it lacks excitement, which is the words per minute (WPM) and accuracy.
Build WPM
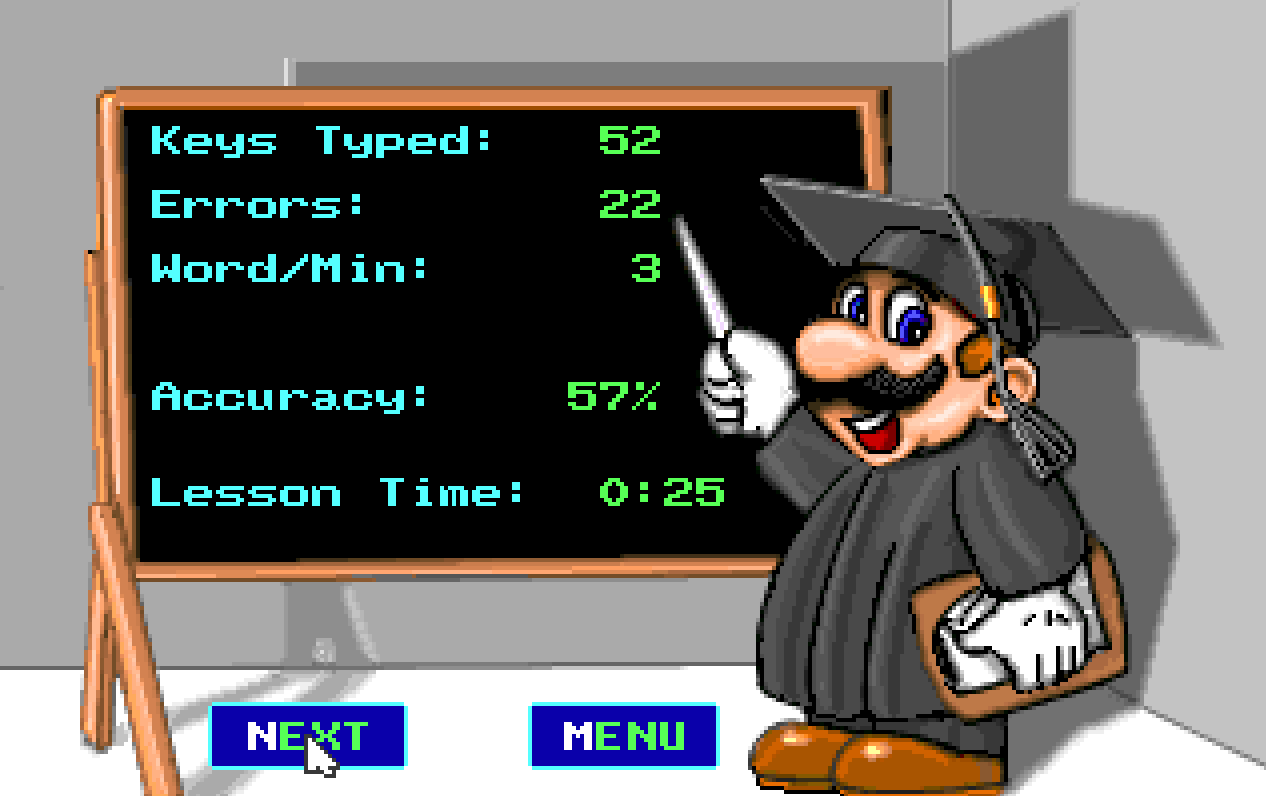
WPM is calculated by dividing the number of words with the number of minutes. That being said, you need three more new states:
App.js
const [startTime, setStartTime] = useState();
const [wordCount, setWordCount] = useState(0);
const [wpm, setWpm] = useState(0);
To get the current time in milliseconds, you need a simple util function. Create /src/utils/time.jswith the following code:
time.js
export const currentTime = () => new Date().getTime();
Import { currentTime } to App.js. Update App.js with the following code:
App.js
...
import { currentTime } from './utils/time';

...

function App() {
  ...

  useKeyPress(key => {
    //1
    if (!startTime) {
      setStartTime(currentTime());
    }

    ...
    if (key === currentChar) {
      ...
      //2
      if (incomingChars.charAt(0) === ' ') {
        //4
        setWordCount(wordCount + 1);
        //5
        const durationInMinutes = (currentTime() - startTime) / 60000.0;
        //6
        setWpm(((wordCount + 1) / durationInMinutes).toFixed(2));
      }
    }
  });
  ...
}
- Set the
startTimewhen the user starts typing the first character. Don’t set it before the app is even fully mounted. Users will not be happy. - Recalculate WPM when the user is about to finish the word. In this case, you check whether the next character to type is a white space.
- Increase word count.
- Calculate elapsed duration in a minute. Although you will get
0.**minute before one minute, WPM will still be valid. - Set WPM. Limit the number of decimal places to two.
Now that you have WPM state, update your UI by adding the following code, right below the <p></p> tag:
App.js
<p>
  ...
</p>
<h3>
  WPM: {wpm}
</h3>
Save and hot reload your app. After you finish typing the first word, you’ll see the WPM updated. It will fluctuate when you finish typing each word.

What is your WPM?
Build Accuracy
Accuracy is the percentage of correct keystrokes over all keystrokes. You already have the correct keystrokes, which are the outgoingChars. Update App.js with the following code:
App.js
function App() {
  //1
  const [accuracy, setAccuracy] = useState(0);
  const [typedChars, setTypedChars] = useState('');

  useKeyPress(key => {
    ...
    //2
    const updatedTypedChars = typedChars + key;
    setTypedChars(updatedTypedChars);
    //3
    setAccuracy(
      ((updatedOutgoingChars.length * 100) / updatedTypedChars.length).toFixed(
        2,
      ),
    );
  }
}
- Declare two more states.
accuracyis for displaying accuracy.typedCharsis for storing all the keys pressed. - Update
typedCharsby appending all keys that have been pressed. - Set
accuracyby dividing the length ofoutgoingCharswith the length oftypedChars. Limit the decimal places to two.
Display accuracy (ACC) right next to WPM:
App.js
<p>
  ...
</p>
<h3>
  WPM: {wpm} | ACC: {accuracy}%
</h3>
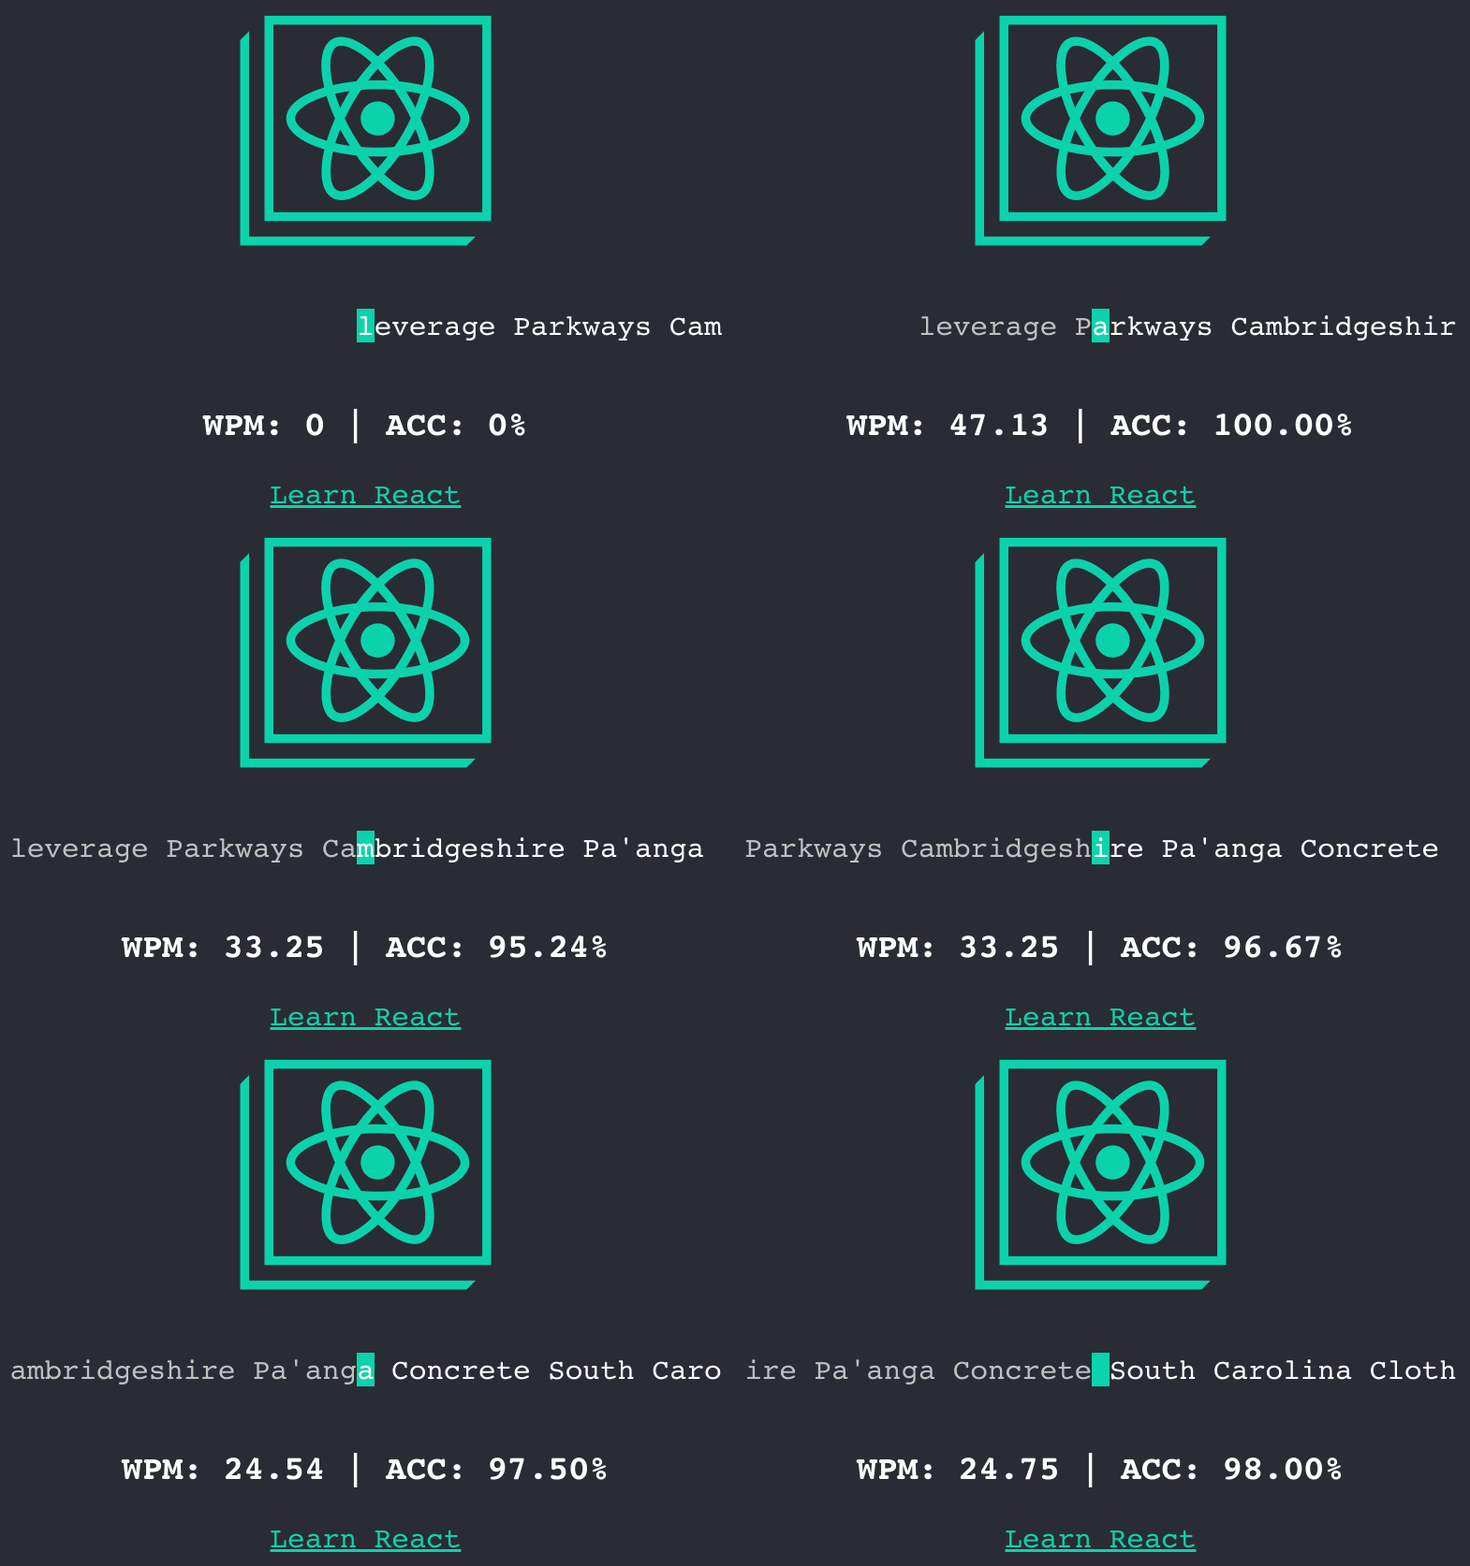
Save and reload. Here is the final version of Typing Frenzy:

WPM vs accuracy, which one do you care about more?
What Else Can Be Added?
There are dozens of things to be added. You can show a timer, limit each typing session to one minute, add complexity to the word generator, show the top 10 most frequent wrong keys, upload your React app to a GitHub page, etc.
Typing Frenzy will not work on mobile because there is no way you can bring up the soft keyboard without an input field. However, there should be a workaround for that. If the response to this tutorial is good, there could be a part 2.
Parting Words
React Hooks change how you define and update states. All the operations can be done in different Hooks, which doesn’t require you to change your functional components to be stateful components. Get yourself on Hooks!
You can find the source code and live demo here. I hope you enjoyed this tutorial!
#reactjs #game
