Introduction
This article will cover off importing data, manipulating data, and finally managing relationships within Power BI. Again, like the previous article, this one will focus on the basic principles of using Power BI, as opposed to an in-depth walkthrough.
Importing data from Excel, SQL Server, and the Web
Importing data from Excel into Power BI
When starting out, Excel should be the first data source you look to when it comes to importing data. The main reasons for this being: Ease of Use, Transparency, and General Availability.
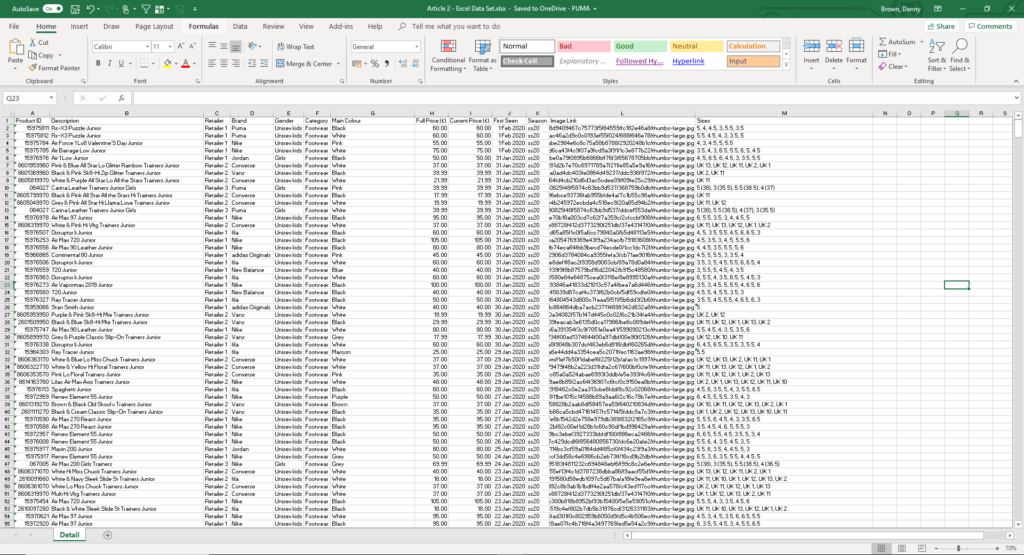
Step 1 – Excel Data Set
This is the data set we’re going to import into Power BI, it contains footwear pricing from a range of retailers. Ensure your data has some key measures which we can later analyze – the data below includes dates, pricing, and counts.
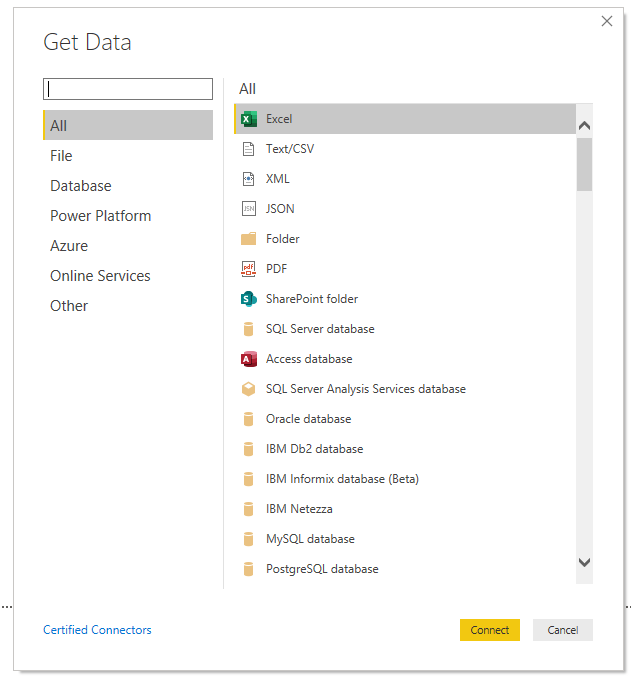
Step 2 – Open Power BI
Open Power BI from the windows menu, the below box will appear where you can then navigate either to your recent sources or open shared files. To simply import data, click the ‘Get Data’ option.

Step 3 – Select Excel
Once clicked through, a series of options will be displayed in how we can import data into Power BI. To begin, click the ‘Excel’ option highlighted below.
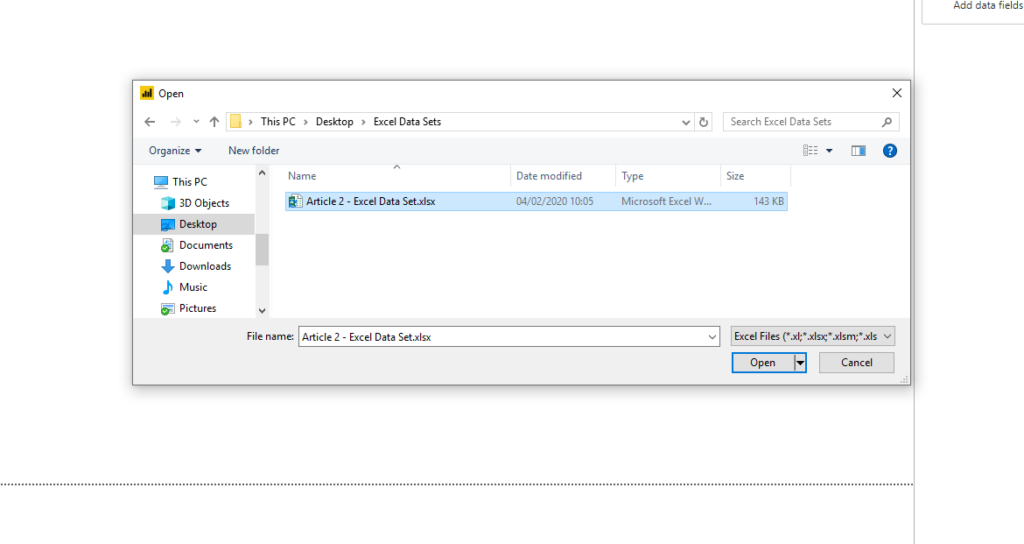
Step 4 – Locate Data Set
Locate the Excel file to upload and click ‘Open’.
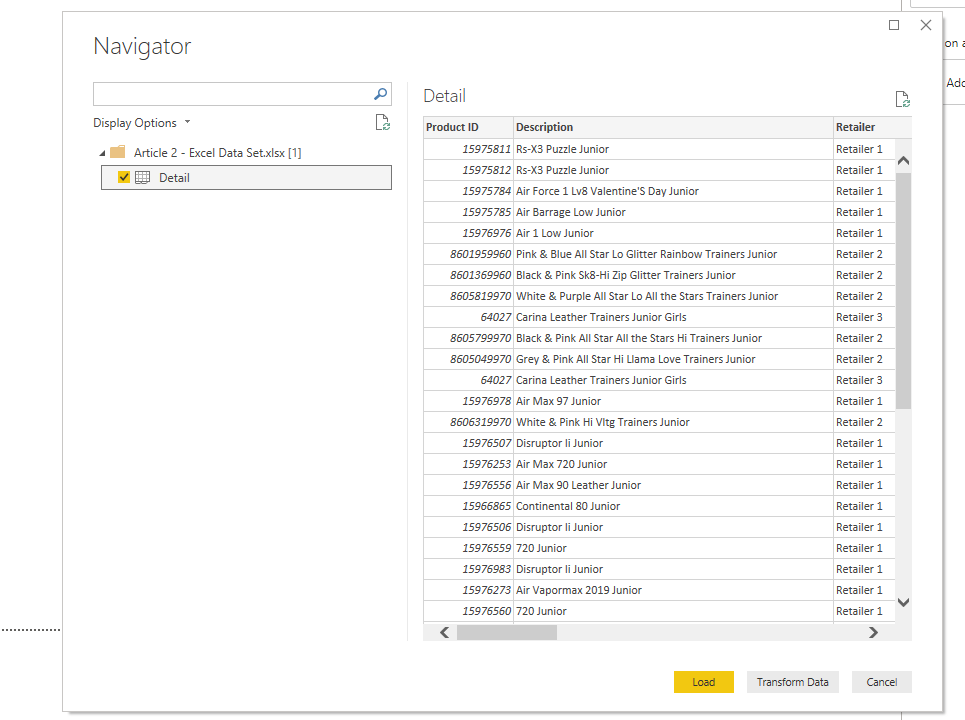
Step 5 – Navigator Screen
Once the Excel file has been imported, the Navigator will be displayed (please wait a few seconds depending on Excel file size). Then click into the checkbox located next to the name of the Excel sheet, this will then create a preview in the right-hand side screen.

Step 6 – Load Data
We then have the choice to either ‘Load’ the data or ‘Transform’ the data. Loading the data will import the data straight into the Power BI interface whilst transforming will allow you to begin editing and manipulating your data. For now, lets ‘Load’ the data, and we’ll head back to the ‘Transform’ stage later in the article.
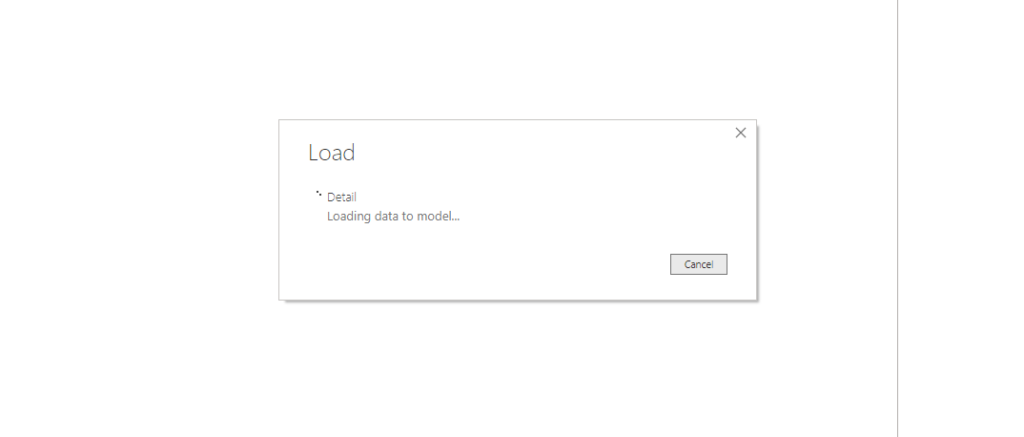
Step 7 – Data Loading
A loading screen will now pop up, again, the loading time will vary, depending on your data set size. Once complete, the loading box will automatically disappear.
Step 8 – Data Loaded.
The Excel sheet has now been successfully loaded into Power BI. The detail sheet has been automatically categorized based on the first line of data in the Excel (Titles). As you can see, some of the information has already been formatted based on existing formats, Text, Number, and Dates.

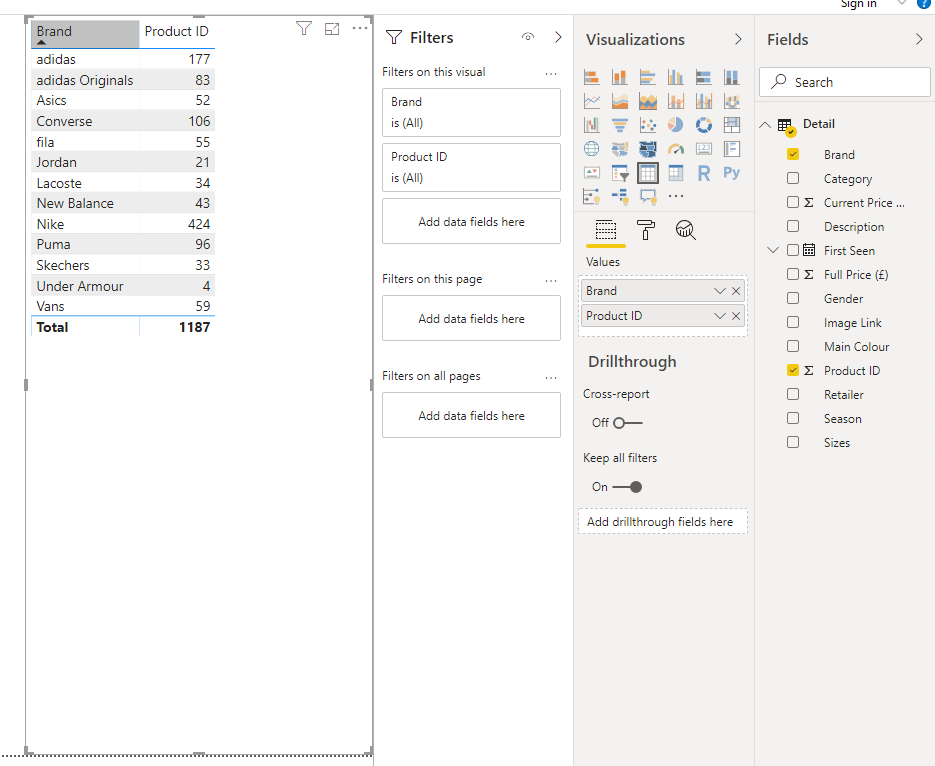
Step 9 – Quick Data Check
To quickly verify that your data was imported, we can create a quick ‘Table’ by clicking on the icon highlighted below. Followed by clicking into the checkboxes against your data, this will populate the values. For example, I’ve checked ‘Brand’ and ‘Product ID’ – this has then displayed the count of products each brand has within the data set.
#microsoft office power bi #programming #excel #excel power query #microsoft office #power bi #sql